

Words Eddie Adams
Images Simon Williams & Eddie Adams
I started the trail so softly, not wanting to break or damage what had taken me over two years to complete. The bike handled the first rock sections so perfectly that I immediately trusted my work. From then on, I just let her do her thing – and she absolutely ripped.
This was my first experience riding my homemade hand-built hardtail on singletrack and, of course, it was a race. This is a story about how, as a mountain bike- obsessed teen at high school, I made a functioning mountain bike that was different from anything purchasable on the market.
It all started on YouTube, when GMBN released the video of Blake Samson building his own hardtail in his garage during lockdown. This got my brain ticking – could I build my own bike? Man, that would be cool; how hard can it be? The subject selection for the following year of school rolled around and I was moving into year 11 (level 1 NCEA). I had most subjects chosen but needed one more to fill my timetable. This year a new subject was going to be introduced, called PBL (project-based learning). Instantly, it clicked. This would be so much better than any other class at school, and I could use it as an excuse to build my own bike and then get credits for it; it was a win-win-win situation.
I knew straight away that it had to be a mountain bike (because that’s way cooler), a hardtail (for simplicity), and different from anything already out there. Not to make a hard project harder, but because I am one of those people who doesn’t like to do things the same way as everyone else and I don’t see the point in making something that’s already been made. I had zero prior knowledge or experience in designing or building a functioning mountain bike but I had the passion, and an obsession with making it work. It quite literally took over my brain.
The first step was research. Firstly, what did I want my bike to be like and, more than that, how was I going to make it? I compared the geometry of other aggressive hardtails and quickly decided on my final geometry to make the bike unique and ride how I wanted; stable but playful. Now the main problem was: how would I actually build it? I watched every YouTube video on hand-built bikes, read blogs and even had phone calls with frame builders to get their take on how I could tackle it. The more research I did, the harder it seemed, so I found myself going back to GMBN to remind myself it would work. The main thing I took away from this research, was that it was going to be made from 4130 Chromoly steel, TIG welded and I was going to need some sort of a jig (which I didn’t have) to hold things in place while they were welded.

I had decided on my geometry, now I had to see if it would actually work and how it would look. While researching about building the bike, I found out about the BikeCAD programme created by Canadian, Brent Curry, specifically for designing and hand building bikes. After explaining my situation to him, he was super happy to help me out with a subscription to his program. Honestly, this was probably the biggest help for the project; without it, things would have been a whole lot harder – as you’ll find out. With the program, I found it super easy and fun to put in my decided geometry and customise how the frame would look, then figure out if it would work. From here I found that my chain and seat stays were going to need bends and also how much material I was going to need. From this 2D CAD model, I used the dimensions to create a 3D scale model in Fusion 360 which I then went on to 3D print as small-scale models of the frame. BikeCAD also allowed me to get a file of the frame design printed in 1 to 1 scale which came in handy when building.
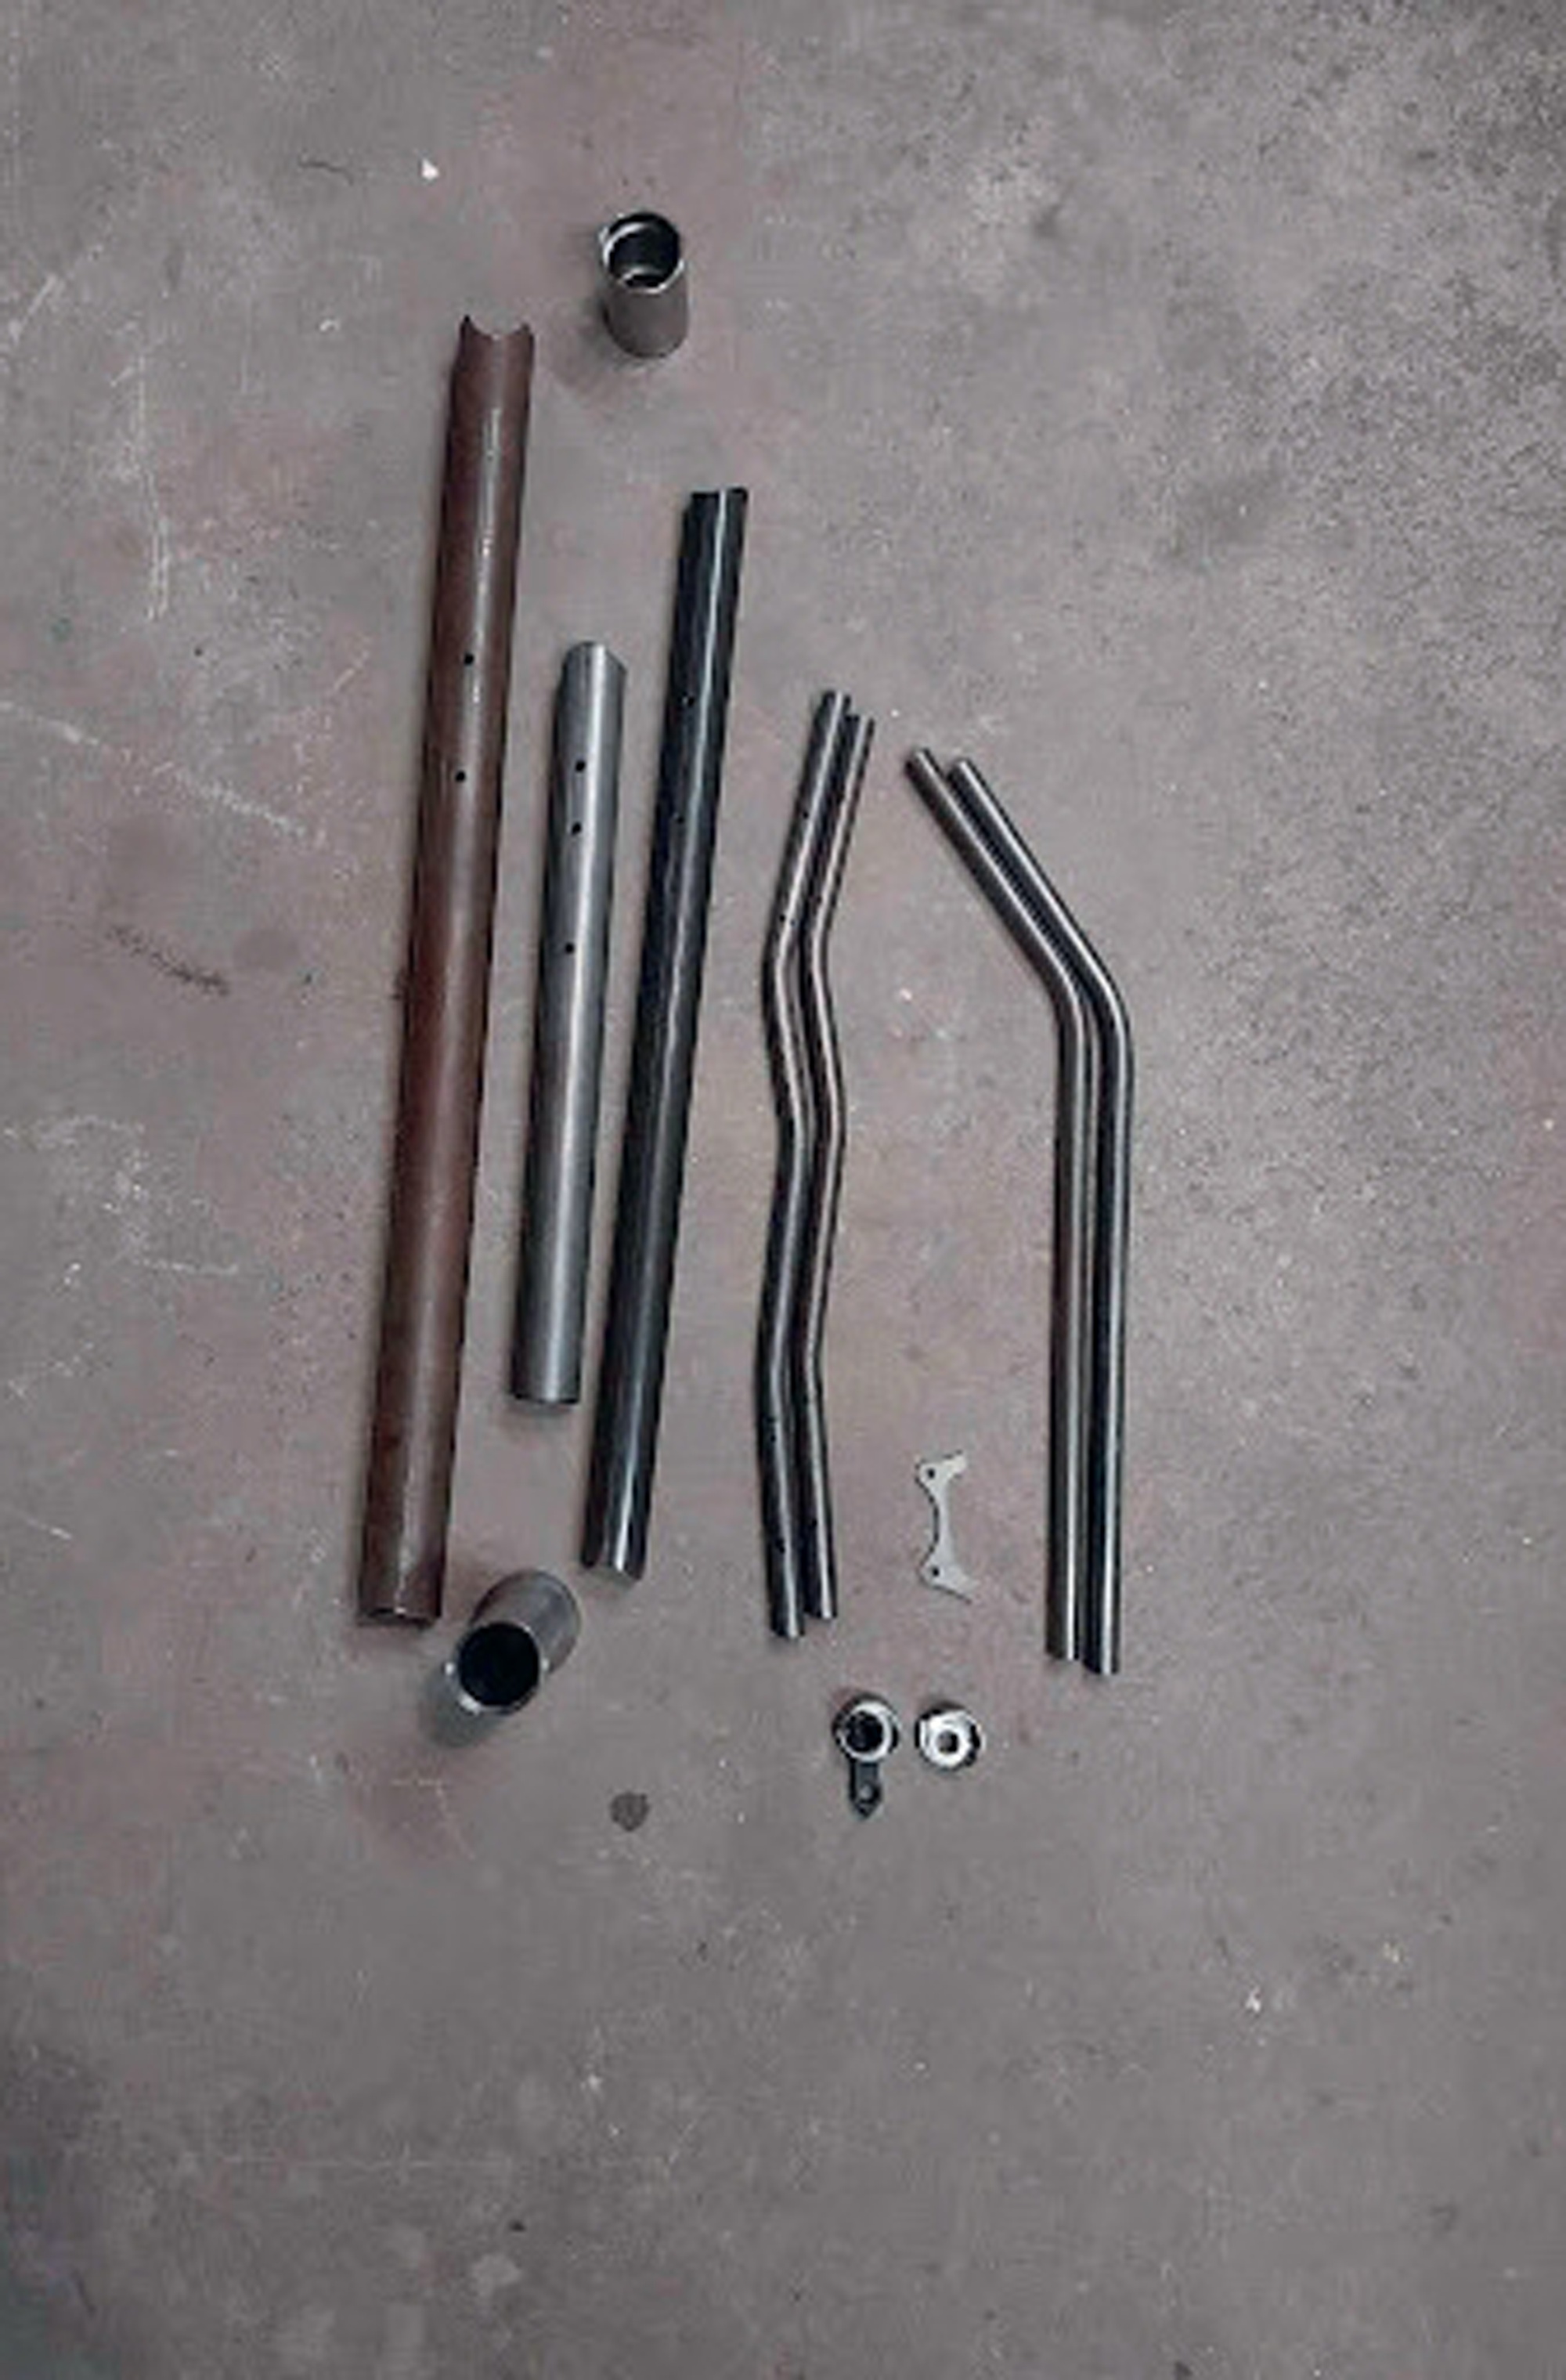
Early on, I decided that the bike was going to be made from 4130 chromoly steel as it is much easier to deal with than aluminium; cheaper and also widely used in bike manufacturing but reasonably easily attainable. For the main frame tubes, I was able to source from a New Zealand company reasonably easily and cheaply. Note, this was not bike-specific tubing, the company it was from is more focused on roll cages and plane builds, so it’s much thicker and heavier, but this wasn’t something that bothered me as it was keeping my self- funded budget down. There were specific parts I had to order from America, e.g. headtube, BB shell, dropouts and brake mounts. These were not cheap but made the whole process a lot easier for me and they were good quality so it was well worth it.
I mentioned earlier, the biggest challenge to making the build successful was the fact that I didn’t have a frame jig to hold all the tubes in the right place at the right angle to be welded, so the bike wouldn’t turn out wonky and with the wrong geometry. Nothing I could find by research seemed realistic, doable or feasible for me, so I had to figure out my own. I went back to Fusion 360 and designed my own solution, a series of specifically designed 3D printed lugs that would hold the tubes where they needed to be. A few test and trial batches later – paired with some threaded rod and nuts – and I had a functioning ‘single-use’ jig. The jig was made up of two groups, the first was for the front triangle which is laid horizontally with the lugs holding the centre of the different- sized tubes at the same height as well as at the right angles. The second was for the rear triangle where the intact front triangle stood upright at the correct angle so the rear triangle could be precisely attached.
Preparing the tubing was very exciting for me – it was the first physical step in actually building the thing and it was made super easy thanks to BikeCAD and my cousin, Tom McKewon. From BikeCAD, I was able to print out paper templates of the profiles for each intersection in the tubing to get perfect fits along with thousands of very specific and accurate measurements I couldn’t imagine having to calculate on my own. The tricky part of preparation was bending the chain and seat stays to the correct angles, in the right place and on the same plane so that they matched each other perfectly; this took a lot of thought and care to get right. Thanks to our ‘extremely calculated’ swings on the bending bar and Tom’s very accurate “eye-ometer” we ended up with two seat stays and chain stays looking very symmetrical. After a full, long day of measuring, cutting, shaping and double checking we had tubes that looked ready to make a bike!
After months stalled by racing and final exams, we finally found time to weld the frame. I’d originally planned to do the entire build myself, but with no welding experience – and wanting the bike to be both rideable and reliable – I turned to CenEng, a local engineering shop. They stepped in for a day and welded the frame at a discounted rate. This was the moment of truth: would all my prep work pay off? Had I measured and metered the tubes accurately, and would my homemade jig hold up? Thankfully, the results were promising. The tubes slotted together with tight, clean joins and the front triangle came together smoothly in the jig. It held firm for tackwelds before we removed it for full welding. The rear triangle was more complex. The jig, made from plastic, began to melt under the heat. Plastic softens at around 300°C, while steel welds at close to 3000°C, hence it being single-use. The dummy axle, in particular, warped slightly, which made the rear wheel spacing a bit tight. We added bottle bosses and repurposed, drilled-out M5 nuts as cable guides. By the end of the day, we had a frame that actually looked like a frame. After more than a year of planning and building, it was a surreal and satisfying milestone.
Now that most of the frame was together, only a few final pieces remained to be welded on. But once again, summer racing commitments put things on hold. At the time, I was juggling a packed schedule; racing XC across New Zealand and Australia including wins at the U19 National Champs, The Prospector Stage Race, and the Australian National Series. I was also racing on the road, standing on podiums in both countries, and mixing in some enduro, gravel and cyclocross for good measure – often with solid results. These days, I’m still racing nationally and internationally, spending seasons in Europe and the U.S, chasing the long-term goal of going pro. So, between training during the week and racing most weekends, it was tough to find spare time to get back into the shed and finish the frame. However, a few months later I returned to Ashburton to “Mitre Tom,” where we finished the job.

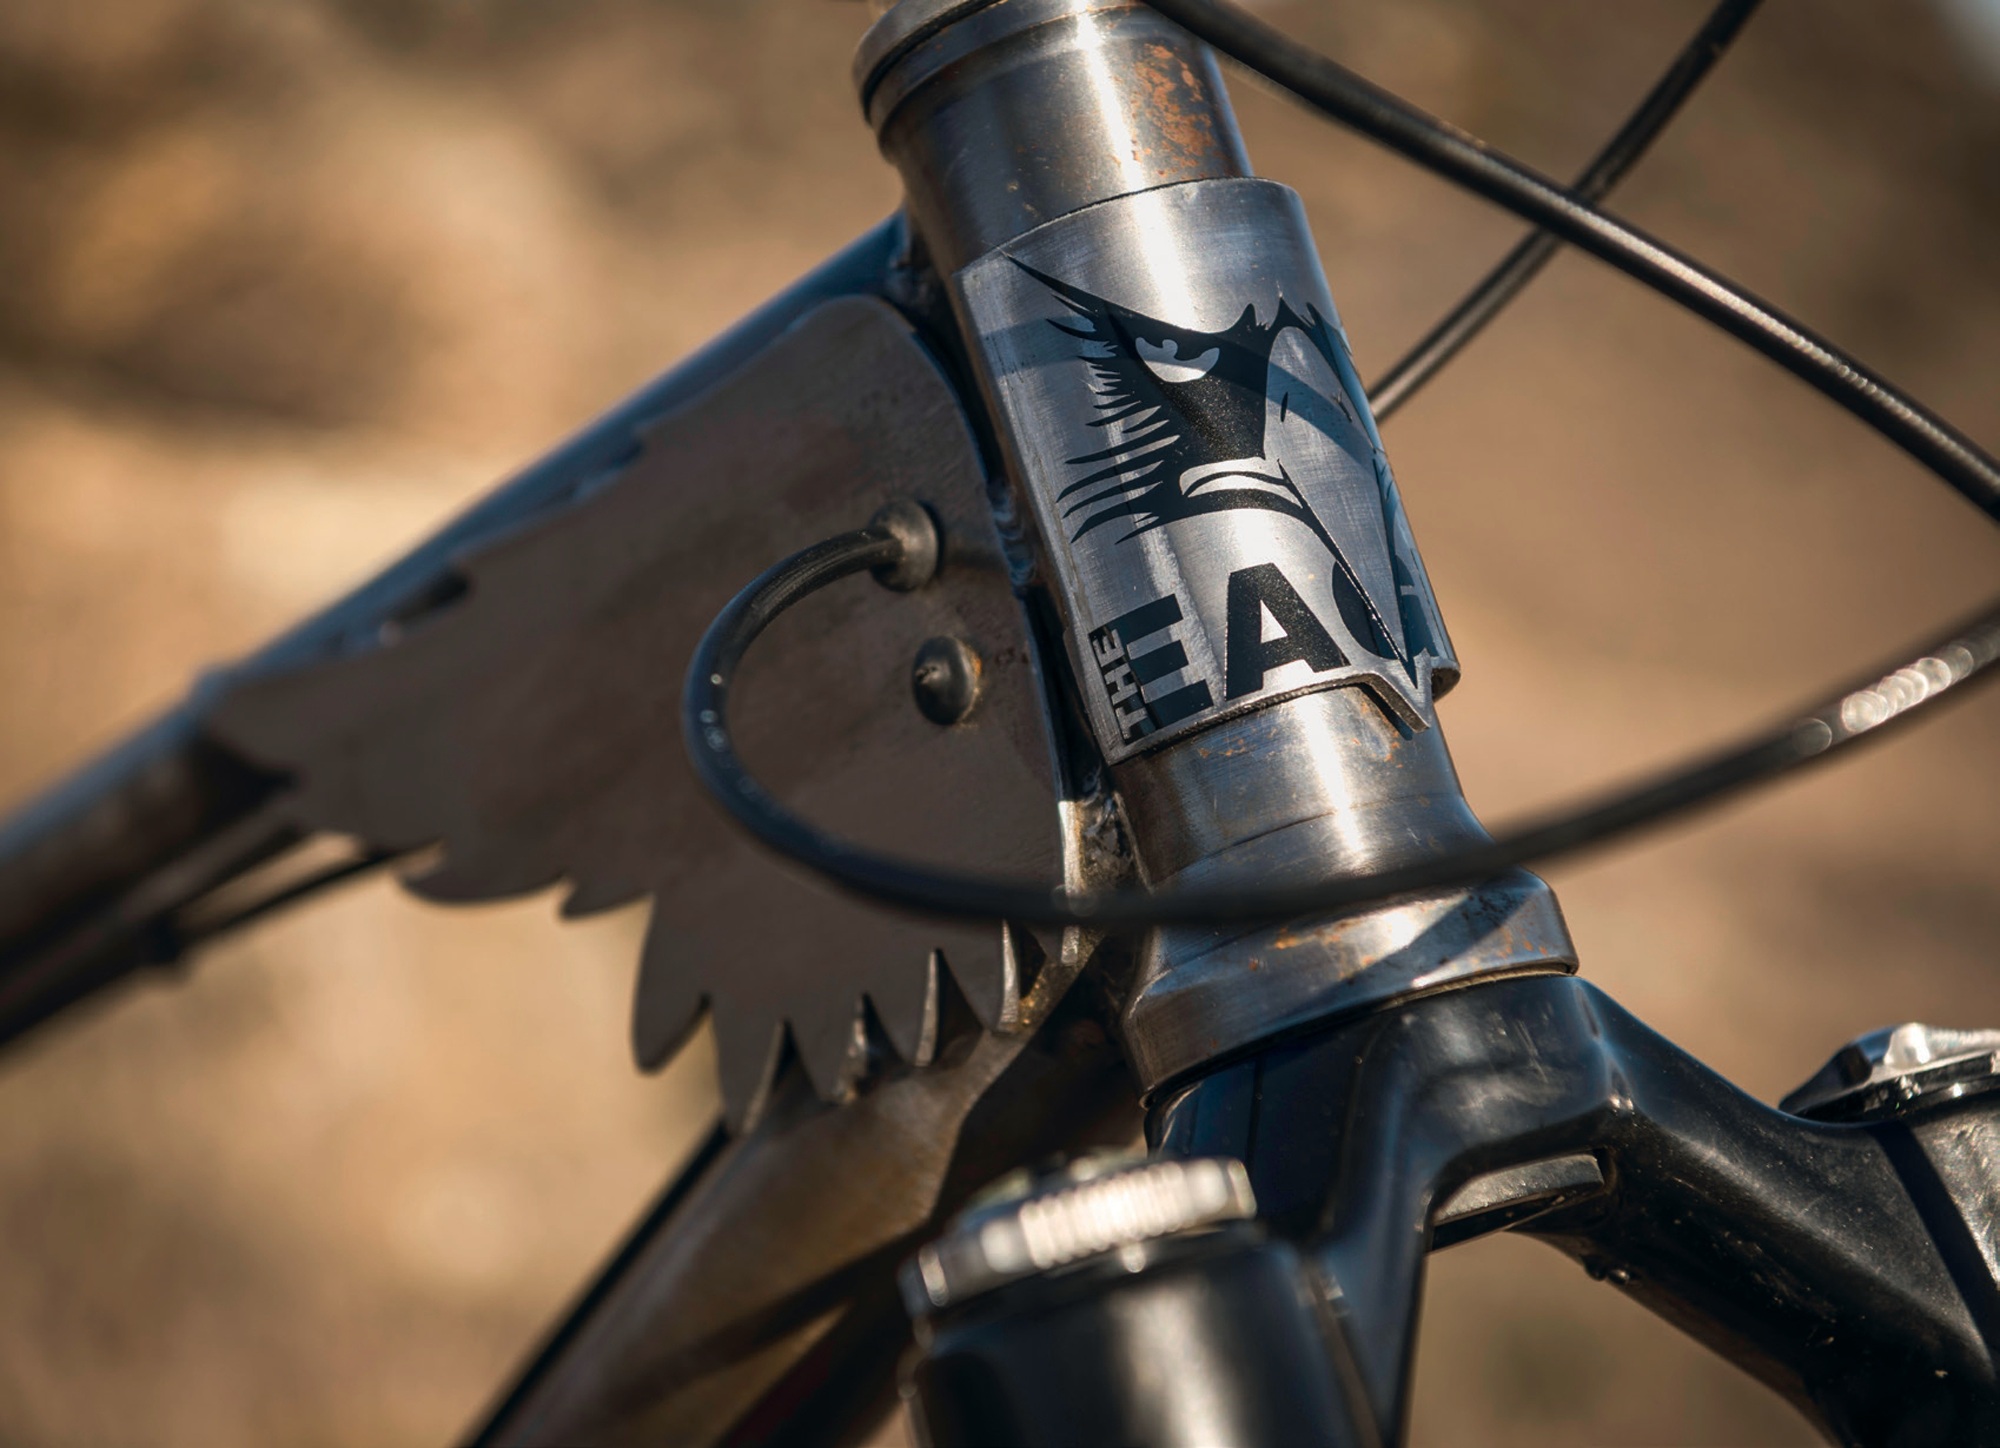
Among the final touches was the most recognisable part of the bike: its wings. From early on, I was told that with such a slack head angle, a gusset brace was strongly recommended. But it wasn’t until the frame had already been welded that the idea came to me to turn it into the wings of The Eagle. I sketched the shape onto a piece of steel donated by a local engineering firm, then spent hours carefully cutting them by hand with an angle grinder and sanding them smooth. Once welded in place, we quickly realised the sharp upper edges were a bit hazardous, perfect for catching or slicing body parts, so we bent the tips down over the top tube for safety and a more finished look.
With all the welding complete, a few key faces had warped slightly and needed precision work before components could be installed. The bottom bracket shell was the main issue – its threads had been badly affected by the heat, and with such specific dimensions, no one nearby had the right tap to clean them up. I wasn’t about to spend several hundred dollars on a new one, so I turned to the ‘frame builders’ Facebook group for advice. After weighing up suggestions, I decided to carefully grind down just the damaged sections, leaving the rest of the threads intact. It was a slow job, but in the end it worked perfectly.
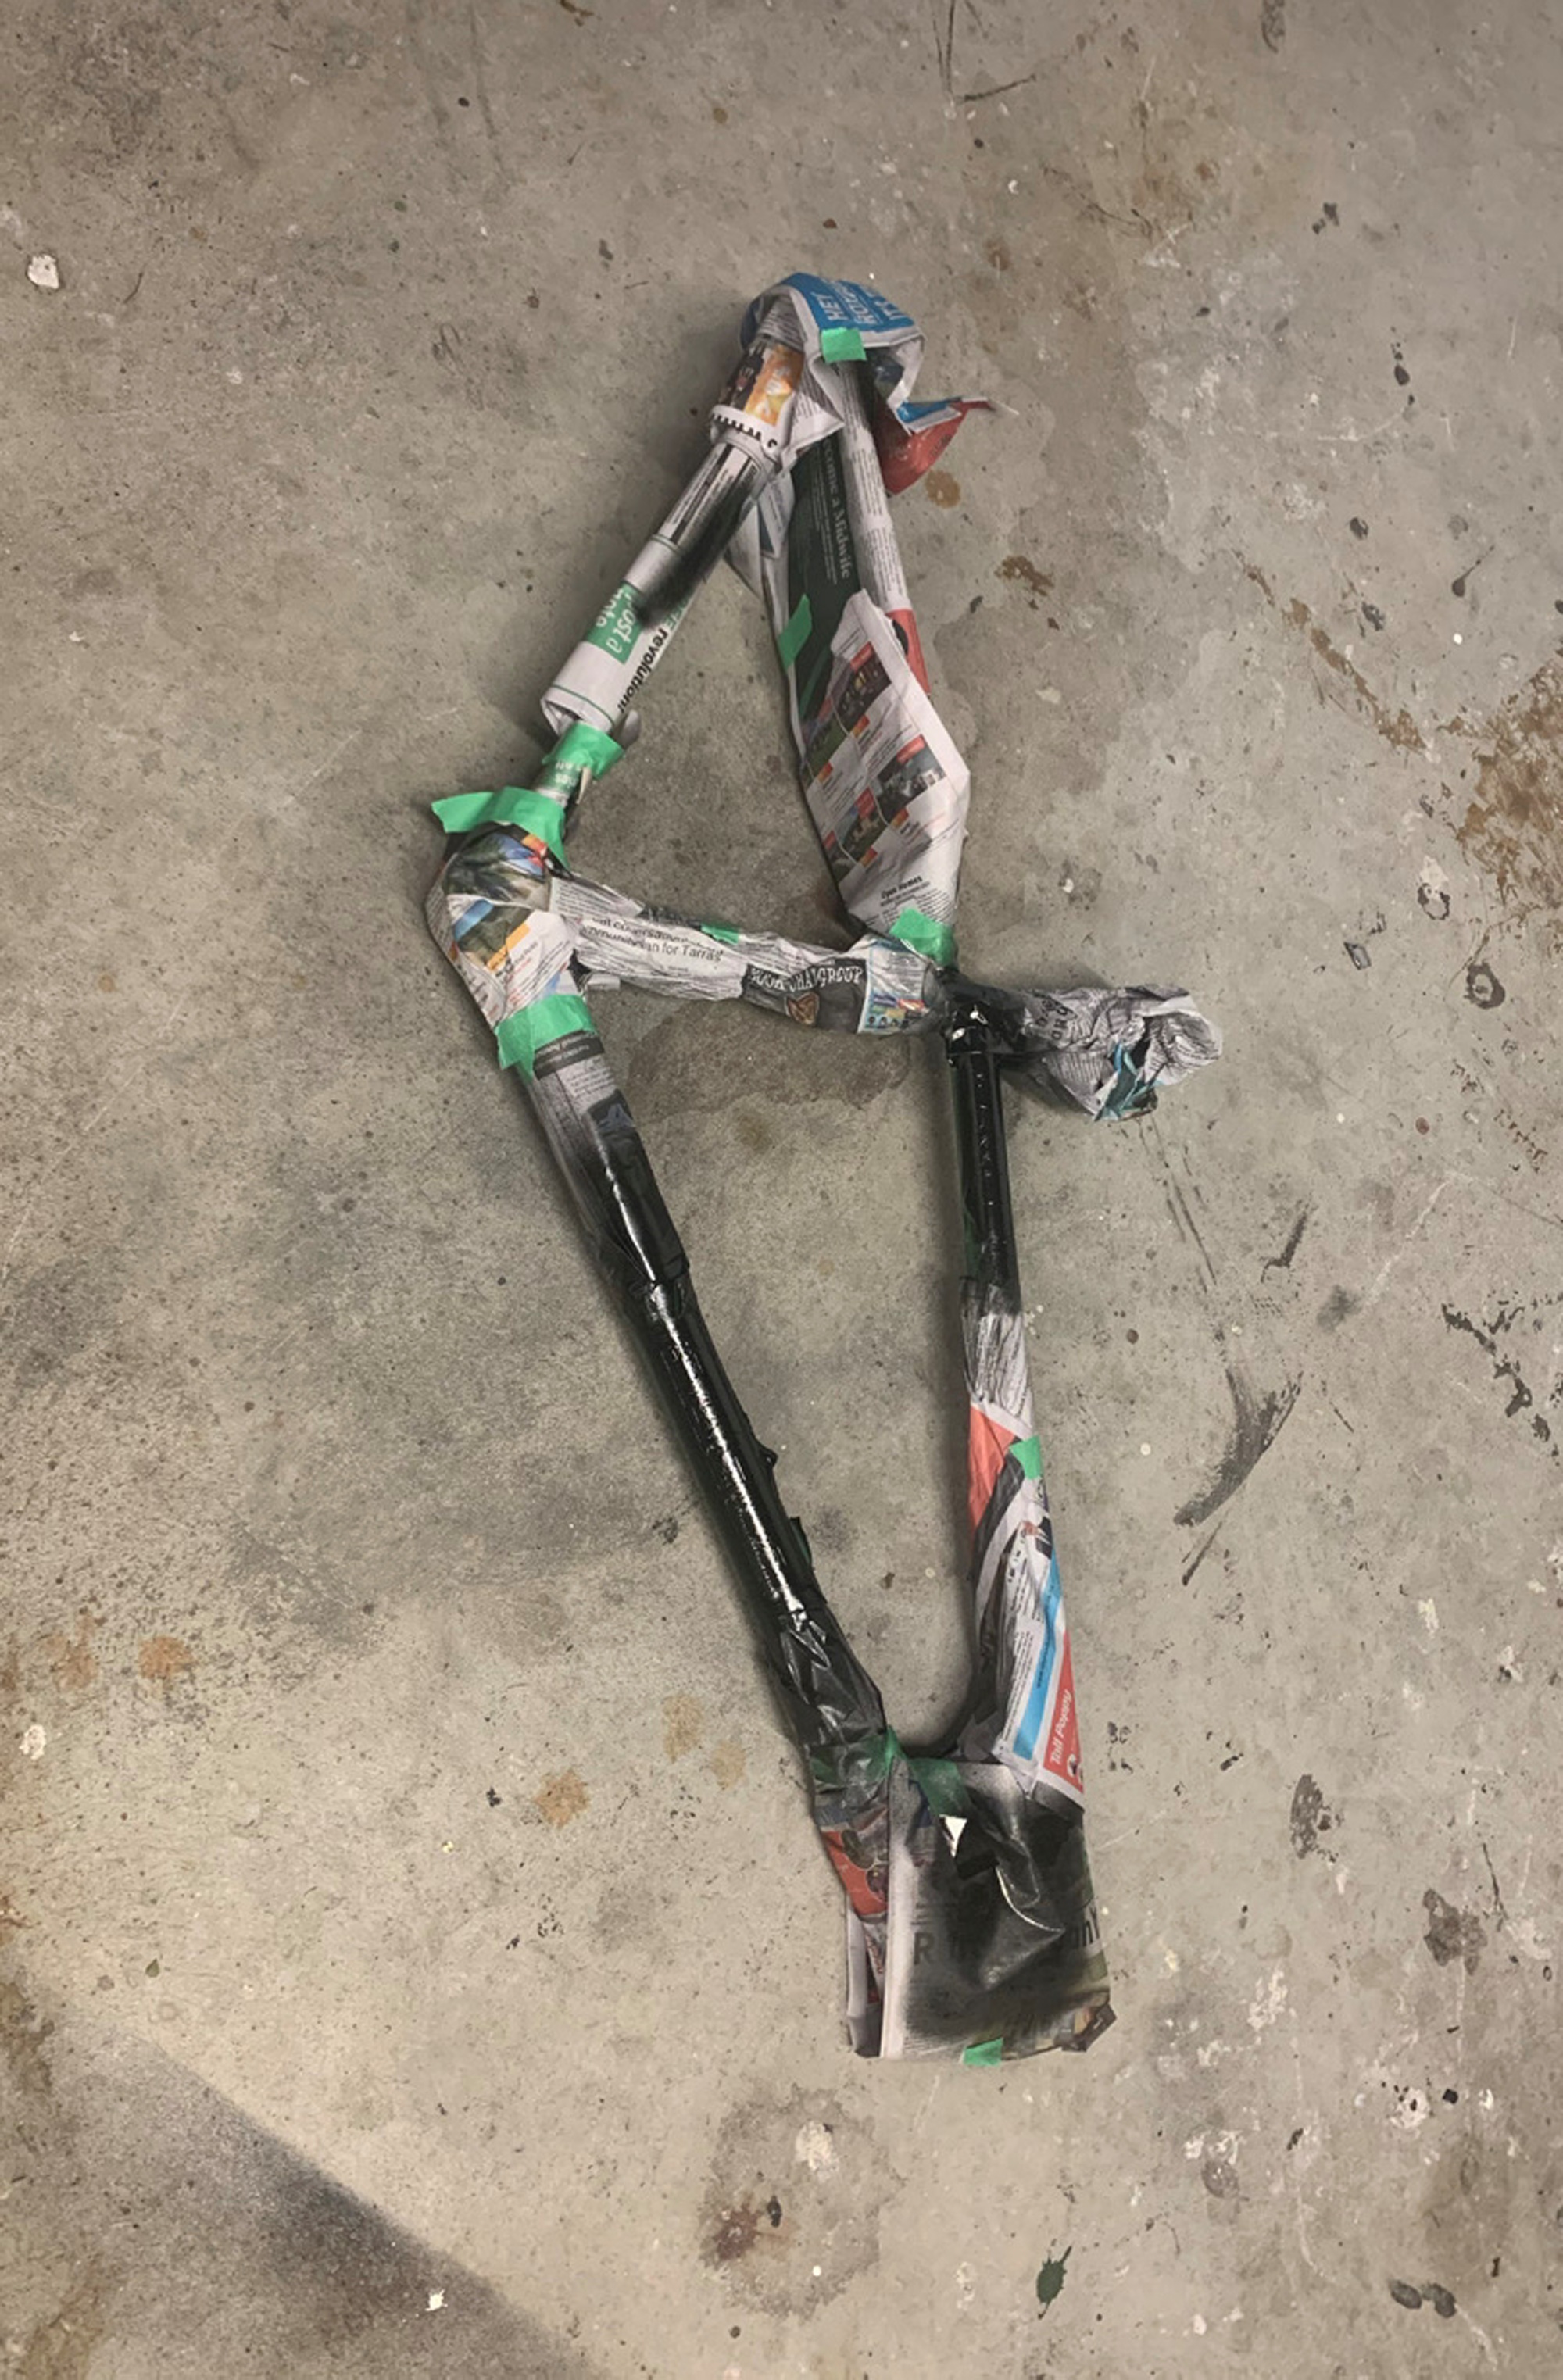
Seeing the frame finally in its full shape, I was fired up to get it finished. I spent more late nights in the garage sanding the entire frame by hand to achieve a clean brushed-metal look. Alongside that, I designed decals and used my school’s vinyl cutter to create paint stencils. Several coats of clear finish followed, to protect the steel as much as possible while preserving its raw, bare-metal aesthetic. To match the frame’s silver tone, I also used drain cleaner to strip the anodising off a few coloured parts, e.g. fork dials, stem, spacers and top cap. After a bit of polishing, they gave the bike an even more unique, custom feel. Throughout the build, I’d been slowly sourcing parts to finish the bike. I had a rough idea of what I wanted, but keeping the budget low was the priority. Most of the components came from what I already had at home, some cheap Marketplace finds, a few AliExpress bargains, and just a handful of new parts. Like every other step of the project, I was super excited and, once the clearcoat had dried, I jumped straight into the build. By then, I had nearly everything I needed, and the assembly went surprisingly smoothly. The only missing piece was a crank set. After two years of hunting for a cheap second-hand option, I gave in and ordered a brand-new set of Shimano Cues cranks for around $60, still unsure if they’d even fit. Fortunately, they went on perfectly, which was a relief, because the very next day I was heading off on a multi-hundred-kilometre bikepacking trip, without a single test ride…
My first ride on The Eagle was nothing more than a lap up and down the driveway. Two years of work had led to that moment, and regardless of how it actually rode, it felt good just to be on it. There wasn’t much time to reflect, though, as I was leaving on a bikepacking trip the next morning. The bike had never done more than 50 metres, and now it was being loaded up with gear and heading into Central Otago’s backcountry for three days. A few people were understandably sceptical about taking a first- time, home-built frame out there without a proper test ride, but I had almost full confidence in my work. Over the trip, we clocked a couple hundred kilometres with some solid ups and downs. Most of the issues that cropped up were due to worn second-hand components, not the frame itself. That said, a couple of my own oversights did make an appearance. The first was the seat clamp. I’d only tightened it enough to hold my body weight because I didn’t want to over- torque it, but that wasn’t enough for a loaded saddle bag, so the seat kept slipping down. Some electrical tape got me through the first day until I found a wrench in Roxburgh. Then came the rain. We camped in a tent on the second night, and in the morning we woke to a lovely headwind and slightly orange frame. Clearly, the clear coat hadn’t completely sealed the steel. Not ideal, but it was just surface rust on chromoly – nothing structural – and I managed to convince myself it gave it more of the homemade look that I’d wanted.
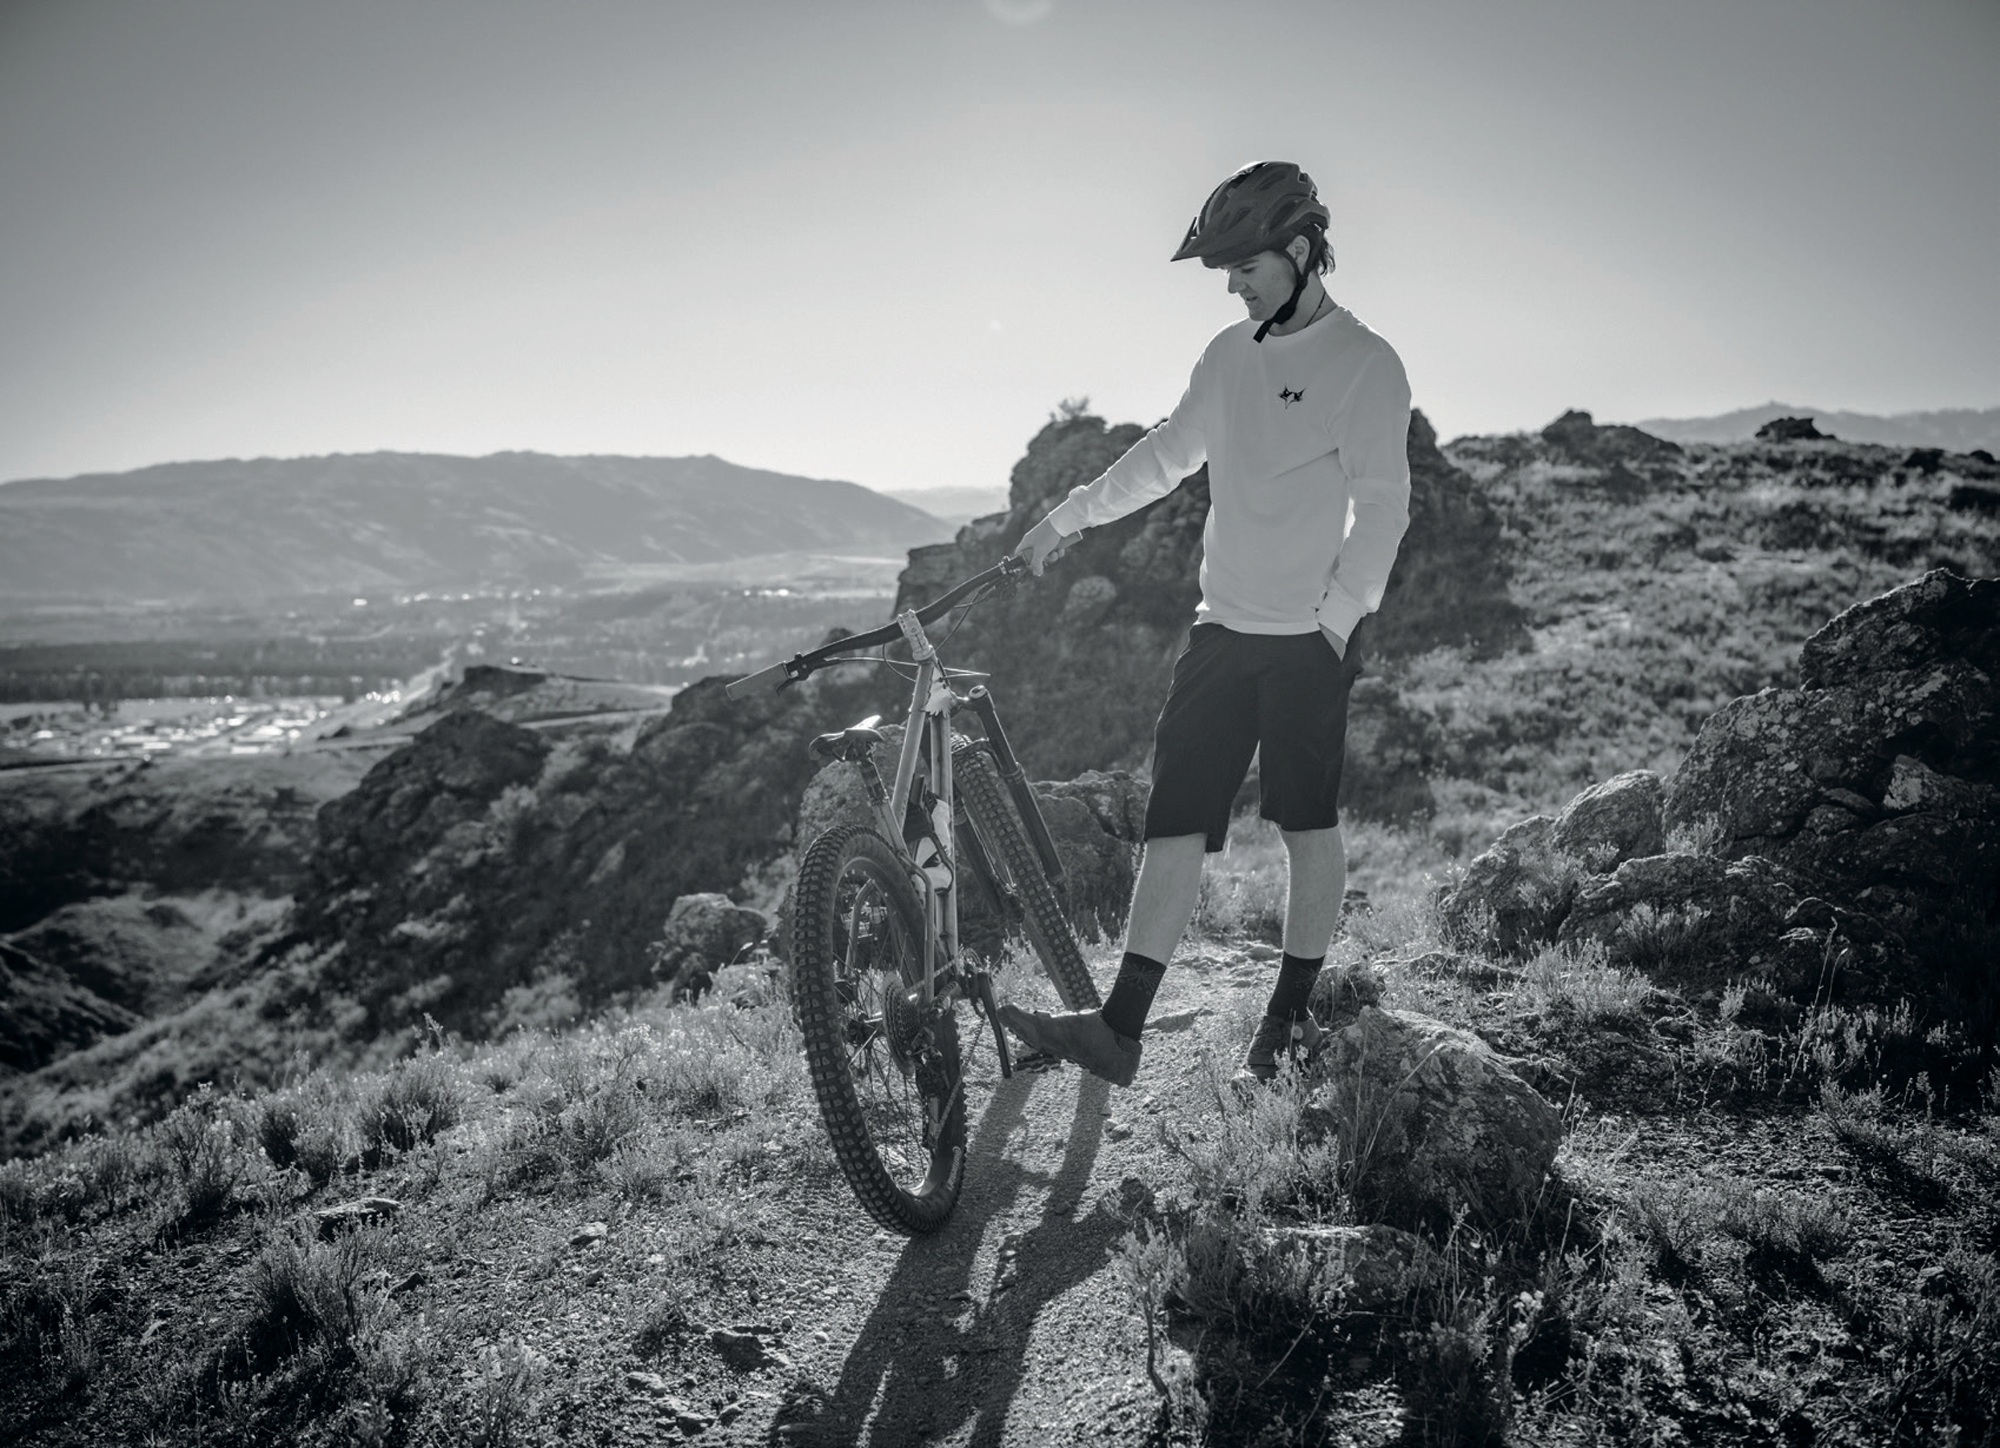
Once I was back home, The Eagle became my go-to ride to school. It wasn’t the most expensive looking bike in the rack – especially in a town like Alexandra with a solid mountain biking scene – but I liked it. It stood out. But that didn’t stop someone from stealing it. I was pretty stressed when I realised it was gone. After everything I’d put into it, the idea that it could just disappear, or get trashed, was hard to take. I put a post up on Facebook with some photos and it didn’t take long to get a lead. Somebody had found it early in the morning outside the supermarket, not far from some damage to the building. It looked like it had been used in an attempted ram raid. Thankfully, they’d taken it straight to the police station and when I got there it wasn’t hard to describe. There aren’t many bikes with steel wings welded to the headtube. The police asked me to check it over for damage and, somehow, it was fine. Not even a bent derailleur. Honestly, I was surprised… but mostly relieved; my bike had survived being used as a battering ram and was stronger than a supermarket!
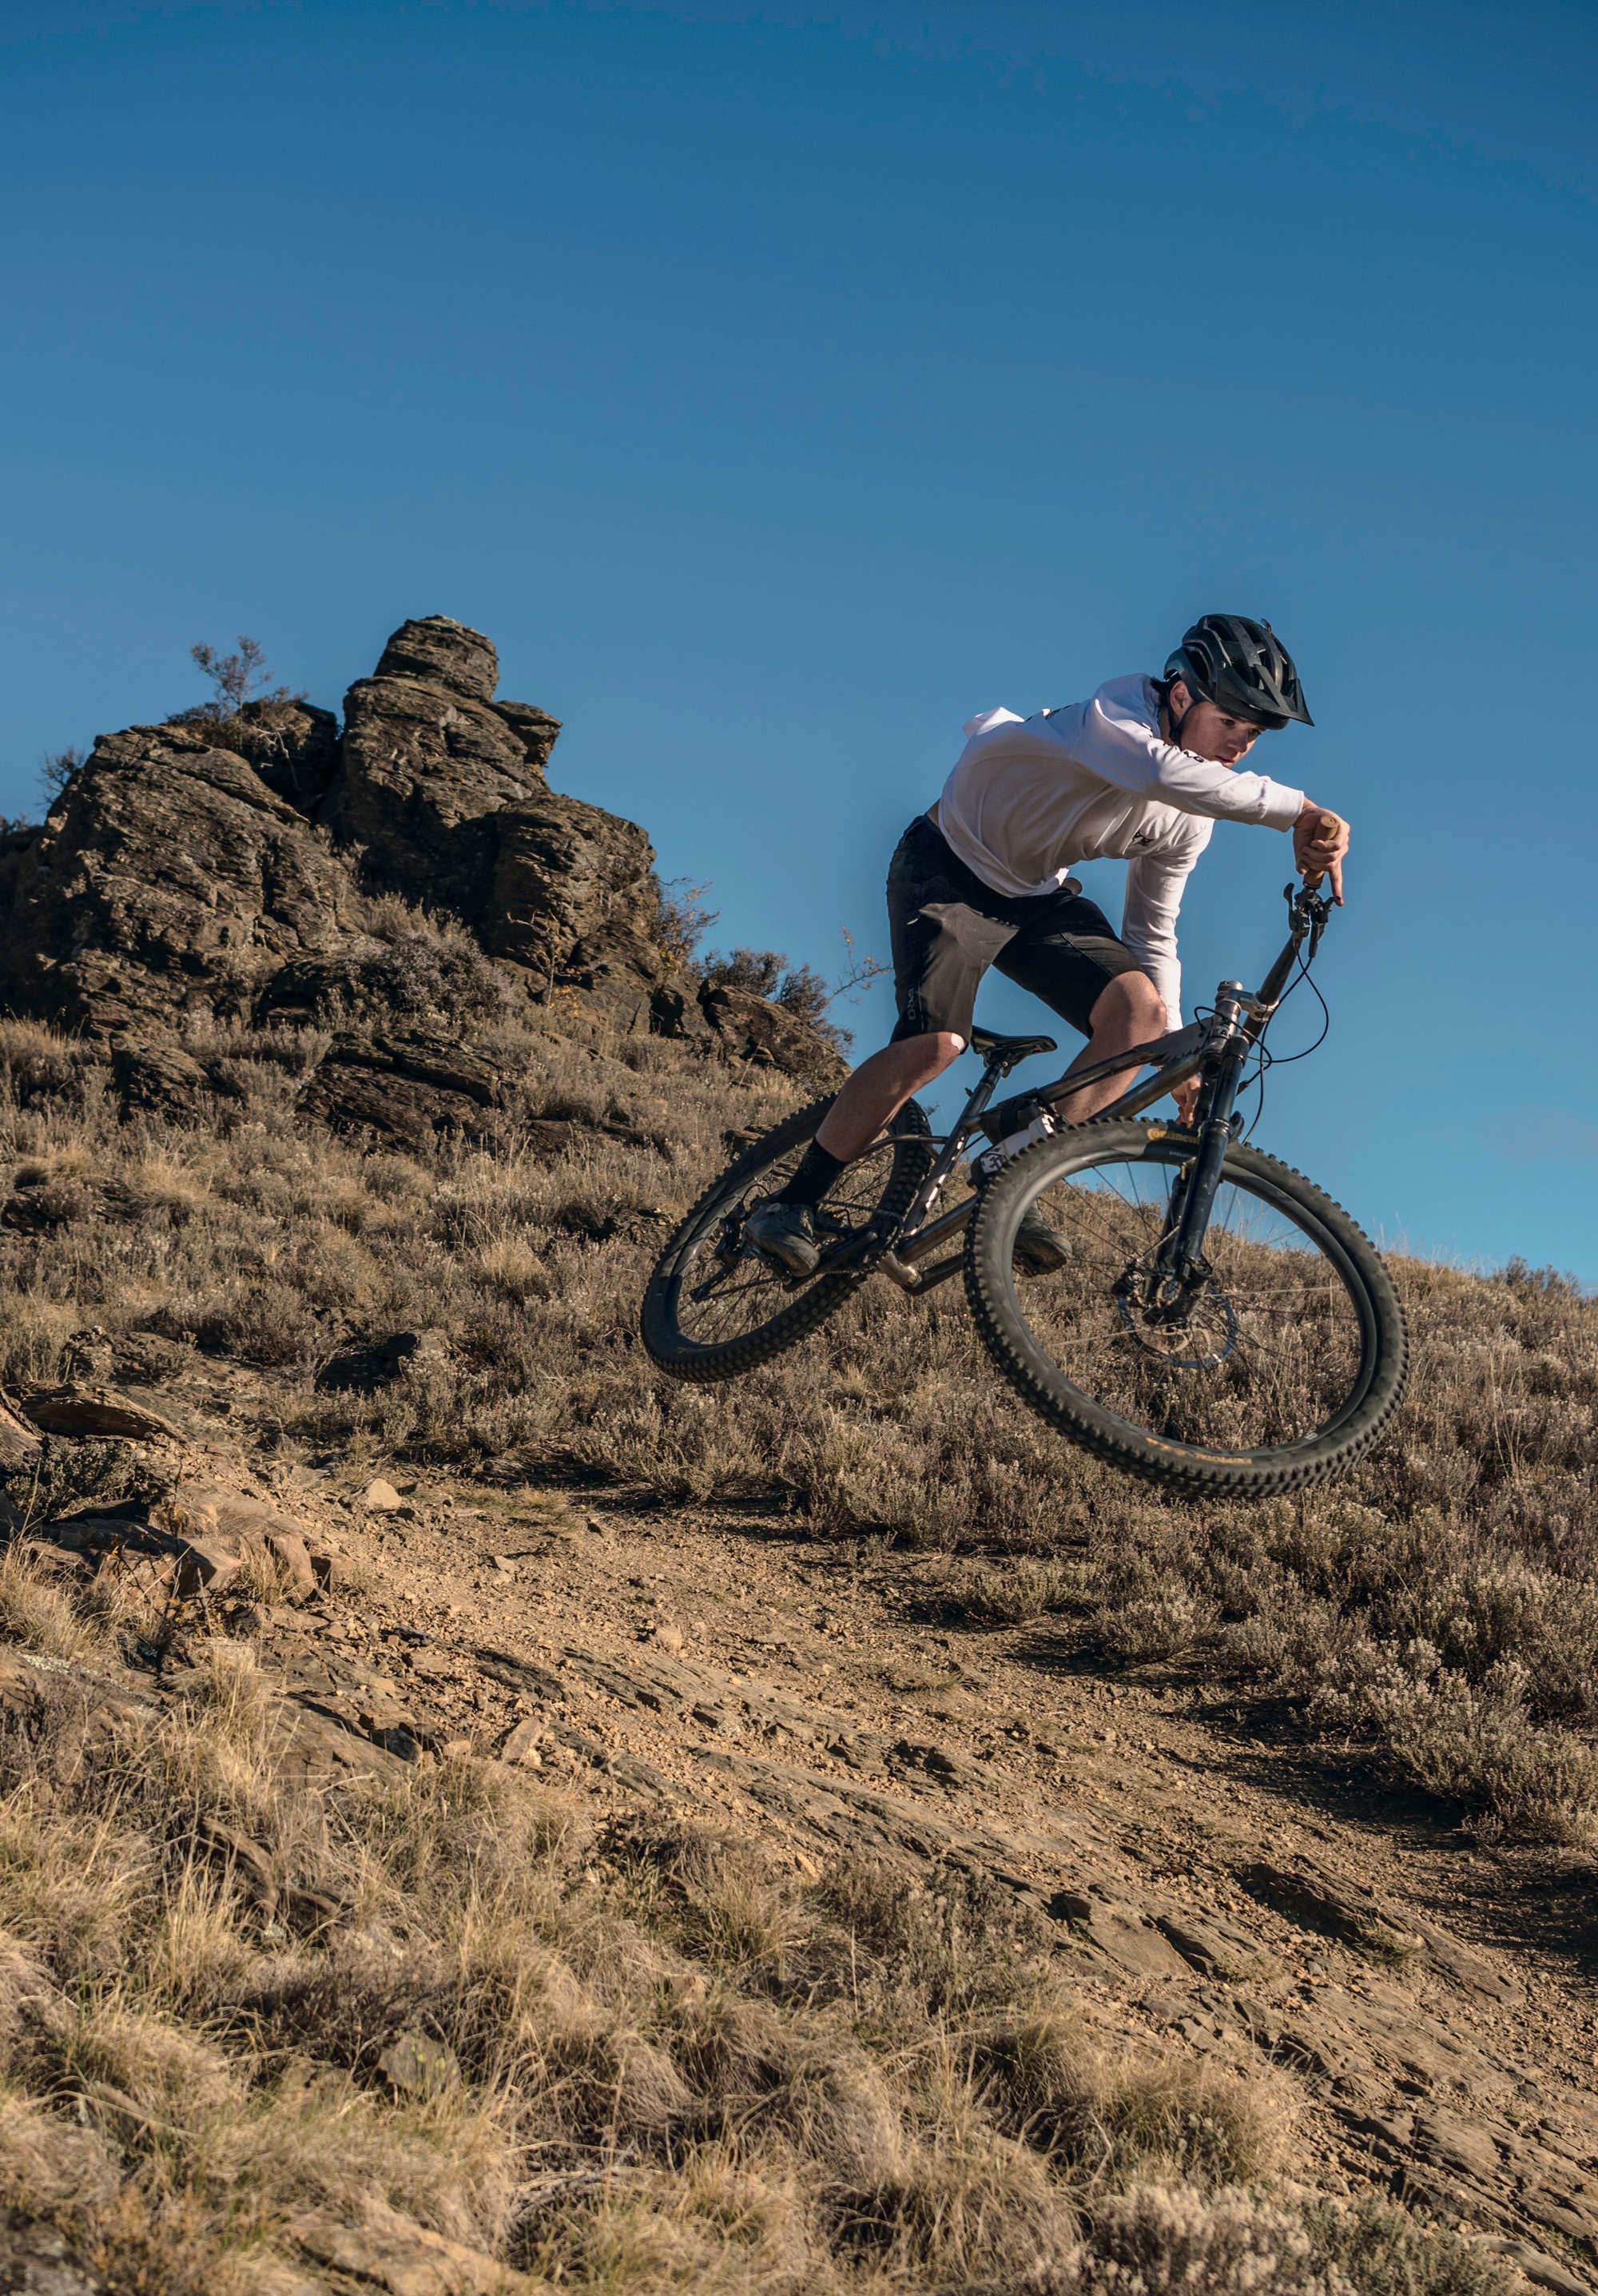
Later that summer, I finally got to race it at our local social enduro series, Local Laps. This had been the goal since the beginning: to race my hand-built hardtail in the local series. Obviously, I hadn’t gotten around to riding it on singletrack yet, so I wasn’t entirely sure how it would go. Part of me was still a bit nervous about the whole thing coming apart under the pressure and vibrations. At the top of the stage, people were curious and excited to finally see it in person after close to three years since starting it. There were plenty of jokes about whether it would make it to the bottom. I was wondering the same. I dropped in cautiously, expecting some sort of creak or flex, but it was silent. Solid. A few corners in, it was clear the frame could handle the rough stuff. I started to push harder, and it held up fine. No surprises, no issues, just a good ride. Whipping round corners, skipping and jumping to a P3 and first place homemade bike!
So how does the bike ride with its quite radical geometry? Well, obviously with the head angle the front wheel feels a really long way in front of you – which can look pretty weird – but it doesn’t feel like it takes away any playfulness from the bike. Paired with the really short rear end and a smaller wheel, the bike feels like it can still whip around corners even when they get tight. At slower speeds it’s not heavy to turn, but just feels a little awkward, and on mellow gentle terrain the geo is completely overkill – which you can feel. However, when the speed gets up the bike is extremely stable – especially when high speed cornering; the steeper the trail gets the more confident the bike gets, and it still feels to be very playful which was the idea behind the rear end. In terms of climbing, it’s definitely not the most efficient or nicest bike to climb (coming off an XC race bike) but the steep seat tube angle tries to keep some weight over the front wheel. I still have plenty of riding to do on it to really test out the geometry but, for now, it’s still one of a kind and not far from exactly what I wanted it to be.
Looking back on the build, there are definitely things I’d do differently – but that’s the nature of first attempts. You learn by doing, and the next time around (yes, there will be a next time) I’ll know exactly what to change. Maybe I’ll tackle a full suspension frame, or go completely overboard with carbon fibre. Only one thing is for sure: it won’t be something standard. What I do know is that I loved the process. For a long time, this bike was all I could think about. The most frustrating part wasn’t any of the technical stuff, it was waiting for the time to actually get on with it. Would I recommend building your own bike? Absolutely – if it’s something that genuinely interests you. Just be warned: it takes so much more time, effort and way more problem-solving than you might expect. You can’t half-commit to a project like this. If you’re not all in, it’s probably not for you. The budget? Like most serious builds, it ended up costing more than I’d hoped, but not wildly so. Could it be done cheaper? Safely, probably not. Spending a bit more, however, could make this an absolute dream. In the end, the total cost for everything came out to about the price of a brand-new Fox 36 fork. Not bad, considering I got this fork with an entire bike out of it.
