Cannondale Moterra 3
Words Lester Perry
Images Thomas Falconer
RRP $8999
Distributor Worralls
Although I’ve never owned one of their bikes, secretly, I’m a Cannondale fanboy. Cannondale has a deep, storied history as a true innovator in cycling. Particularly in their earlier years, they led the way with computer-aided design (CAD), and their unconventional suspension forks, the Headshock and the Lefty, which we still see today.
From the distinctive Flying ‘V’ frames of the early ‘90s to their short-lived motorbike division, they’ve stood out in a sea of vanilla designs. Let’s not forget NZ’s own Kashi Leuchs flew the NZ flag on a Cannondale during his glory years, across various cross-country World Cup and Olympic seasons.
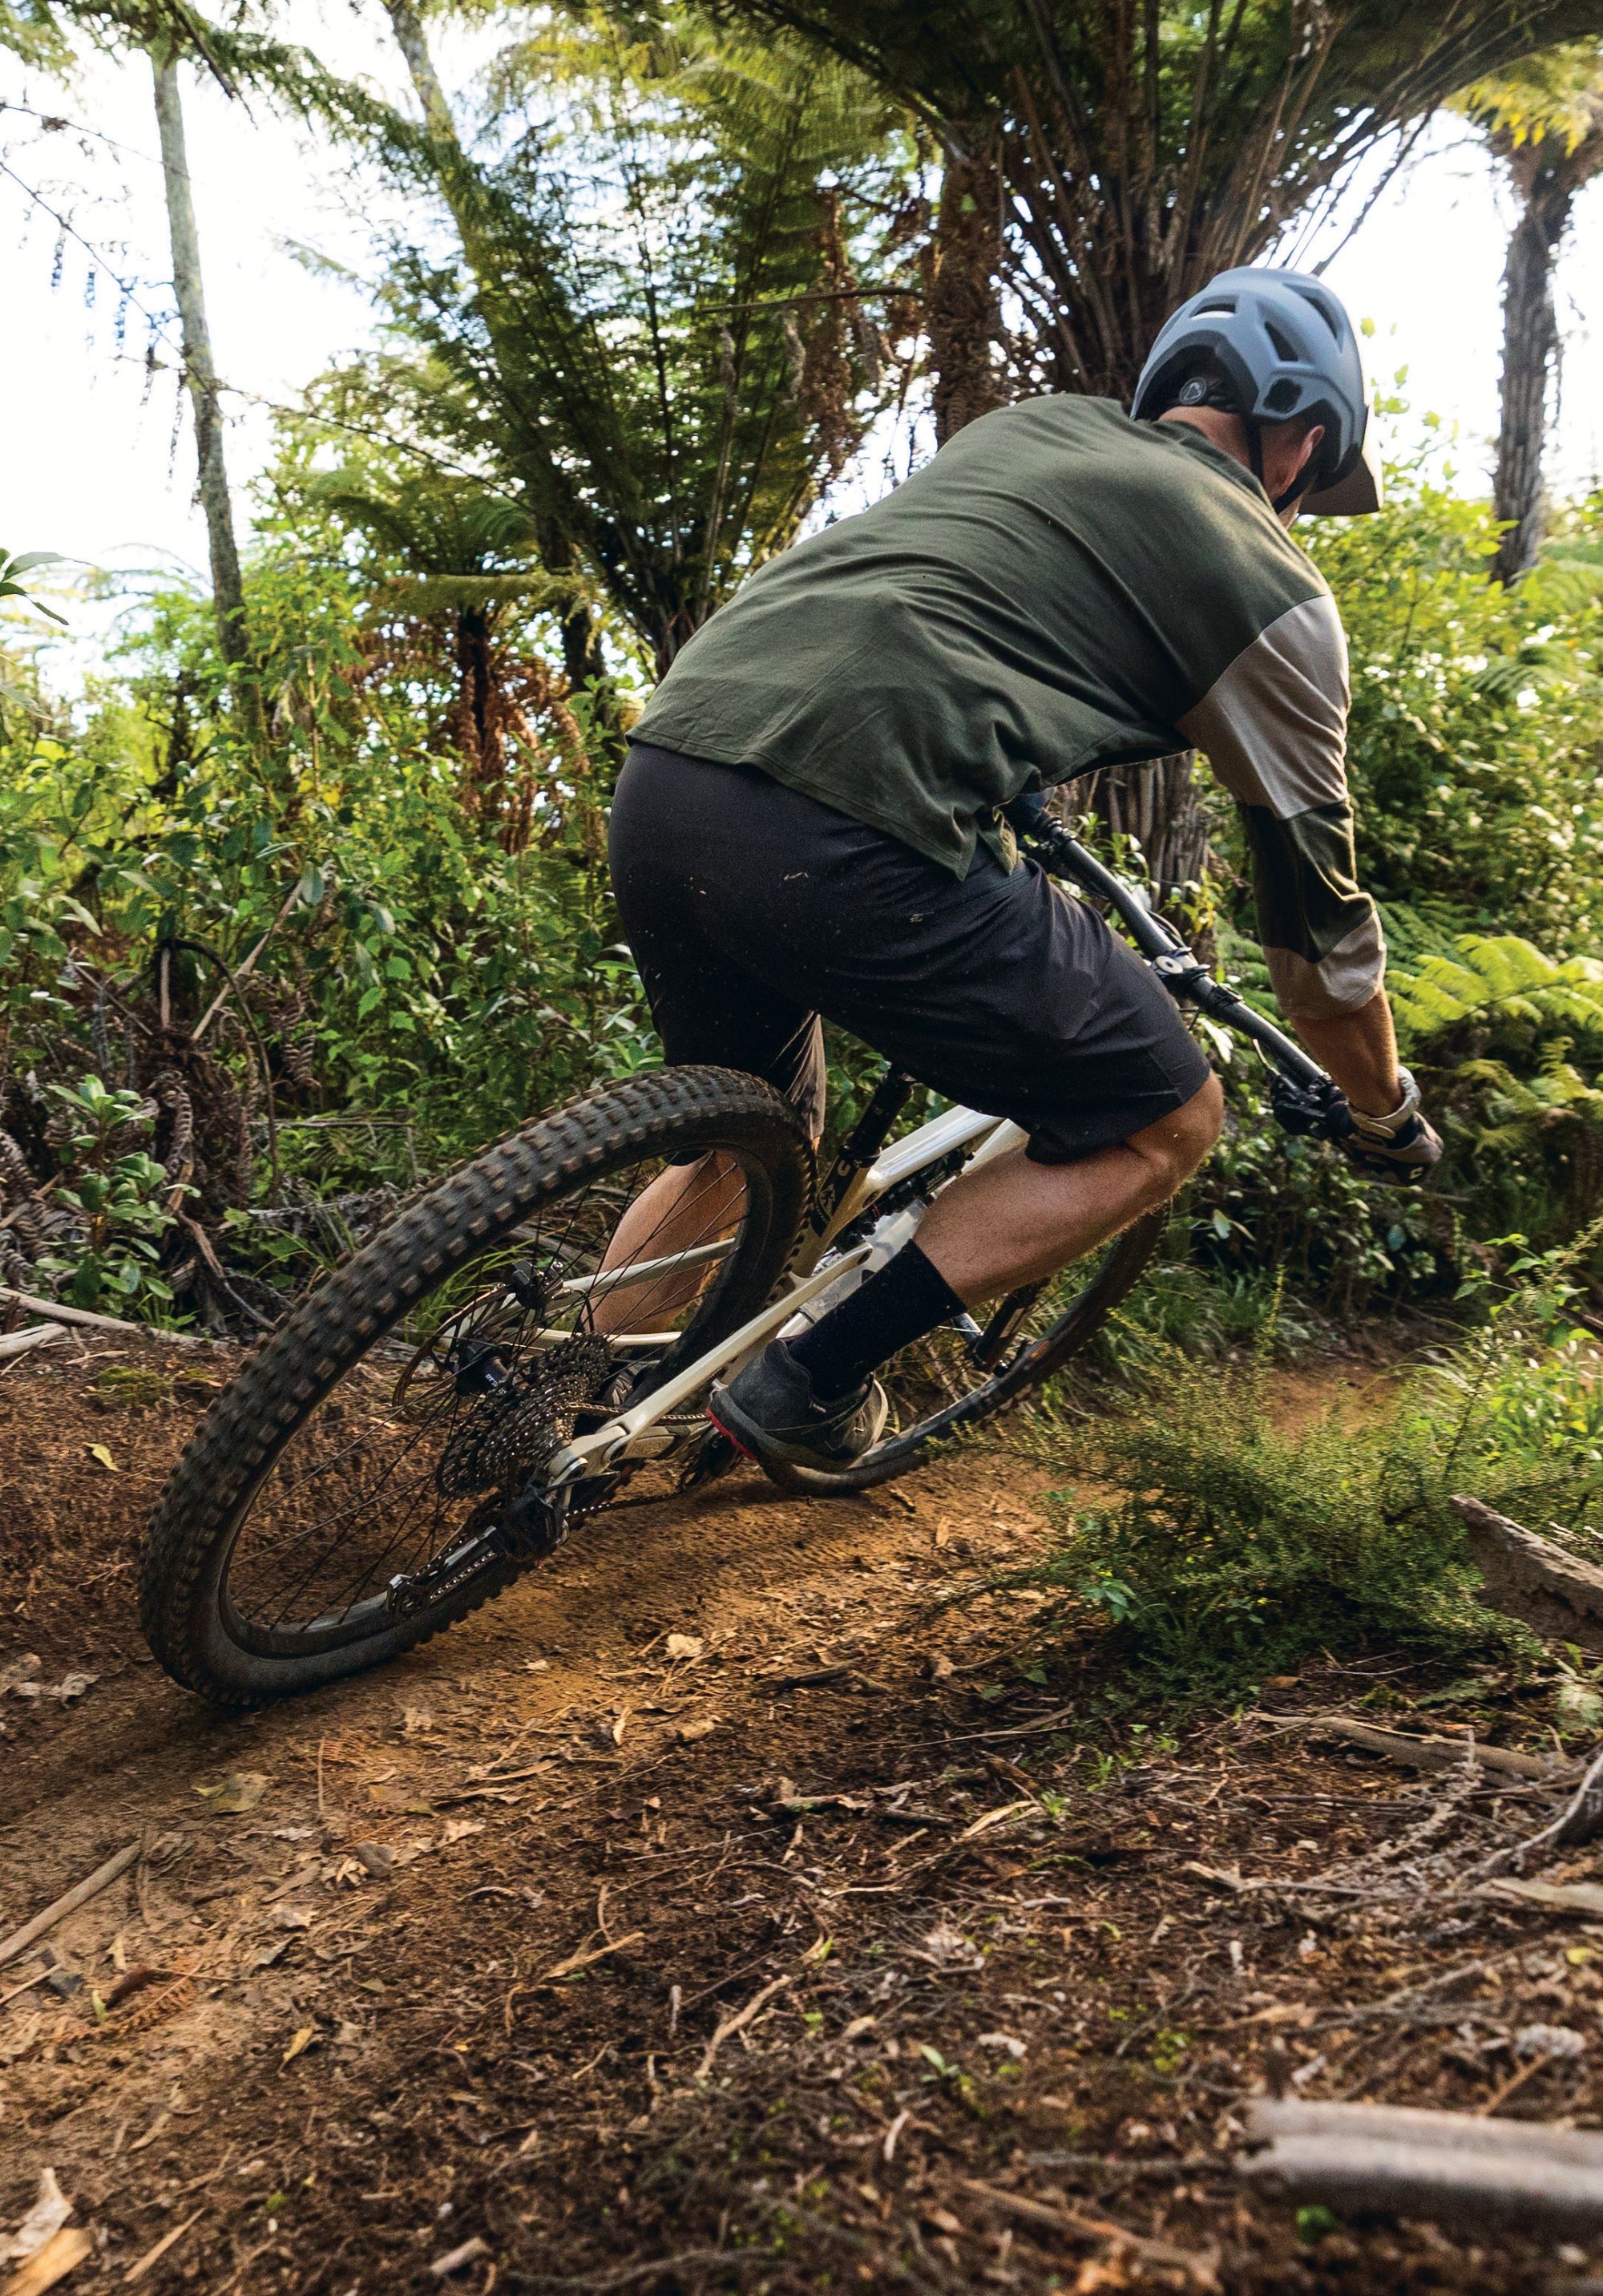
The Moterra officially launched back in 2016, and although it caused a stir, that was as much due to its unique “only a mother could love” looks as anything else. It’s evolved incrementally over the years, but fortunately, this latest iteration has broken free of the lines inherited from that original beast, and we now find a far less polarising Moterra. The downside is that, from a distance, it looks somewhat like ‘just another eMTB’.
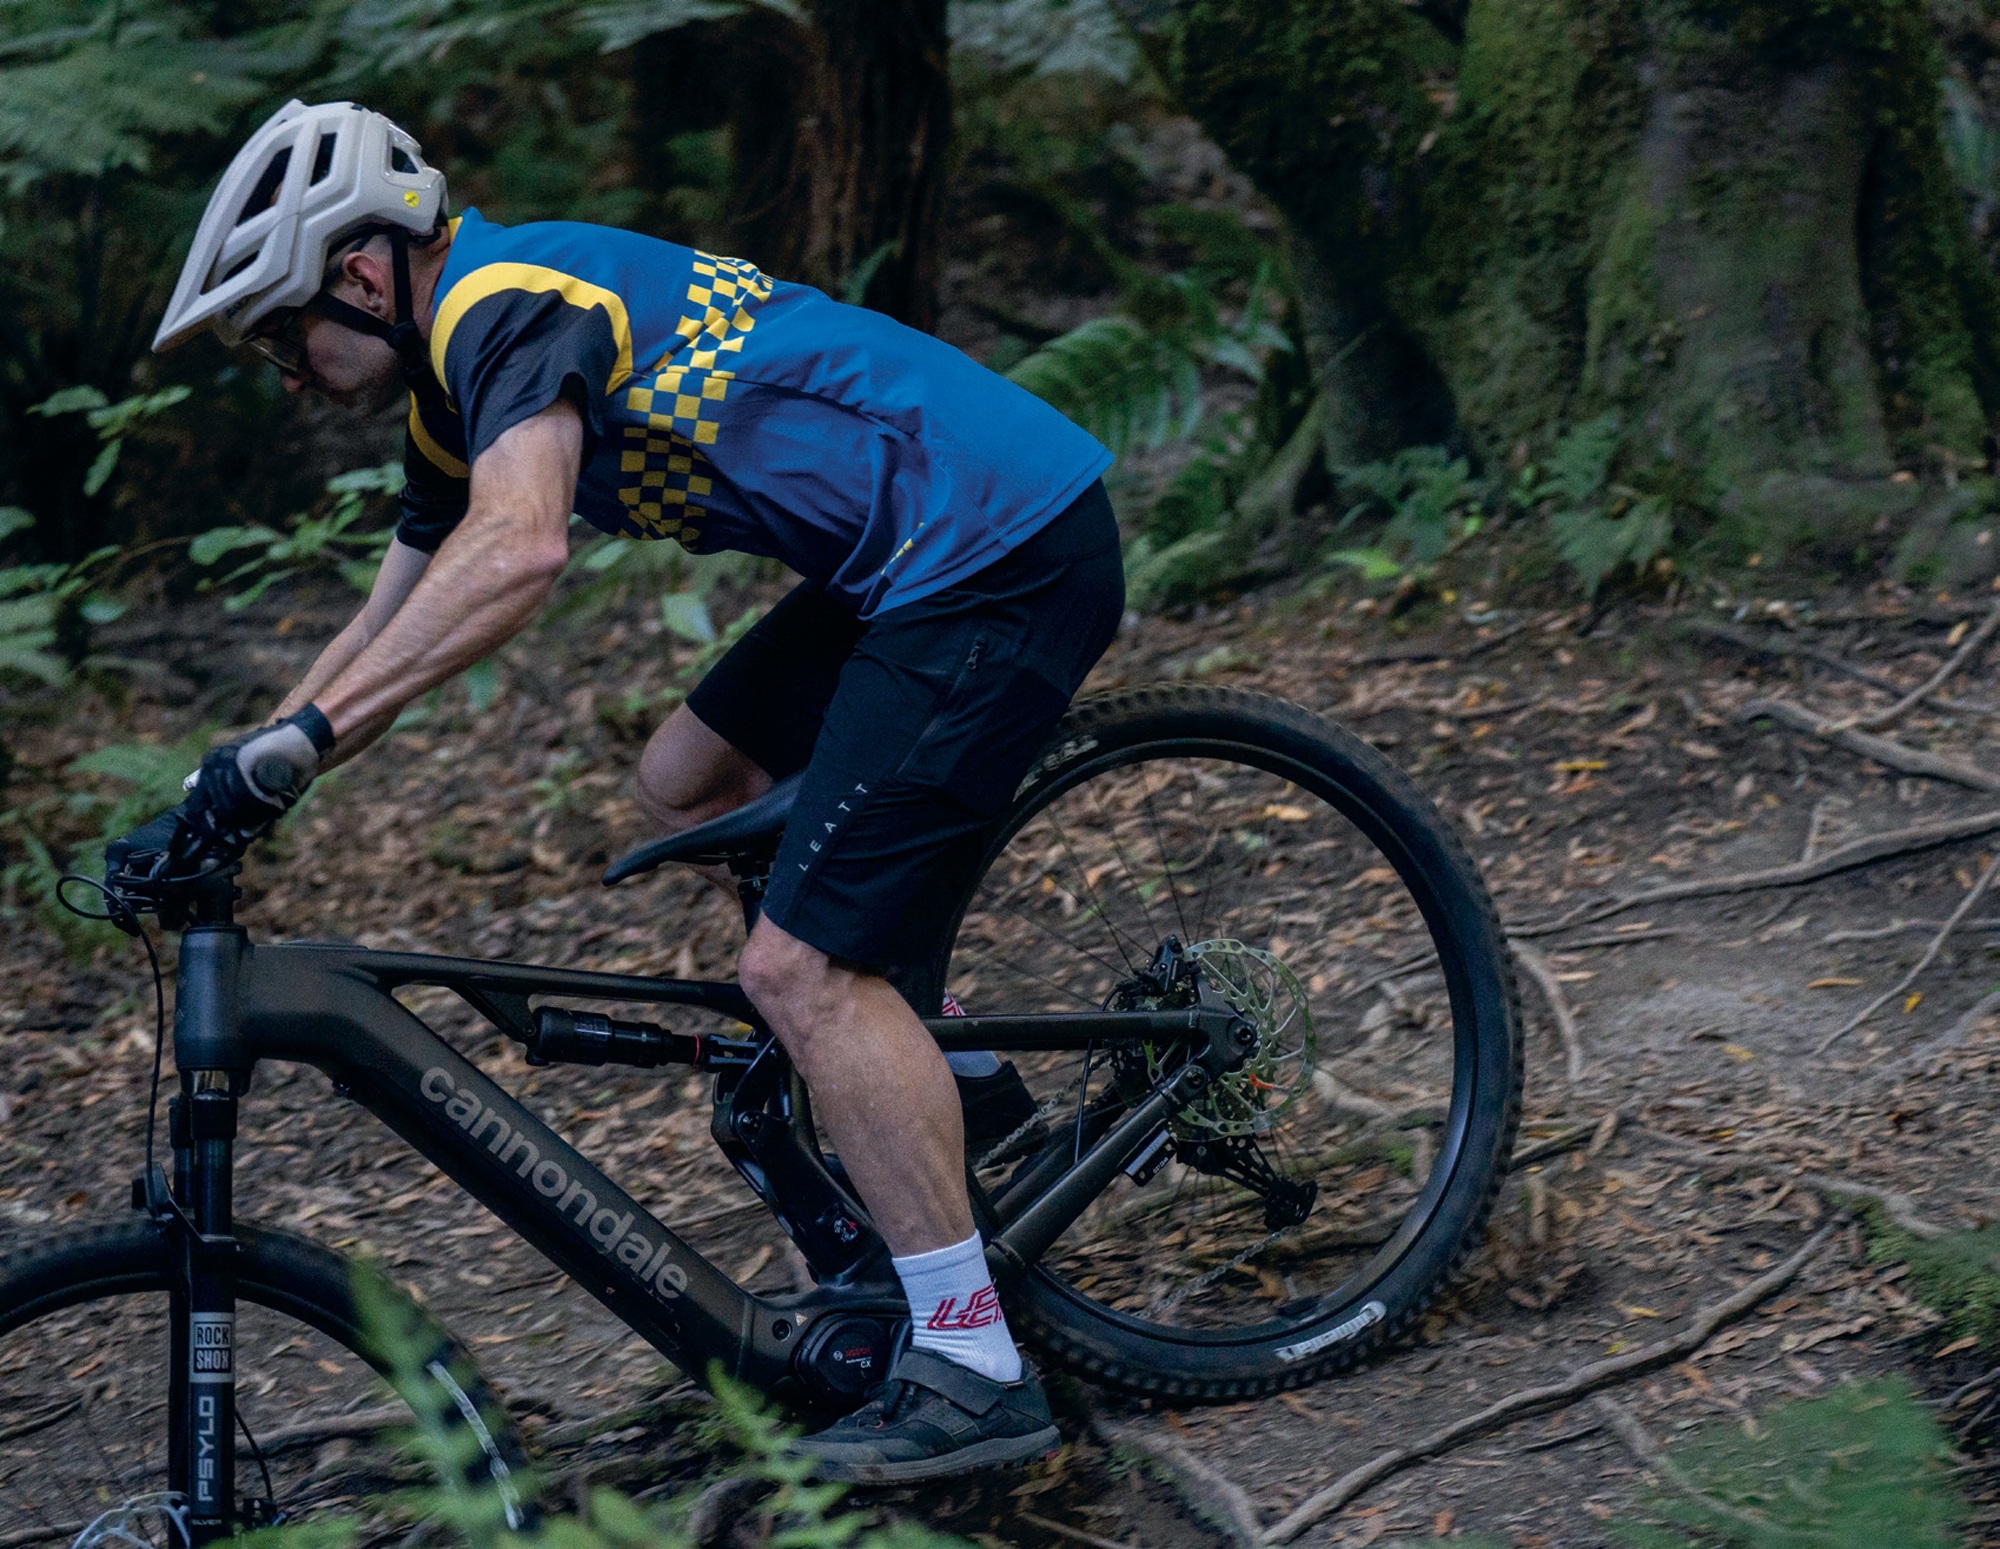
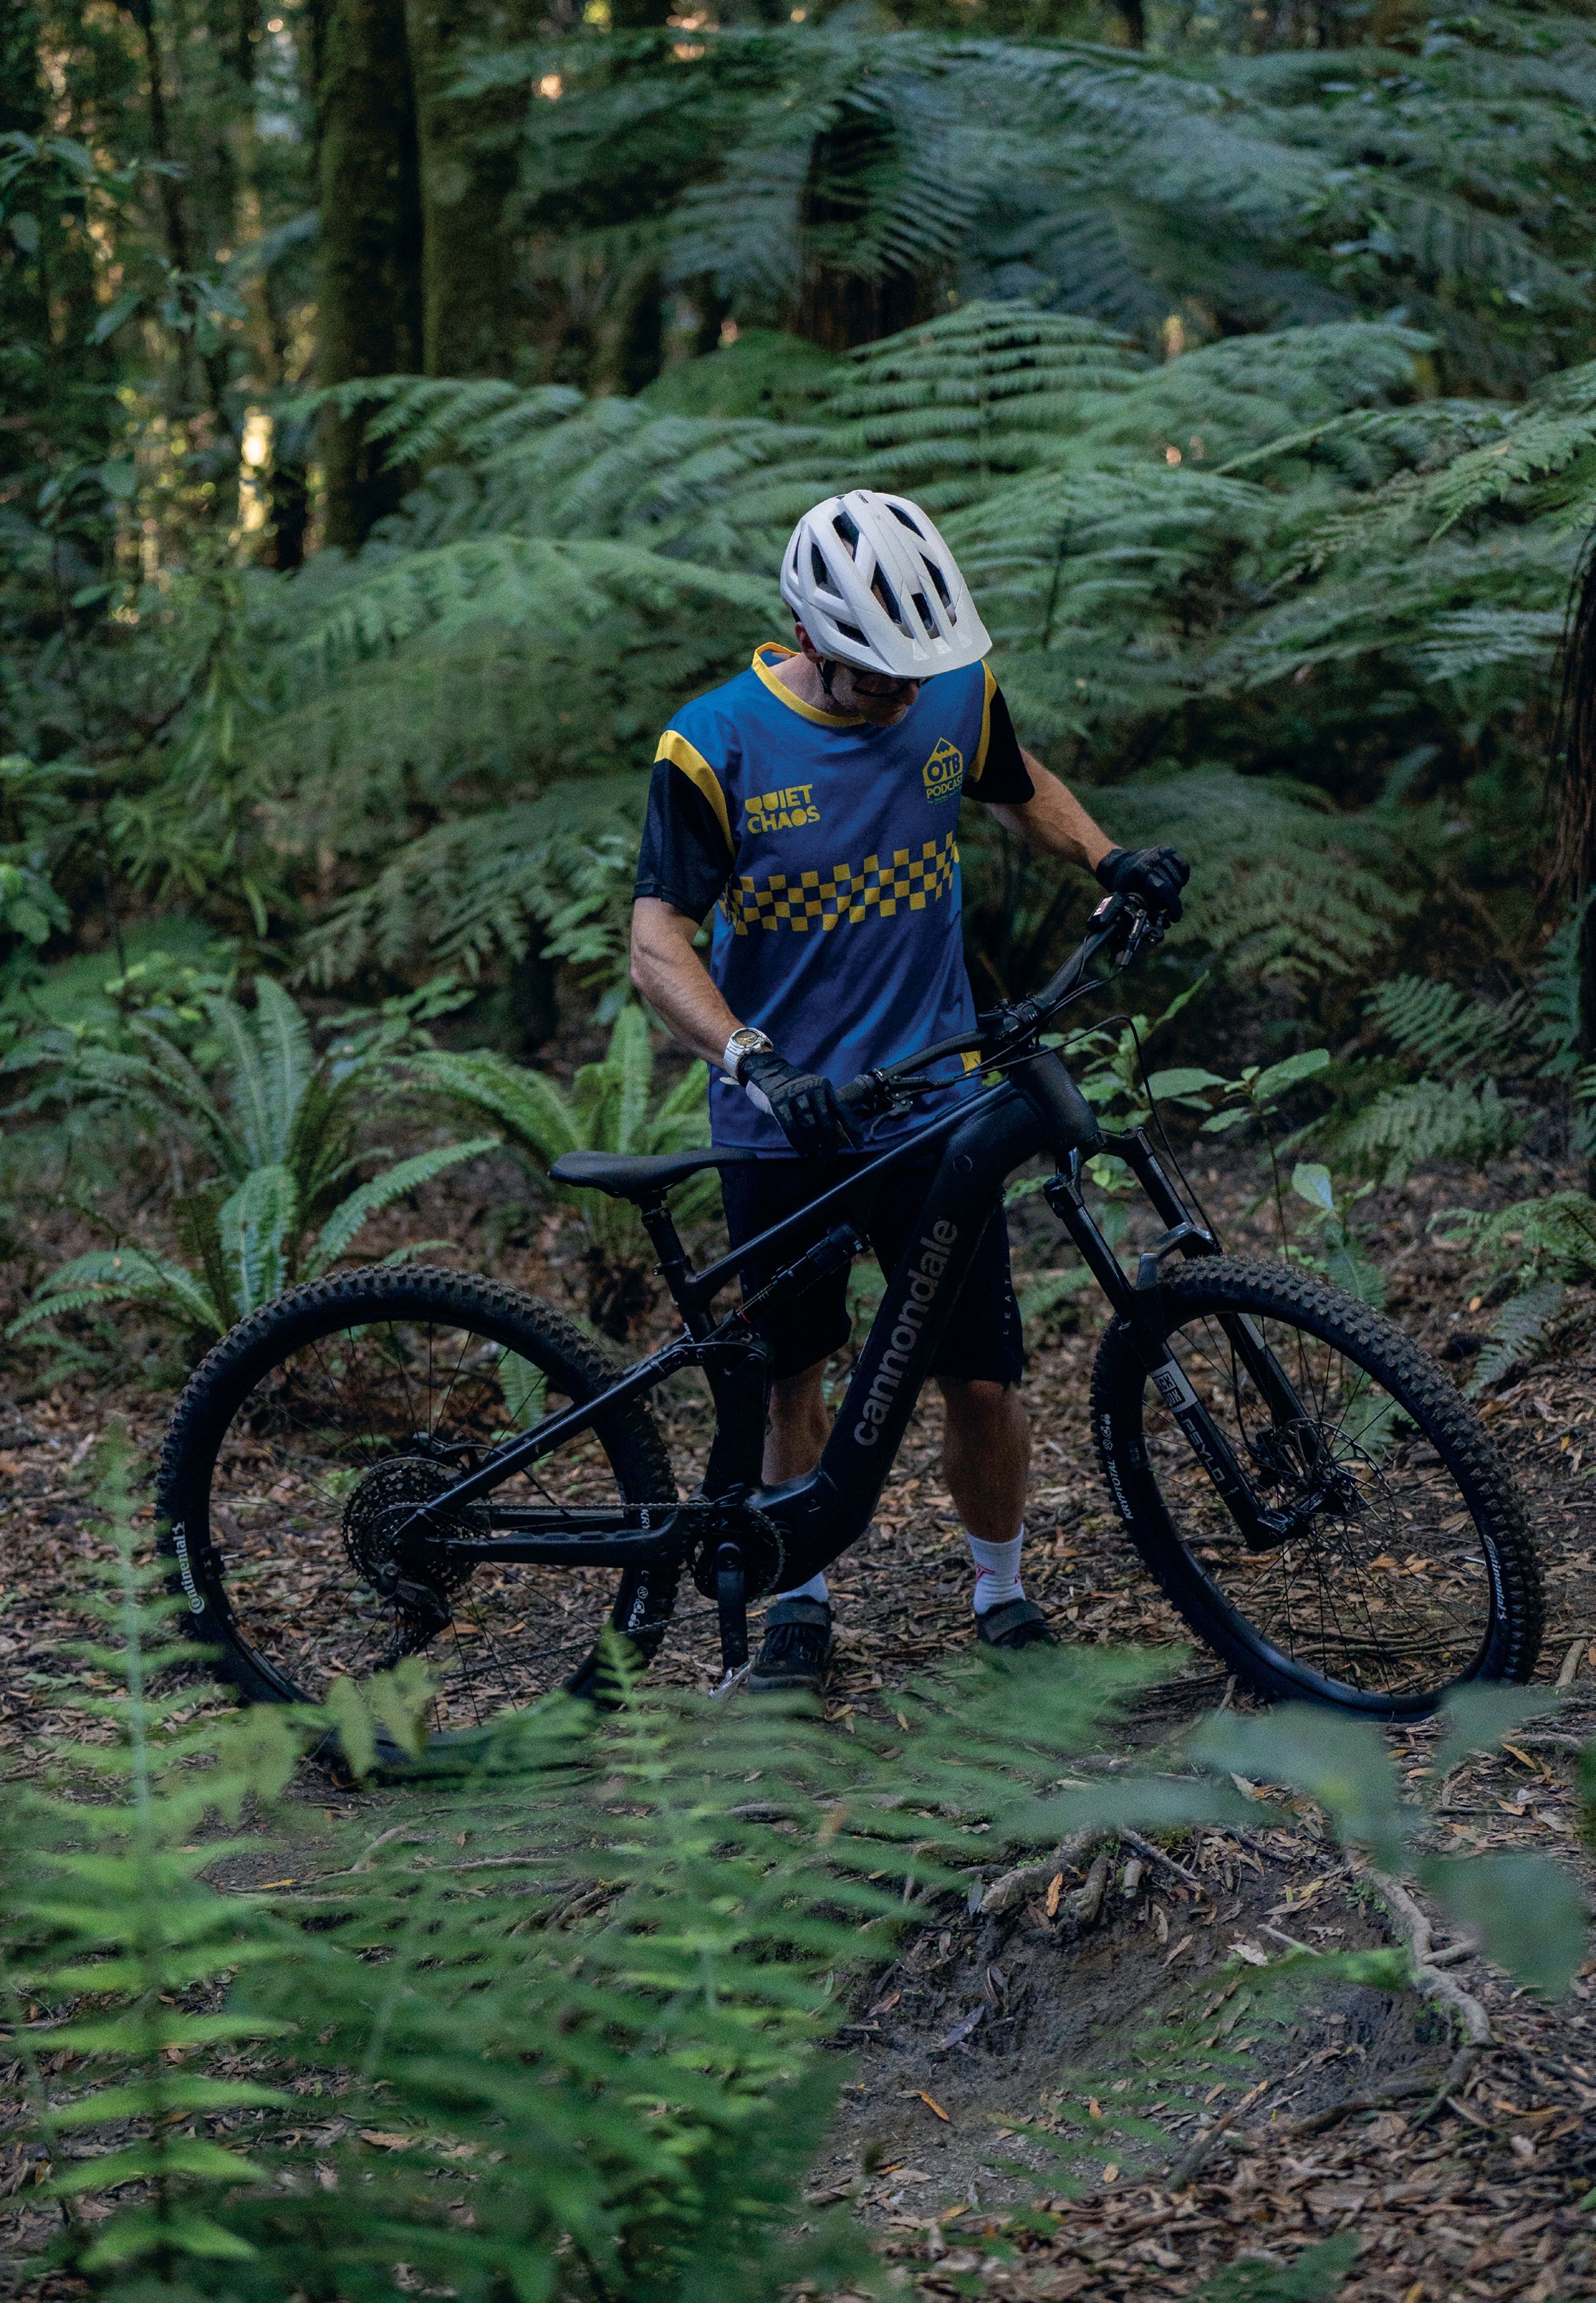
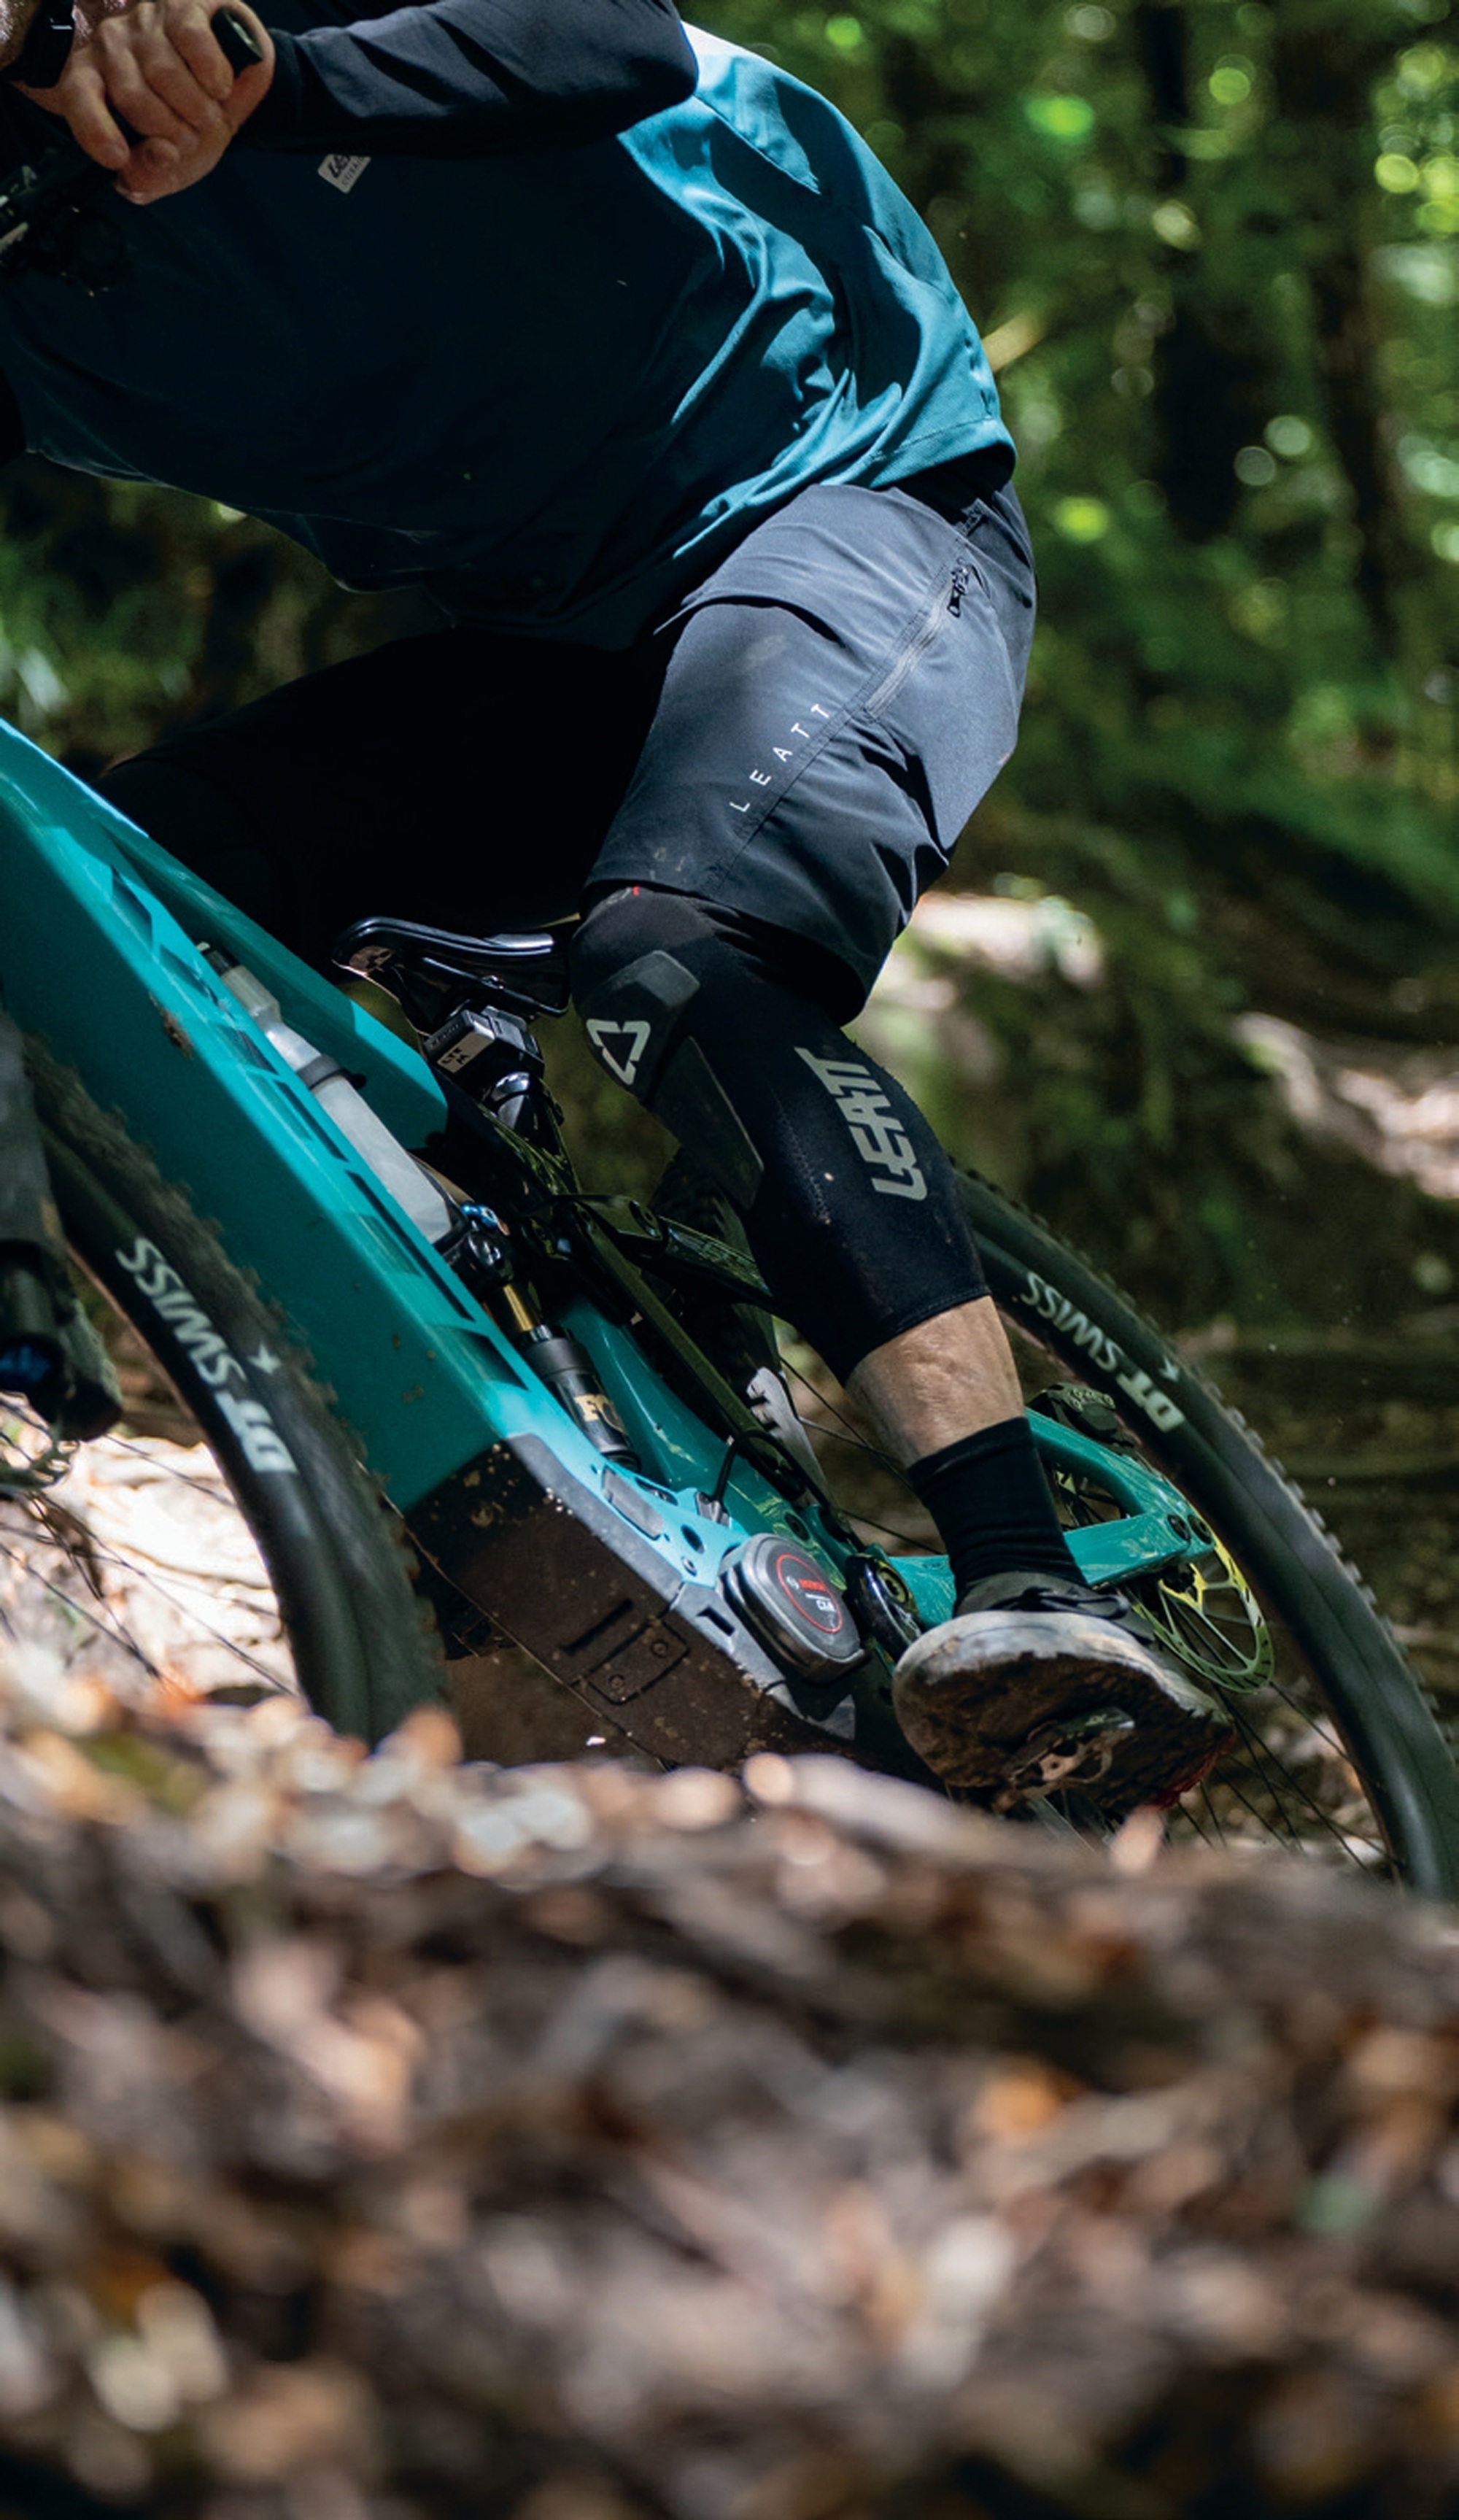
The Moterra 3 is a full 29er-wheeled bike with 150mm travel Horst-link-driven rear suspension and 160mm up front. The frame is entirely crafted from Cannondale’s SmartForm C1 Alloy with tidily finished welds and large tube shapes. There’s a gigantor-sized head tube allowing for cable routing internally through the headset.
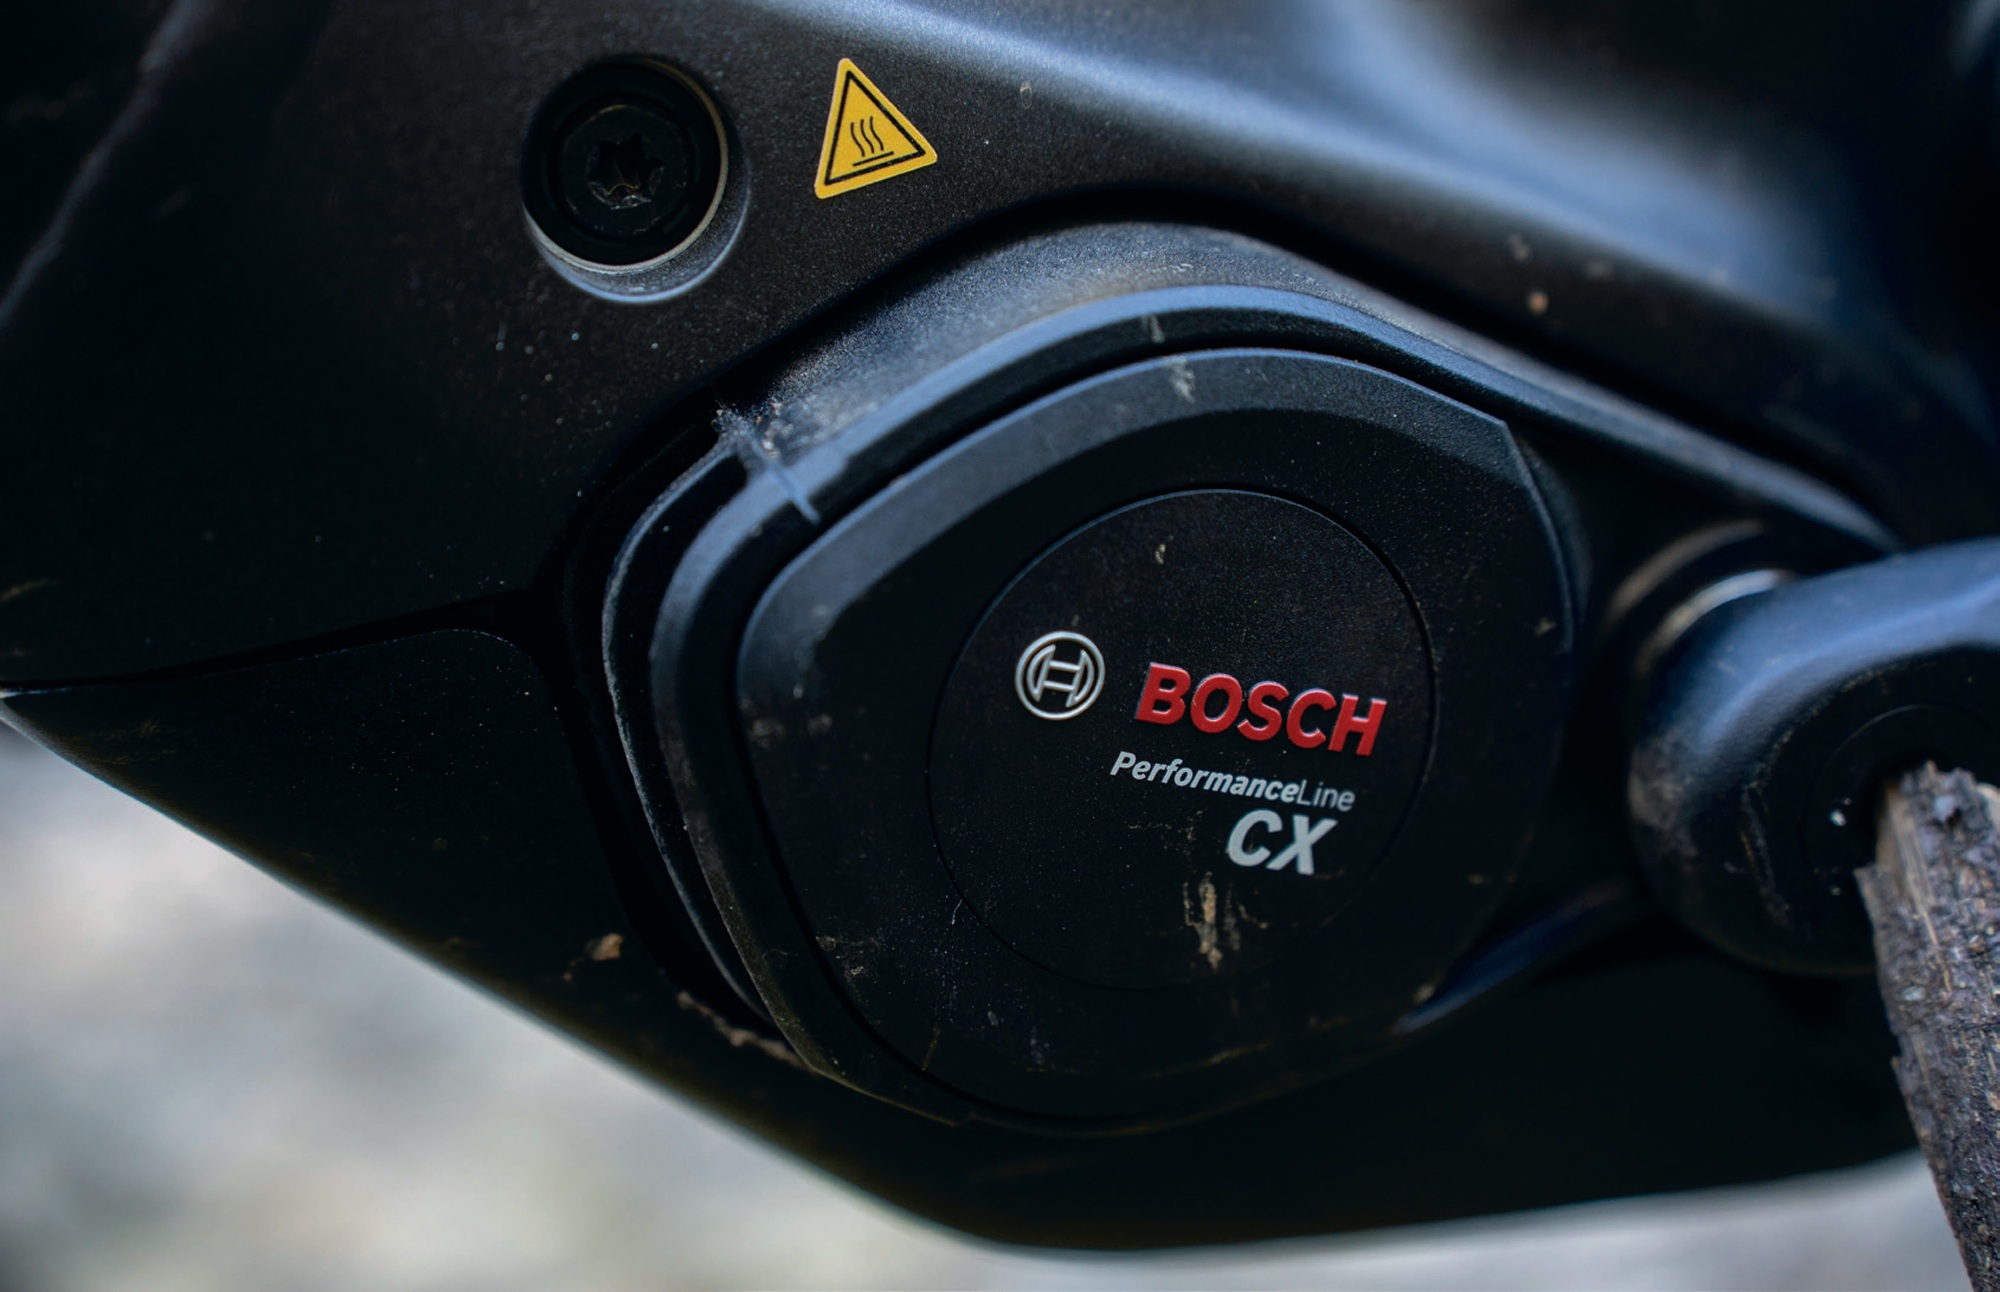
Drive is taken care of by Bosch’s Performance Line CX motor powered by an 800Wh Powertube battery. Bosch’s Purion 200 display controls the whole setup neatly from the left-hand side of the handlebar. There’s a tidy alloy skid plate protecting the motor, and even a removable kickstand mount on the non-drive chainstay – very handy while parked up on the cycle trails.
The battery is easily removable from the bottom side of the downtube. The outer cover is removed with a simple twist of a thumbscrew at the top end, then the battery can be unclipped and removed. It’s a simple task but still requires the use of the battery locking key. Thanks to this ease of battery removal, two-battery (or more) rides are a reality. For those just wanting a bit more range, a 250Wh PowerMore range extender can be added to the main drink bottle mount, for an additional 30% when added to the standard 800Wh battery.
Geometry
Key geometry figures across the Moterra don’t stray far from the norm for this type of bike:
Chainstay length
455mm to accommodate the 29” rear wheel.
Head tube angle
64.8°, perhaps a hair steeper than some similar bikes, but this helps keep handling snappy and the front wheel under you while climbing.
Seat tube angle
72.5° actual and 78.2° effective. The effective seat tube angle is steep enough, although if you run an exceptionally high seat height this will be slacker, so it’s worth sitting on the bike to see where things line up for each individual.
Reach
A 45.9cm reach is a tad shorter than some more “progressive” bikes, but again fine for this level of rig.
Stack
64.1cm. The Moterra stack is on the higher side for sure. That’s not a negative thing, though, as it means handlebars can be set lower towards the headset, with no need to have a stack of spacers or super-high-rise bars to get the cockpit set up correctly. The only downside I can see is that an increased stack generally brings with it a higher front end of the top tube and, consequently, lower standover clearance.
Drive Unit
I was pleasantly surprised at how controlled and consistent the power was. Overall it maintained traction exceptionally well. One of my test loops has a long clay climb, which, even with the slightest bit of moisture, is a challenge to clear. In damp conditions, I managed to all but clear the climb, the eMTB mode tempering the drive at the wheel to maintain a surprising level of traction. Although it still took some finesse, it was significantly easier than some other eMTBs that I’ve tackled the same climb on in equivalent conditions.
Components
Overall, the component selection on the Moterra 3 suits its price point and the riders it’s targeting. No frills here, just solid parts that should have some longevity.
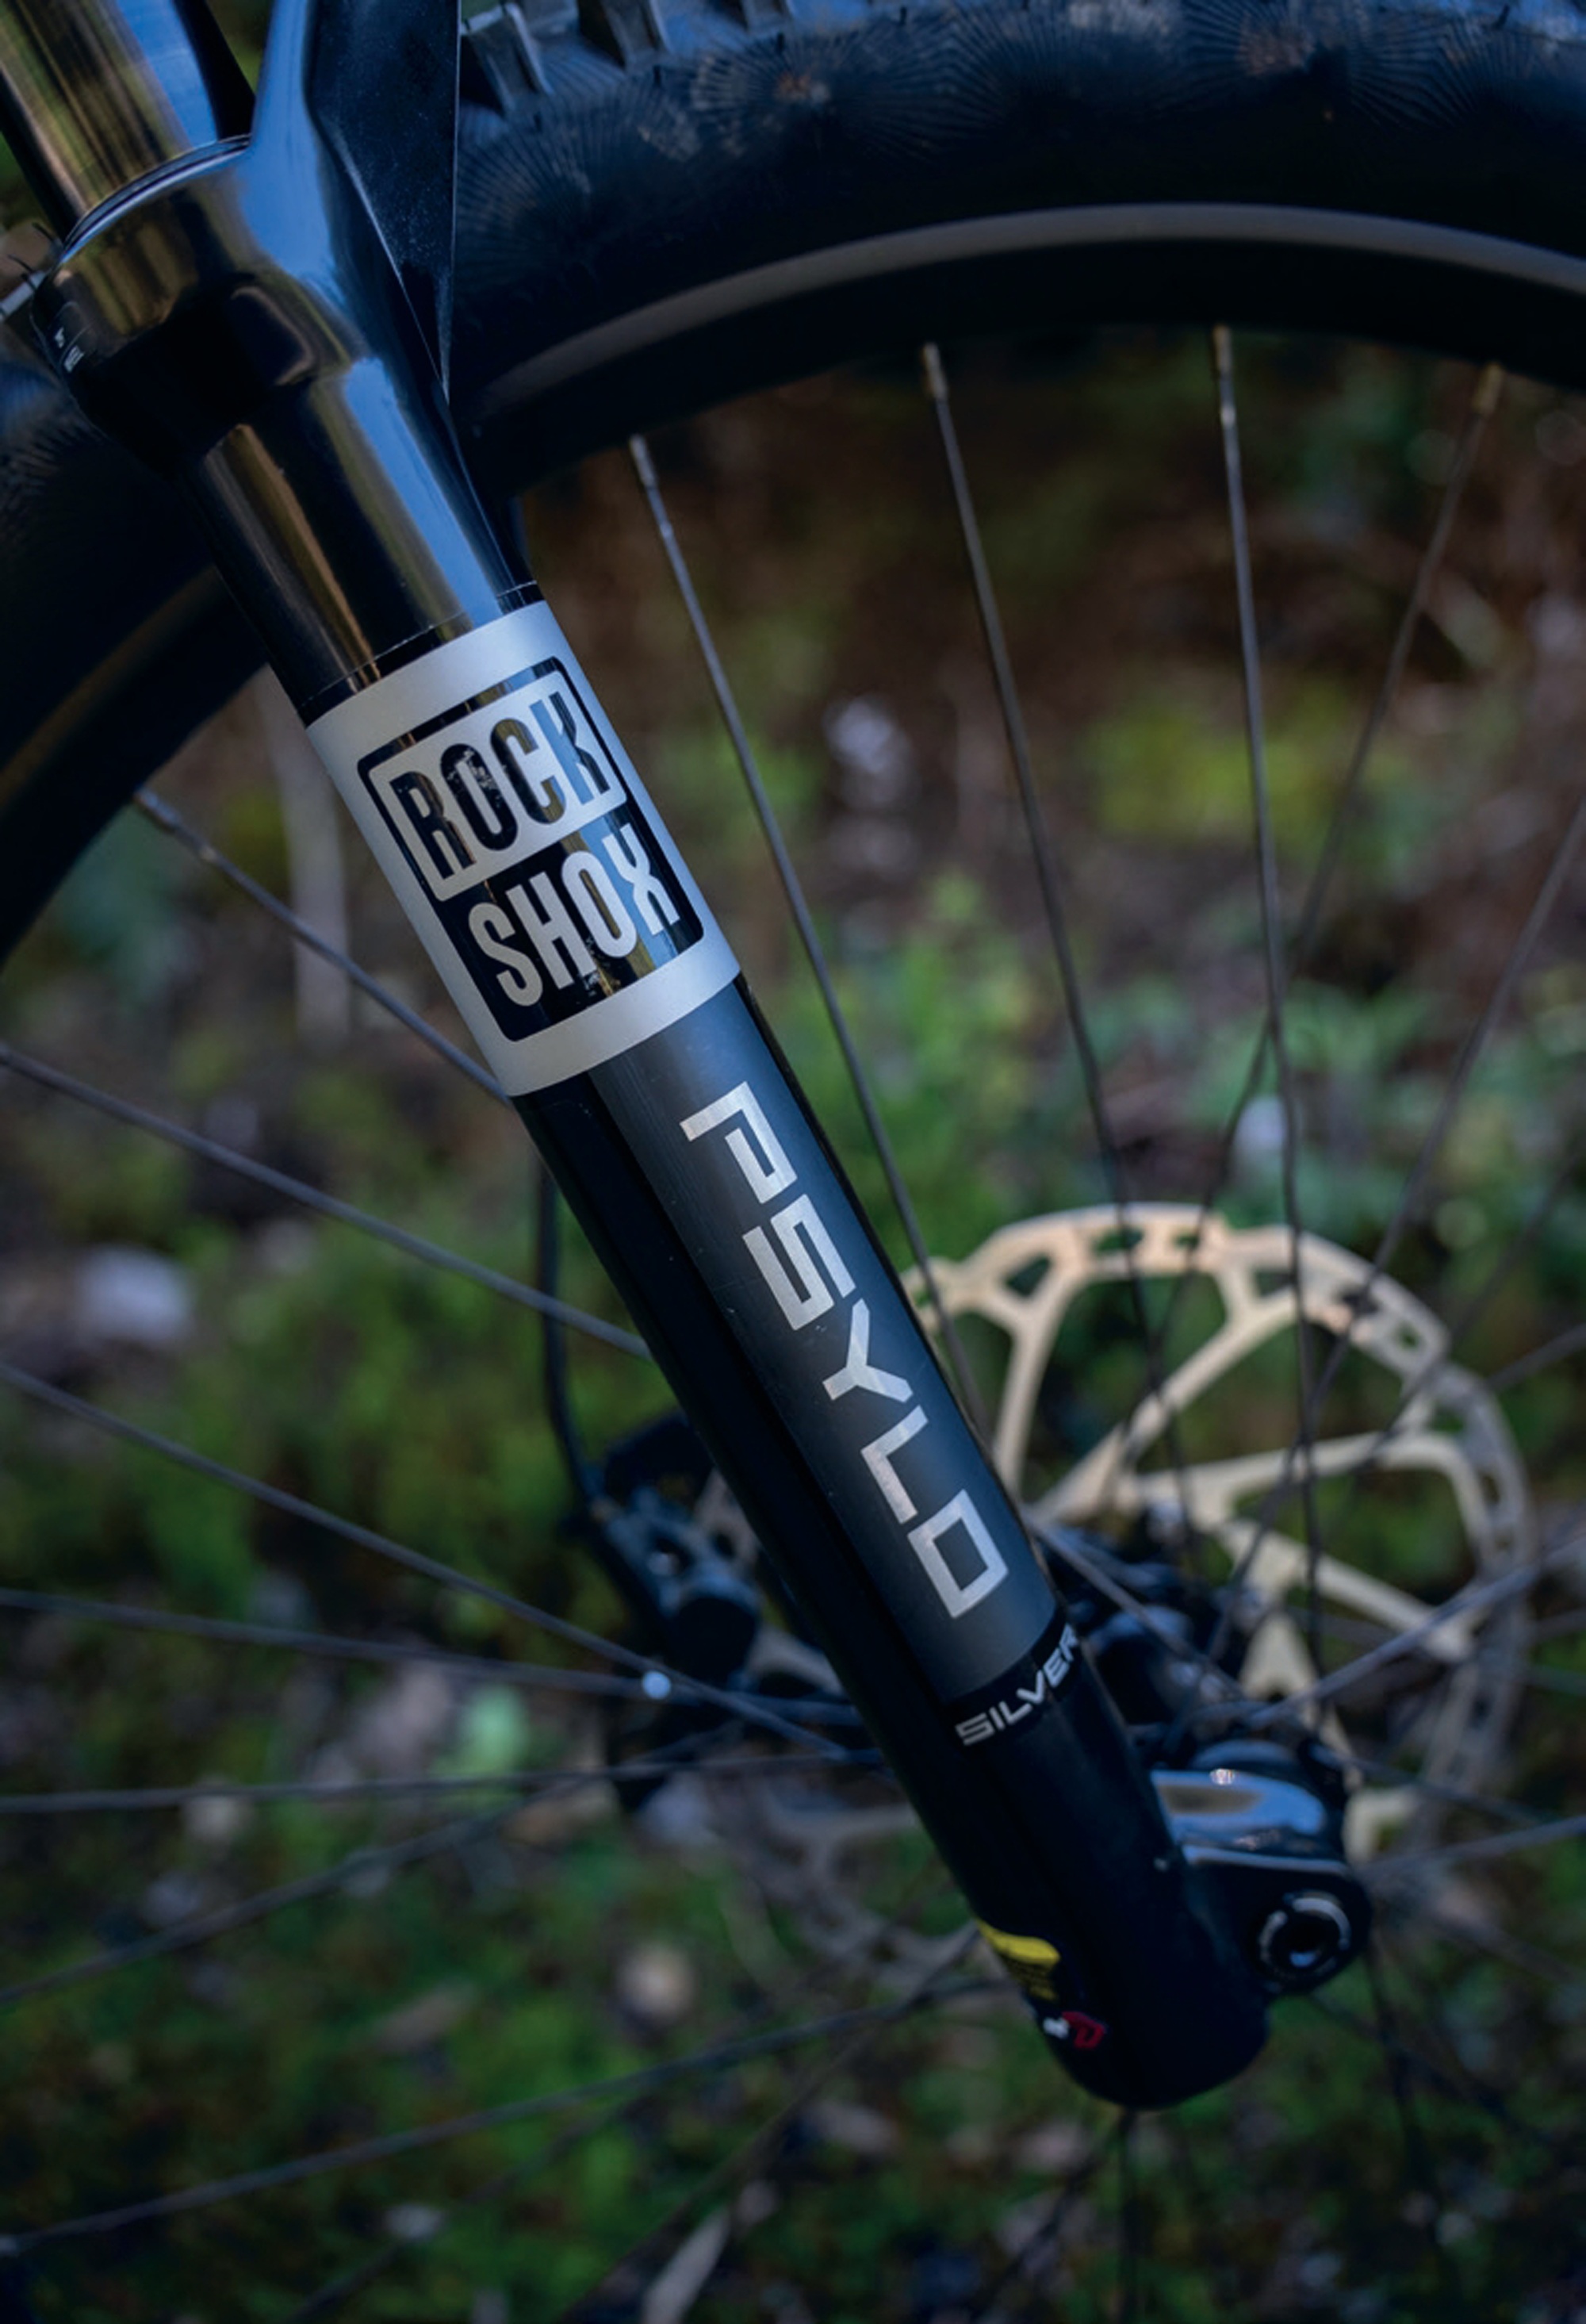
It’s been some years since RockShox ditched the Psylo fork, but it’s back! Anyone who was riding the Psylo back in the early 2000s won’t find much resemblance to this new version other than the name (probably a good thing). The Psylo range supersedes several of the lower- end RockShox forks, including the Revelation, Yari, and 35, with different Psylo models.
The Psylo Silver RC fork on the Moterra has 160mm travel and slides on 35mm stanchions. A revised motion control damper is fitted and features a simple dial for low-speed compression adjustment. RockShox claim the damper is tuned to mimic their higher-level Charger dampers. Although I wasn’t able to quantify RockShox’s claims that it felt similar to a Charger, the overall performance of the fork was better than I expected from this lower-mid-tier offering. It was plenty plush and tracked really well.
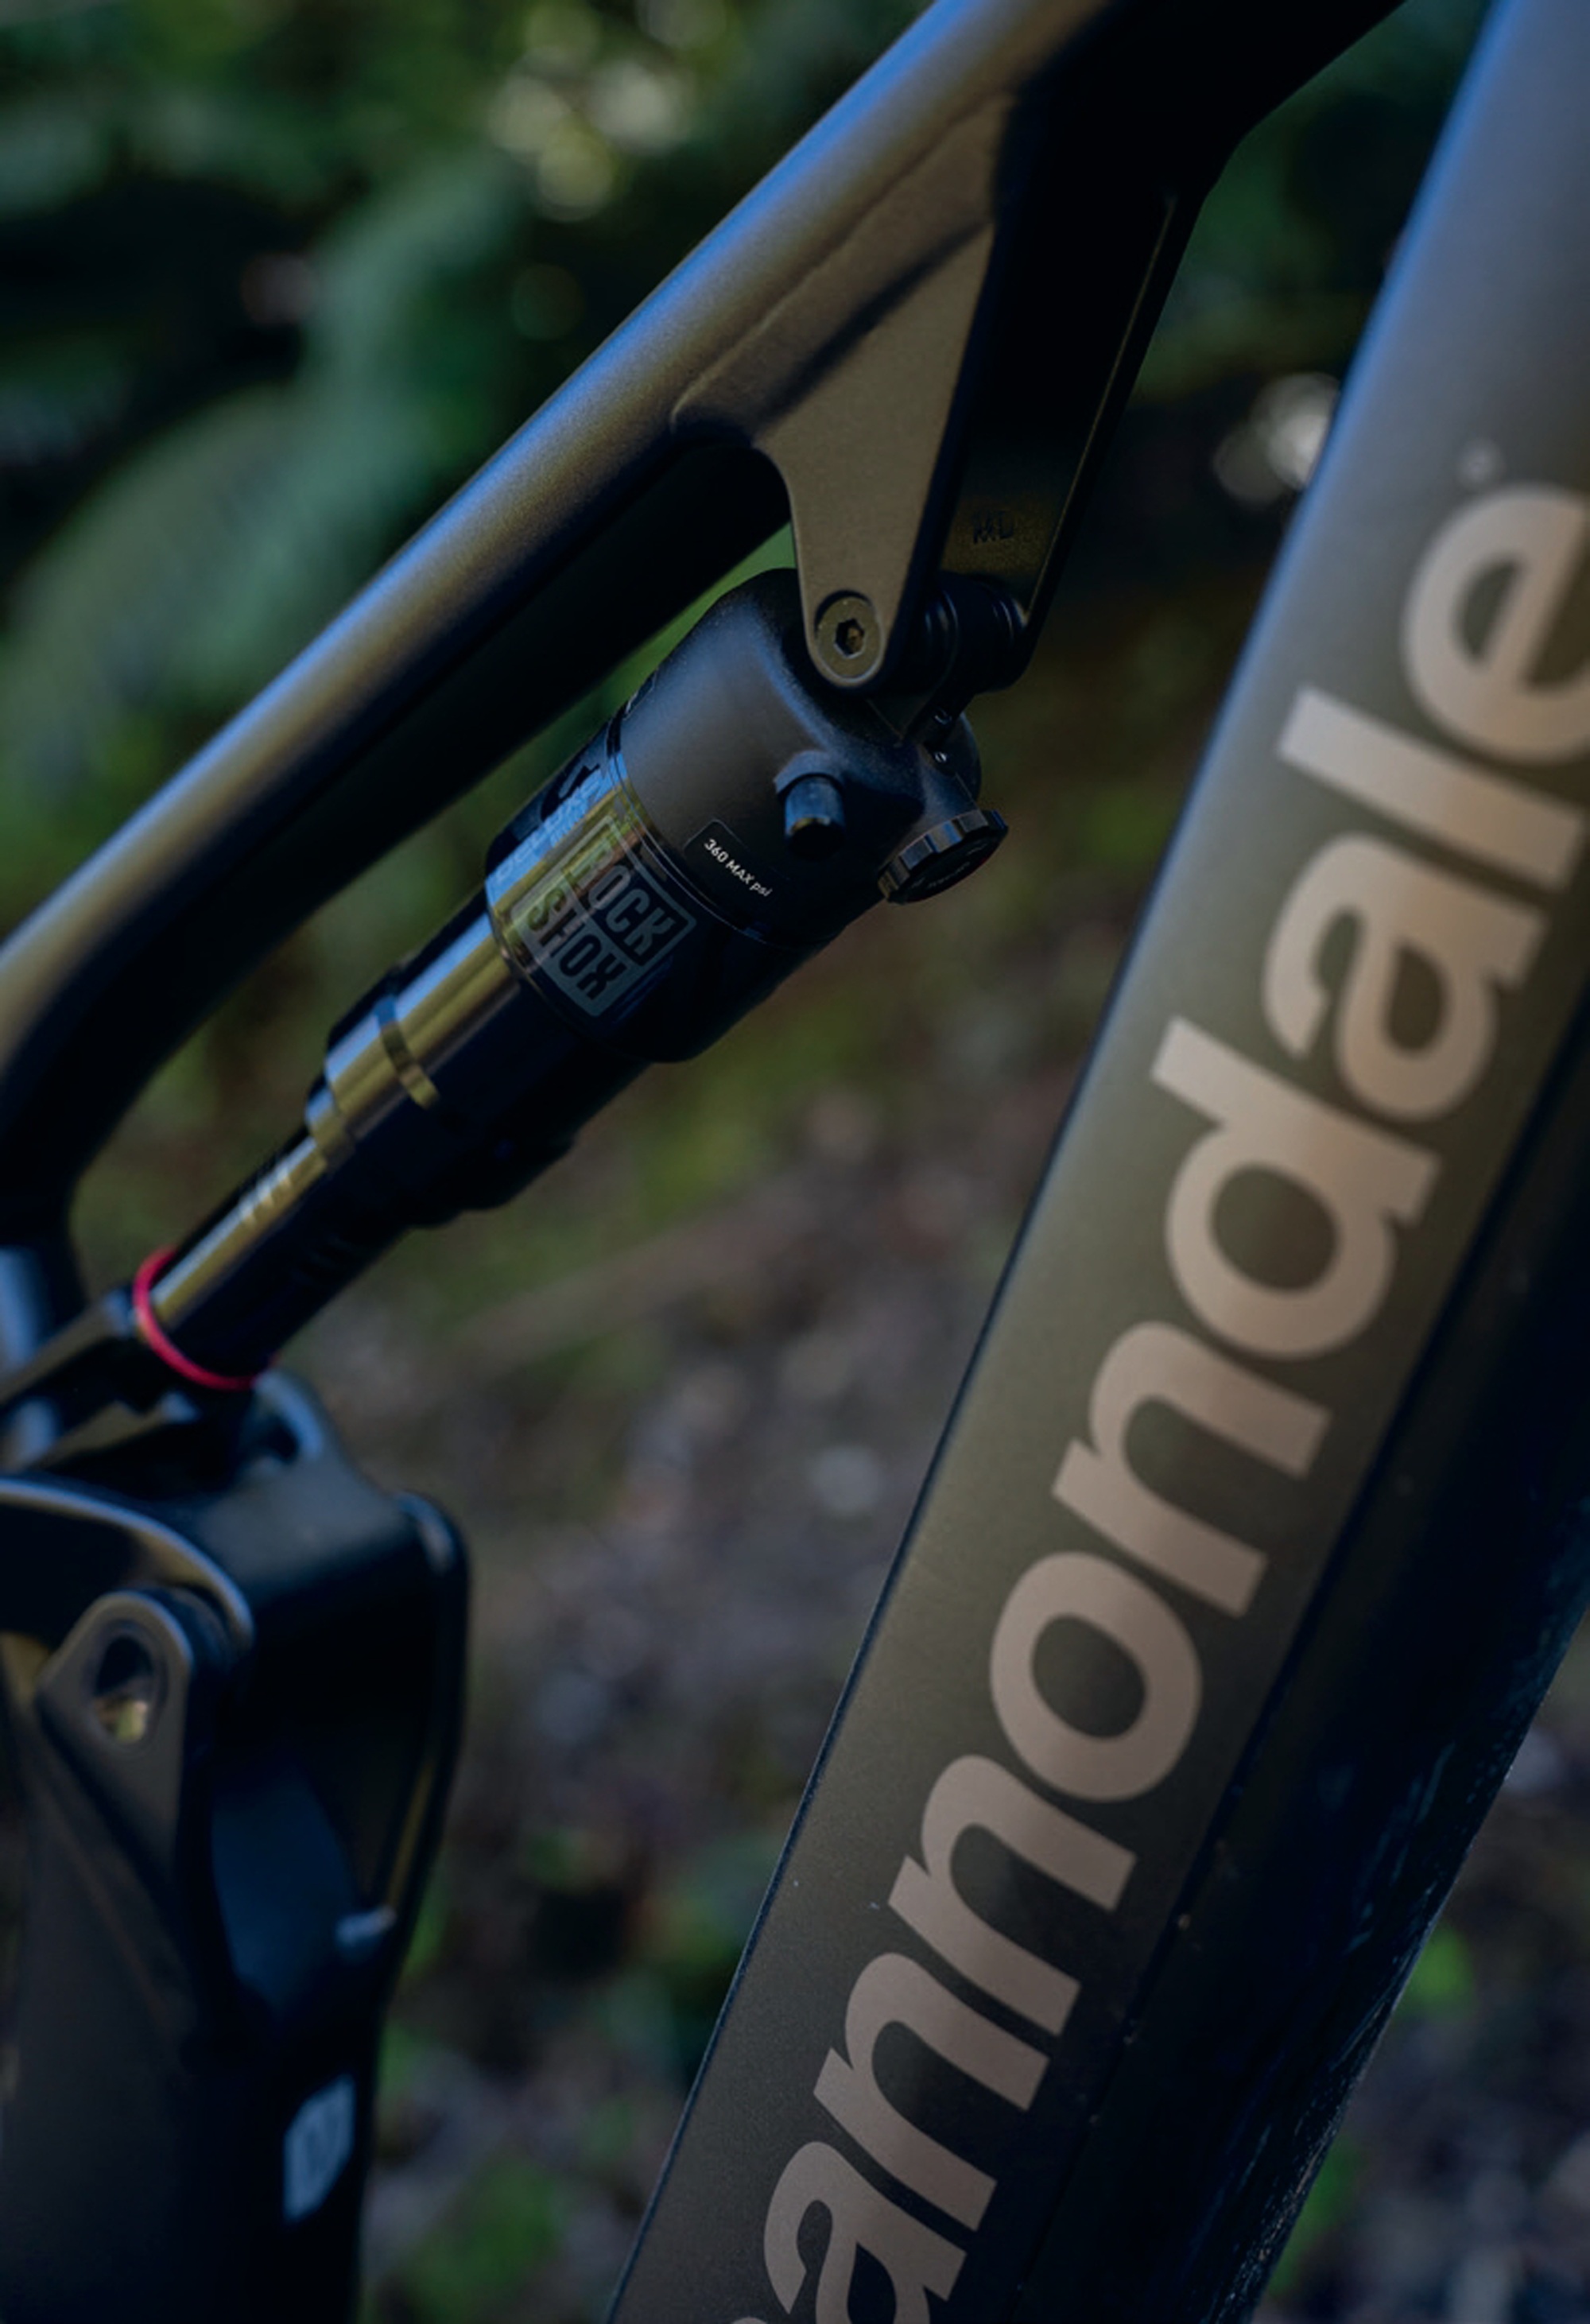
The low-speed compression knob worked fine, although I ran it more or less open at all times, and there’s plenty of rebound damping available. Again, somewhat surprisingly, the fork punched above its weight in the stiffness department; the long 35mm stanchions are obviously helped out by the stiffness of the beefy lower legs. The fork is certainly not as stiff as the larger 38mm-stanchioned Zeb, but I’d wager that it’s not dissimilar to a Lyrik when it comes to stiffness. It’s sure heavier though, around 700g depending on the level of Lyrik it’s compared to! The RockShox Deluxe Select air shock handles damping duties out back. It’s a simple shock with solely a rebound adjuster. RockShox claim the shock performs similarly to many of their higher-end units thanks to shared damper tunes. This unit just gets less adjustment and is heavier than the upper-end ones. The back end is nice and supple. It’s got a plush, linear feel and ramps up quickly at the end of the travel. There were times it would have been nice to have a bit more support to push against, and moments under heavy compression when there was a bit of uneasiness as it prepared to rebound. For most riding, though, this shock is adequate for the bike, and if a buyer wanted some extra performance, an upgraded shock could be a good place to start.
The Shimano MT501 brakes with 203mm rotors front and rear are decent. They’re not the most powerful brakes out there, but they’re cost- effective and offer ample stopping power, considering they’re a base-model brake.
The bike rolls on a WTB i30 wheelset. It’s nothing flashy, but if other WTB wheelsets I’ve used long term are anything to go by, they’re pretty durable. They won’t love being cased onto rocks, but neither do a set of $3000 carbon hoops!
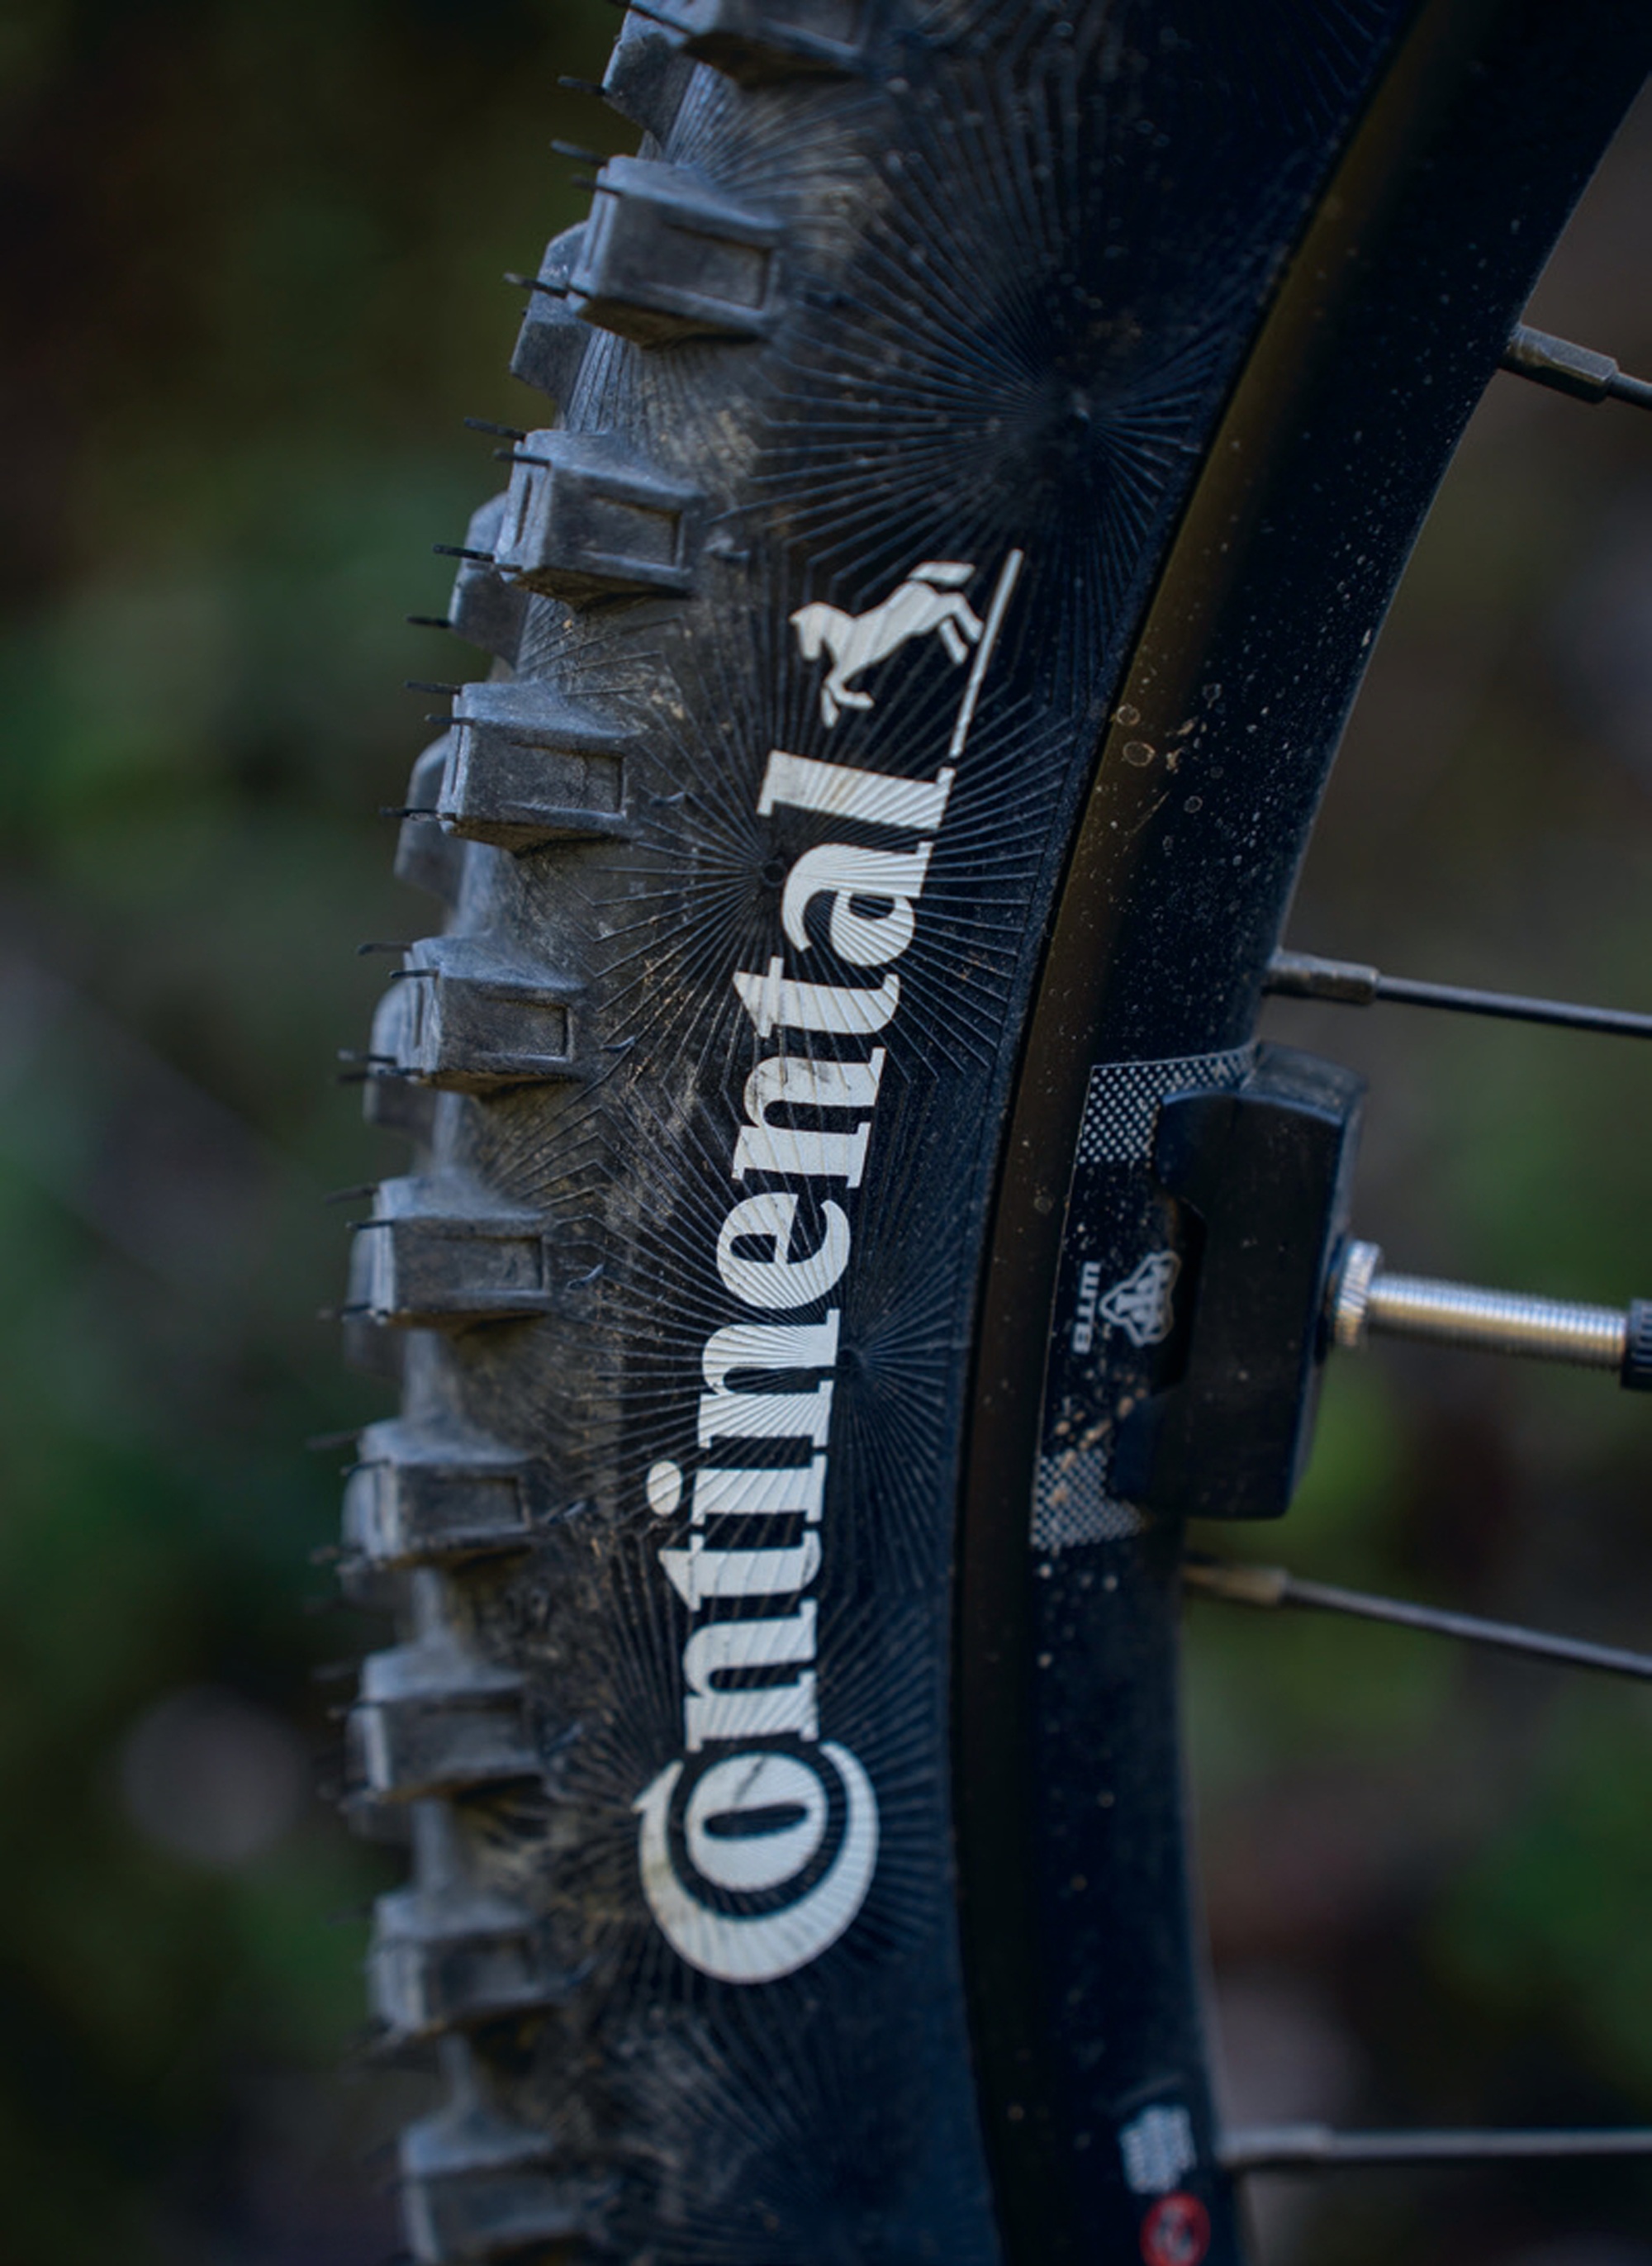
Continental Kryptotal tyres are featured front and rear in a 29” x 2.4” size. The Enduro casing offers protection against punctures and a level of support against being too squirmy underneath while railing turns or g-outs. The soft compound rubber rolls surprisingly well, and from what I’ve heard from friends, wears exceptionally compared to other soft compounds in the market. Traction was awesome across the board, although something with more spaced knobs may be preferred in really soft, wet conditions. The Enduro casings were okay, but I think long term, once these treads were worn, a move to some gravity casing tyres of the same model would offer more support, and even better puncture resistance.
The cranks are a nice short pair of FSA brand 160mm length with a 34t chainring. Nothing to sniff at here, I’m a big fan of 160mm cranks on an eMTB.
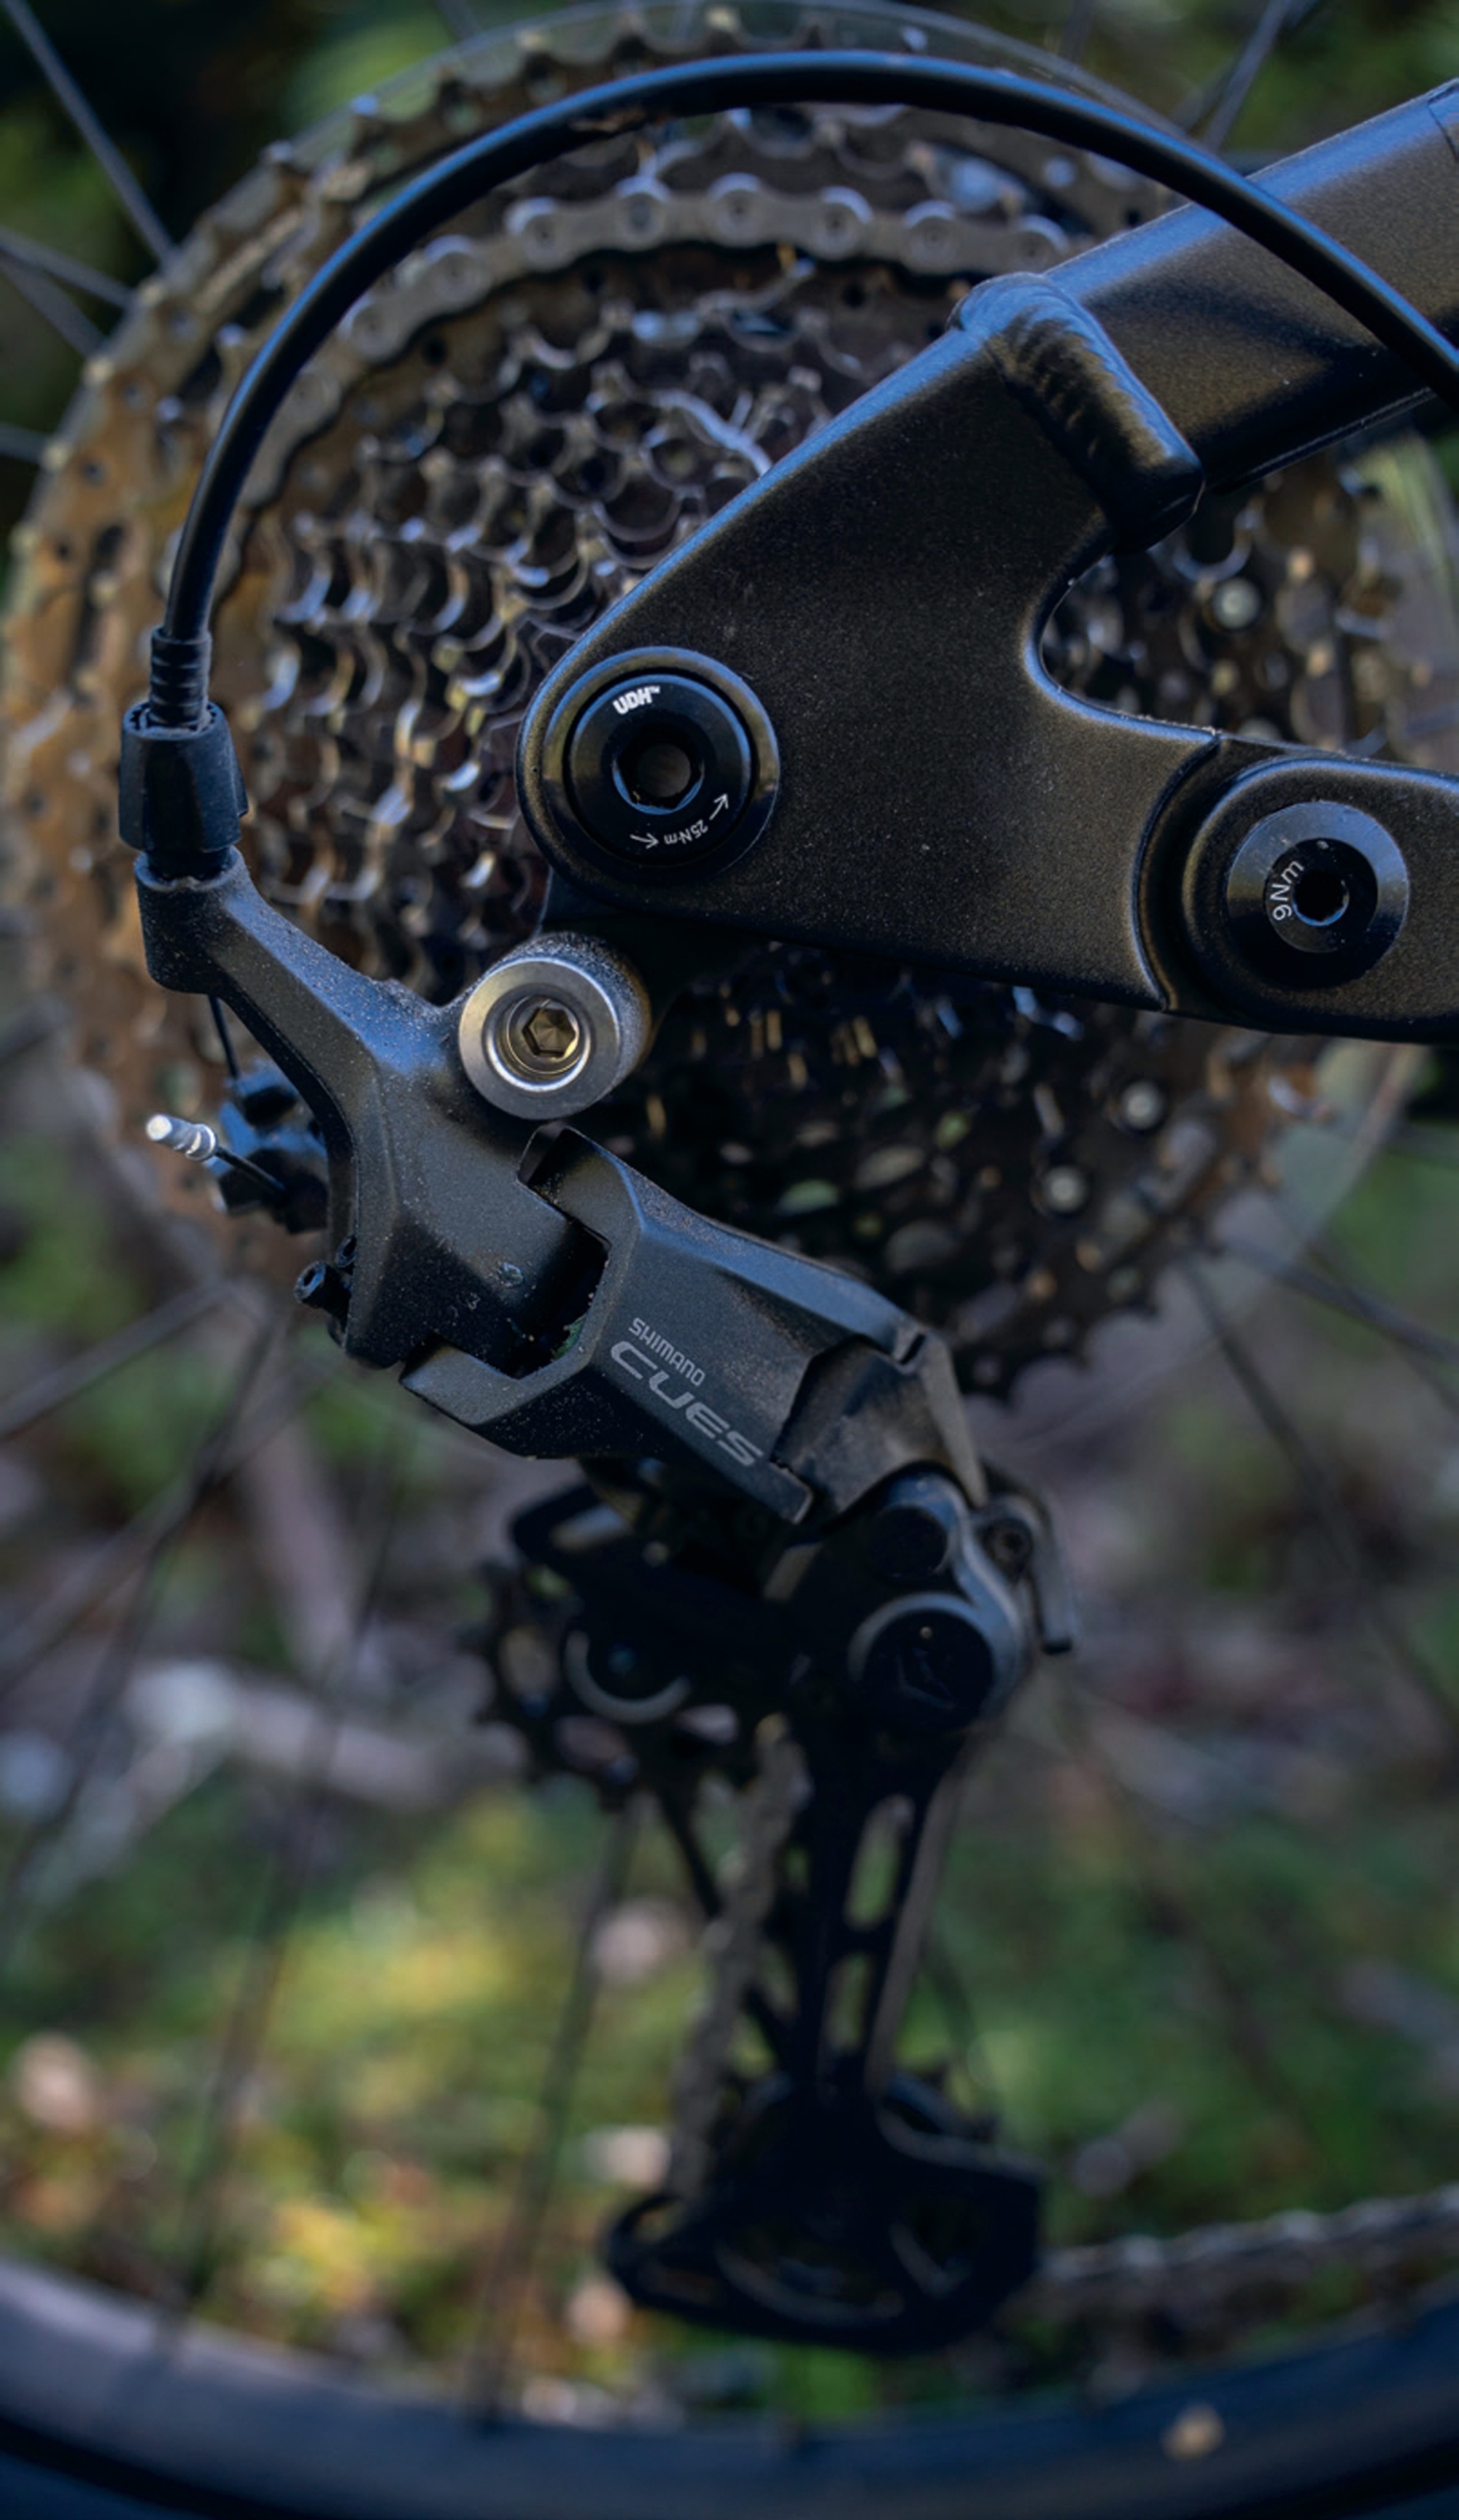
The drivetrain features a mechanical 11-speed Shimano CUES U6000, LinkGlide derailleur and shifter, coupled with an LG500, LinkGlide chain and Shimano CUES LG400, LinkGlide, 11-50 cassette. It’s got an almost yawn-inducing level of personality to it, but it’s been admirable to say the least, and the shift quality over my test period has been great. LinkGlide is claimed to last really well on eBikes. Like the rest of the bike, this drivetrain isn’t light, and again, it’s a place for easy long-term upgrades.
The finishing kit is from Cannondale’s in- house brands, with a WTB saddle. A pretty bog-standard 35mm handlebar and stem help keep you pointed in the right direction, and the dropper post is aptly long at 170mm drop on the medium bike. As usual, a longer after-market drop could be found, but as an original unit goes, this suits the bike well and works a charm.
On the trail
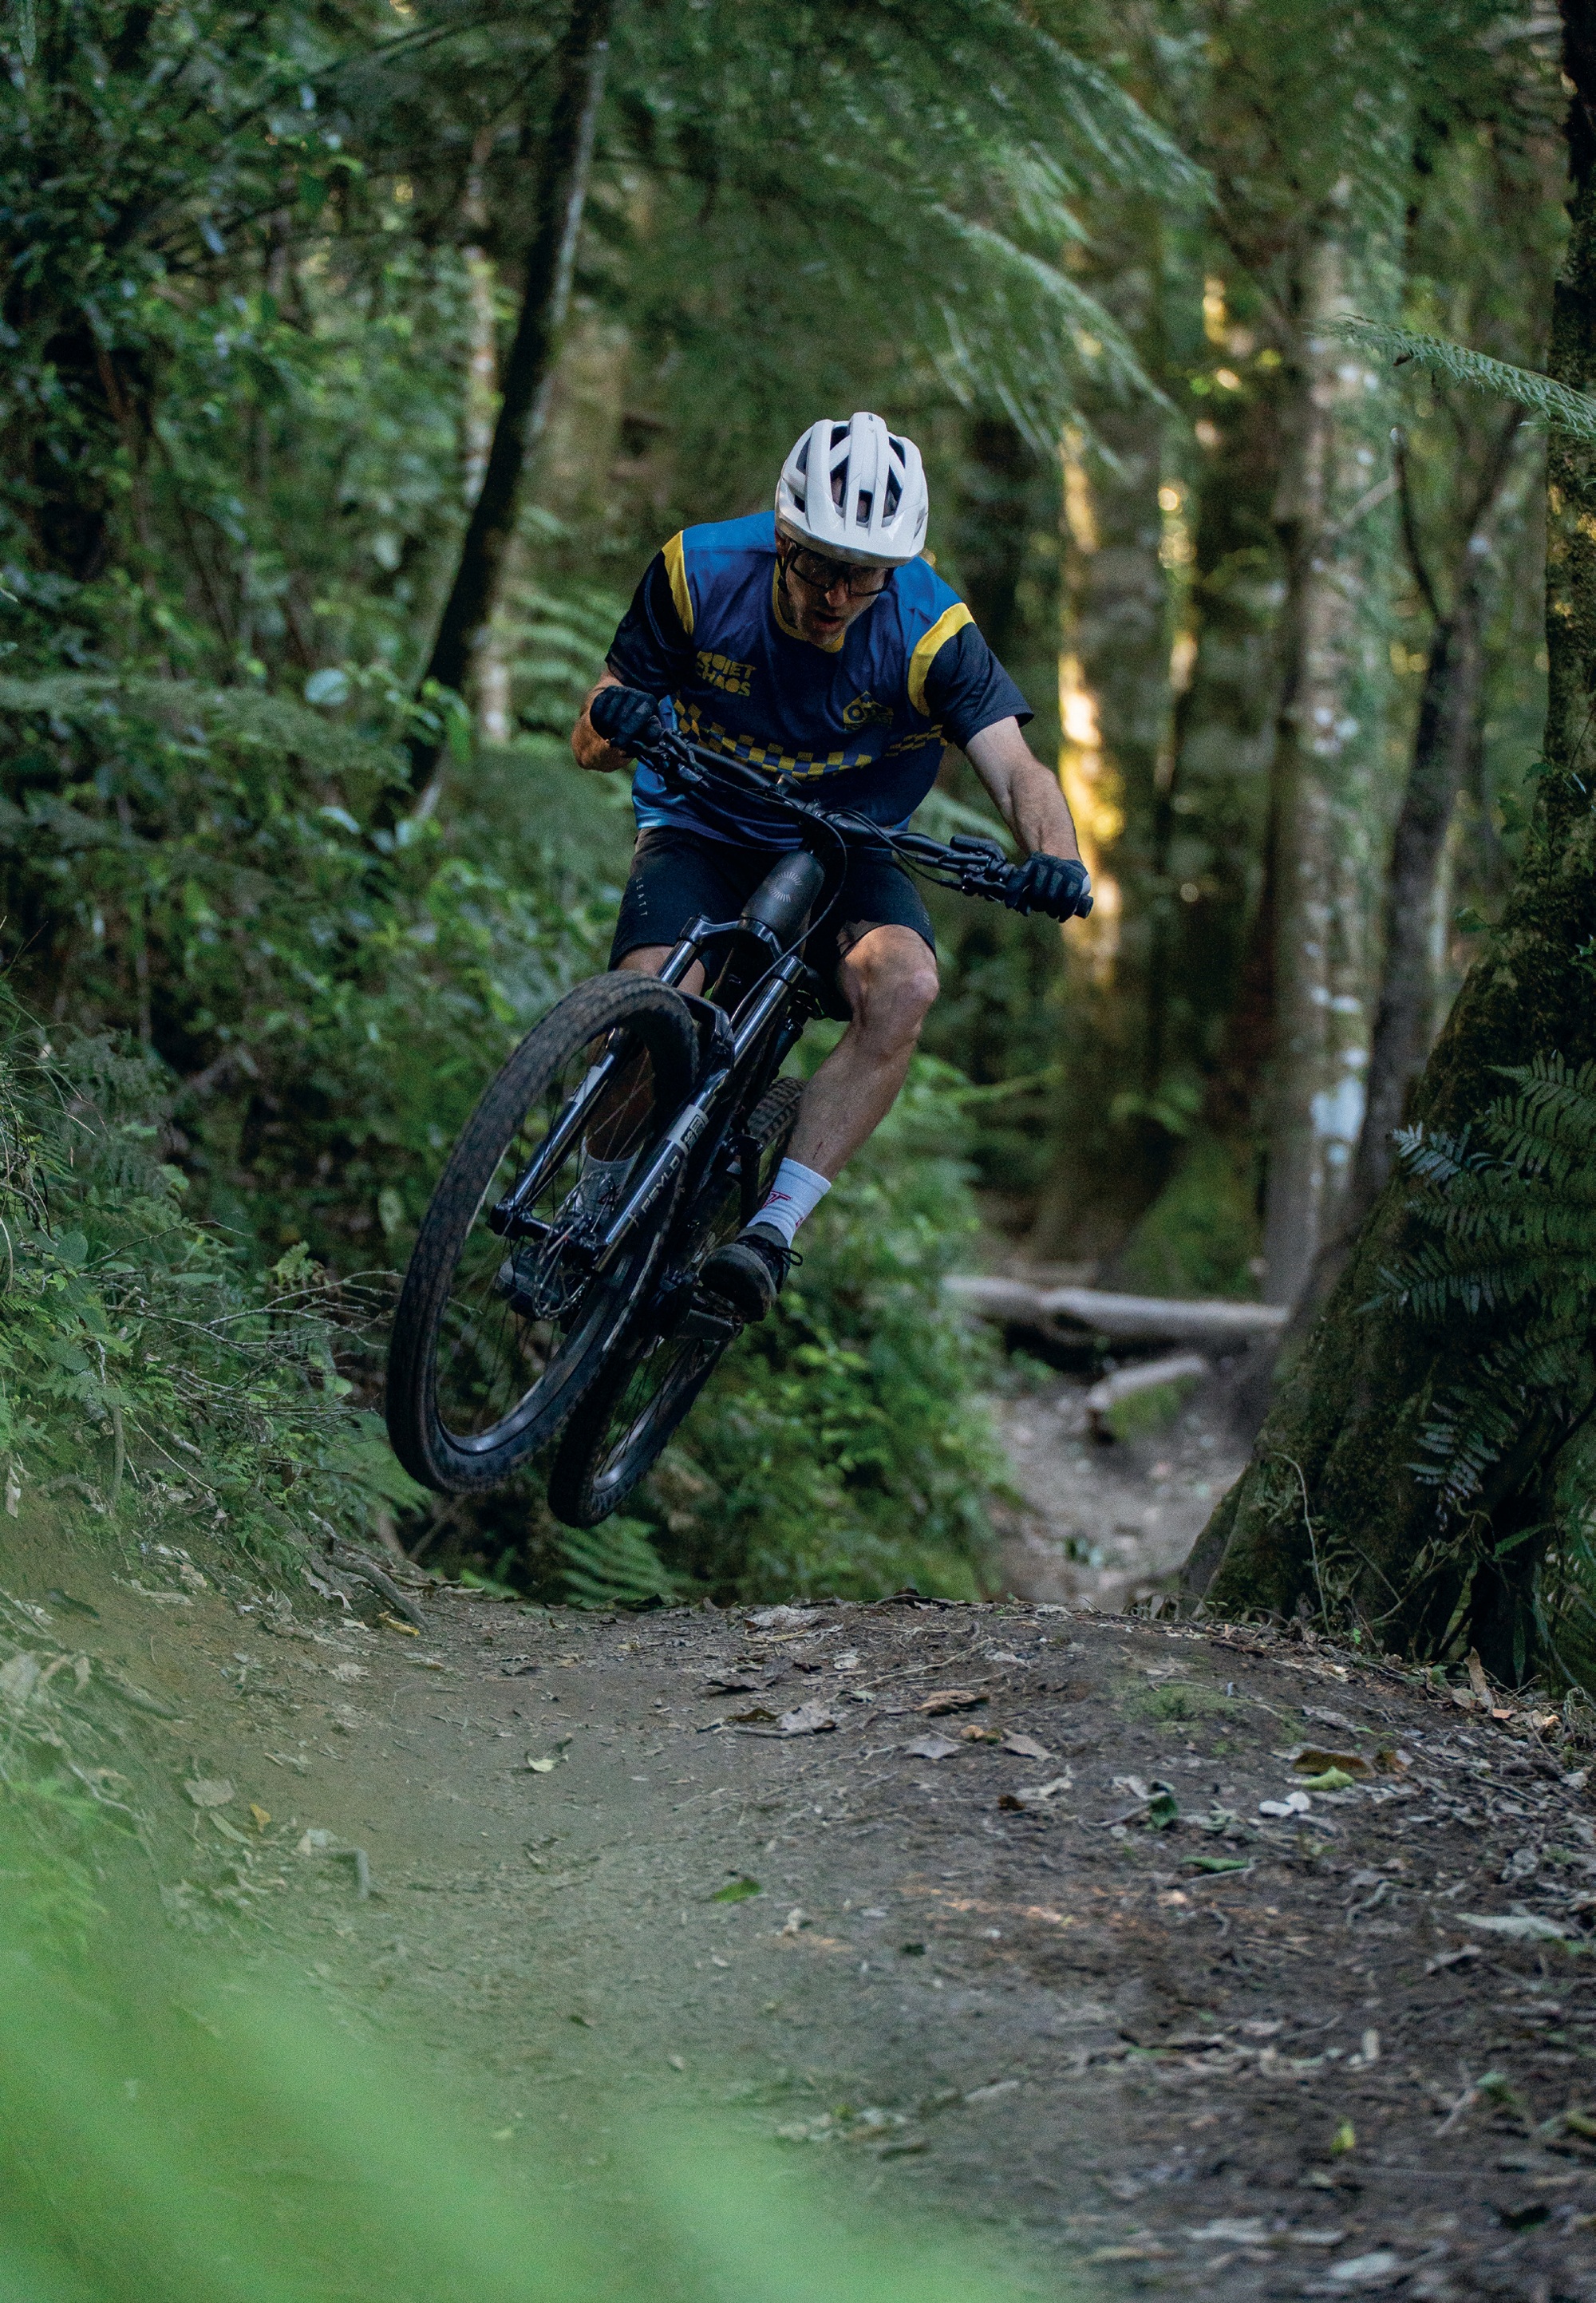
The Moterra 3 is an interesting beast. Its geometry and suspension travel lean it towards hard-charging riding. And charge it can, to a point. For a bike of this ilk, with full 29er wheels and a hefty overall weight, it hooks into turns surprisingly well, though it sometimes needs a conscious effort to weight the front wheel to maintain traction and go right where you want it to. Successive, fast corners, requiring quick changes in direction demand extra body language and strength due to the bike’s heft. As I mentioned earlier in this piece, the Moterra is a mountain goat. I put this down to a combination of the CX motor applying power smoothly and consistently, and the traction of the fresh Kryptotal tyres. A less tempered, higher power would likely break traction a lot easier. On climbs where the front end needs lifting up, and over steps or trail features, the heft of the bike is noticeable, but thankfully, the assistance from the motor helps wheelie the front end up. When hopping the rear wheel up a step, the weight of the bike is noticeable. Thankfully, even when the wheel doesn’t completely clear an obstacle, the motor overrun helps drive it up and over the feature.
With the Moterra’s travel and geometry numbers, this bike is plenty comfy on the downhills. The suspension package performs well most of the time, and even on steep and technical trails, it does the job it should. But when really pushed at speed through chunder, as mentioned previously, better dampers would be welcome. It may be a case of some further tuning with volume spacers or custom valve tunes or even upgraded suspension units to help keep the wheels tracking and bring a sense of calm to the ride when pushing hard.
Overall thoughts
The Moterra 3 (size medium) tips the scales at 27.4kg. With that in mind, I’ve found myself asking, “At what point does the overall weight of an eMTB heavily detract from its overall ride quality?” When ridden just on mellow trails, it’s great and offers no dramas, but where speeds are high and rapid changes of direction are needed, or it’s necessary to unweight over a rough section or even bunny hop, there’s a fair amount of strength required, and much more effort to stay ‘light’ on the bike than those at the lighter end of the eMTB spectrum. The weight requires a decent amount of strength to manhandle, and if you’re heading off-line or get skewed off a jump, getting the bike back in the precise direction you want to go is that bit harder. I’d imagine for inexperienced riders this would be exacerbated if they’re trying to ride progressively.
The recent software upgrade to more power output and torque, although welcome on paper, does leave me wondering if it’s really necessary for most riders (including myself). More power equals more battery drain and shorter runtime from a charged battery. I think there’s a case for smaller, 600Wh batteries on bikes like this, even with motors detuned for less power and torque. This may actually (total speculation) allow for similar range rides, and an overall lower weight of the bike, so more spritely handling. Possibly a net gain? I guess we’ll never know?!
I’d also question whether a bike of this level warrants having cables routed internally through the headset. They look tidy on the shop floor, but to get my stem height correct, as low as I’d prefer, they are in the way and get squashed down by the stem. With cables for mechanical gears, a Bosch remote controller, a seat post, and a rear brake all needing to squeeze in there, there’s a lot that could go wrong, and a lot of possible headaches if a headset bearing needs replacement. “Everything is possible given enough time and money.” A very accurate saying when dealing with internal headset routed cables.
So, who’s the Moterra 3 for then? For someone who’s looking to do a broad mix of mountain biking, commuting and more ‘bike path’ type endeavours, without the urge for too much airtime or aggressive riding, this bike, at this price, is more than ideal.
YETI LTe T4
Words Lester Perry
Images Thomas Falconer
RRP $24,900
Distributor Yeti NZ
The e-EDR World Cup is dead (eMTB Enduro Racing), but the bikes developed by teams trying to win these races sped up the development of eMTBs, and their learnings have helped manufacturers create some of the current crop of top-performing eBikes.
One such bike is the Yeti LTe which was developed alongside the heavy-hitting, diverse riders from the Yeti Factory team, including 2024 e-EDR World Cup overall winner Ryan Gilchrist and 2025 e-EDR World Champion (and multi-time Enduro World Cup winner), Richie Rude. Yeti’s race-winning pedigree runs deep, and their years of experience across all genres of MTB racing mean the brand is exceptionally well qualified to create some of the best bikes in the business.
The Yeti LTe is essentially a heavily updated version of its predecessor, the Yeti 160e – Yeti’s first race-focused eMTB. Geometry and suspension both saw significant updates; however, the biggest news upon launch was the switch from a Shimano drive unit to a fresh, much more capable Bosch CX-R drive unit.
The eMTB market has become something of an arms race recently, with buyers selecting bikes purely on the numbers associated with a given drive unit rather than the combined experience of the drive unit, frame and components. A drive unit alone cannot dictate how much fun or capable a bike will be, but it sure helps to have both the best drive unit and the best frameset.
There’s no denying that Yeti’s bikes target the high-end consumer looking for high performance. Even their most basic build options sit out of reach for most mountain bikers, but for those who either have ample funds or choose to spend what funds they do have on top-performing bikes, Yeti’s range is hard to look past. The LTe retails for $24,900 in New Zealand.
Usually, I’d hesitate to think that any bike priced this high could be exponentially better, or offer a much better ride experience than one that’s $10,000 less. However, I’ve been surprised to find that the performance – and all-out, grin-inducing fun – the LTe offers when ridden hard is, at least in part, worth the step up to its premium price tag.
Drive unit
In July 2025, Bosch launched a significant performance upgrade for the new Performance Line CX drive unit. This upgrade brought existing drive units up to date, more in line with the latest competition, raising max torque to 100Nm and power to a possible 750W (depending on the bike), as well as support multipliers going from 340% to 400% assistance. As part of the performance upgrade, we now find an eMTB+ assistance mode and associated Dynamic Control functionality. We’ll get to those features in a bit. Where fitted with the new Performance Line CX, most 2026 model bikes will ship with standard software, but users can adapt the performance upgrade wirelessly via the Bosch eBike Flow App.
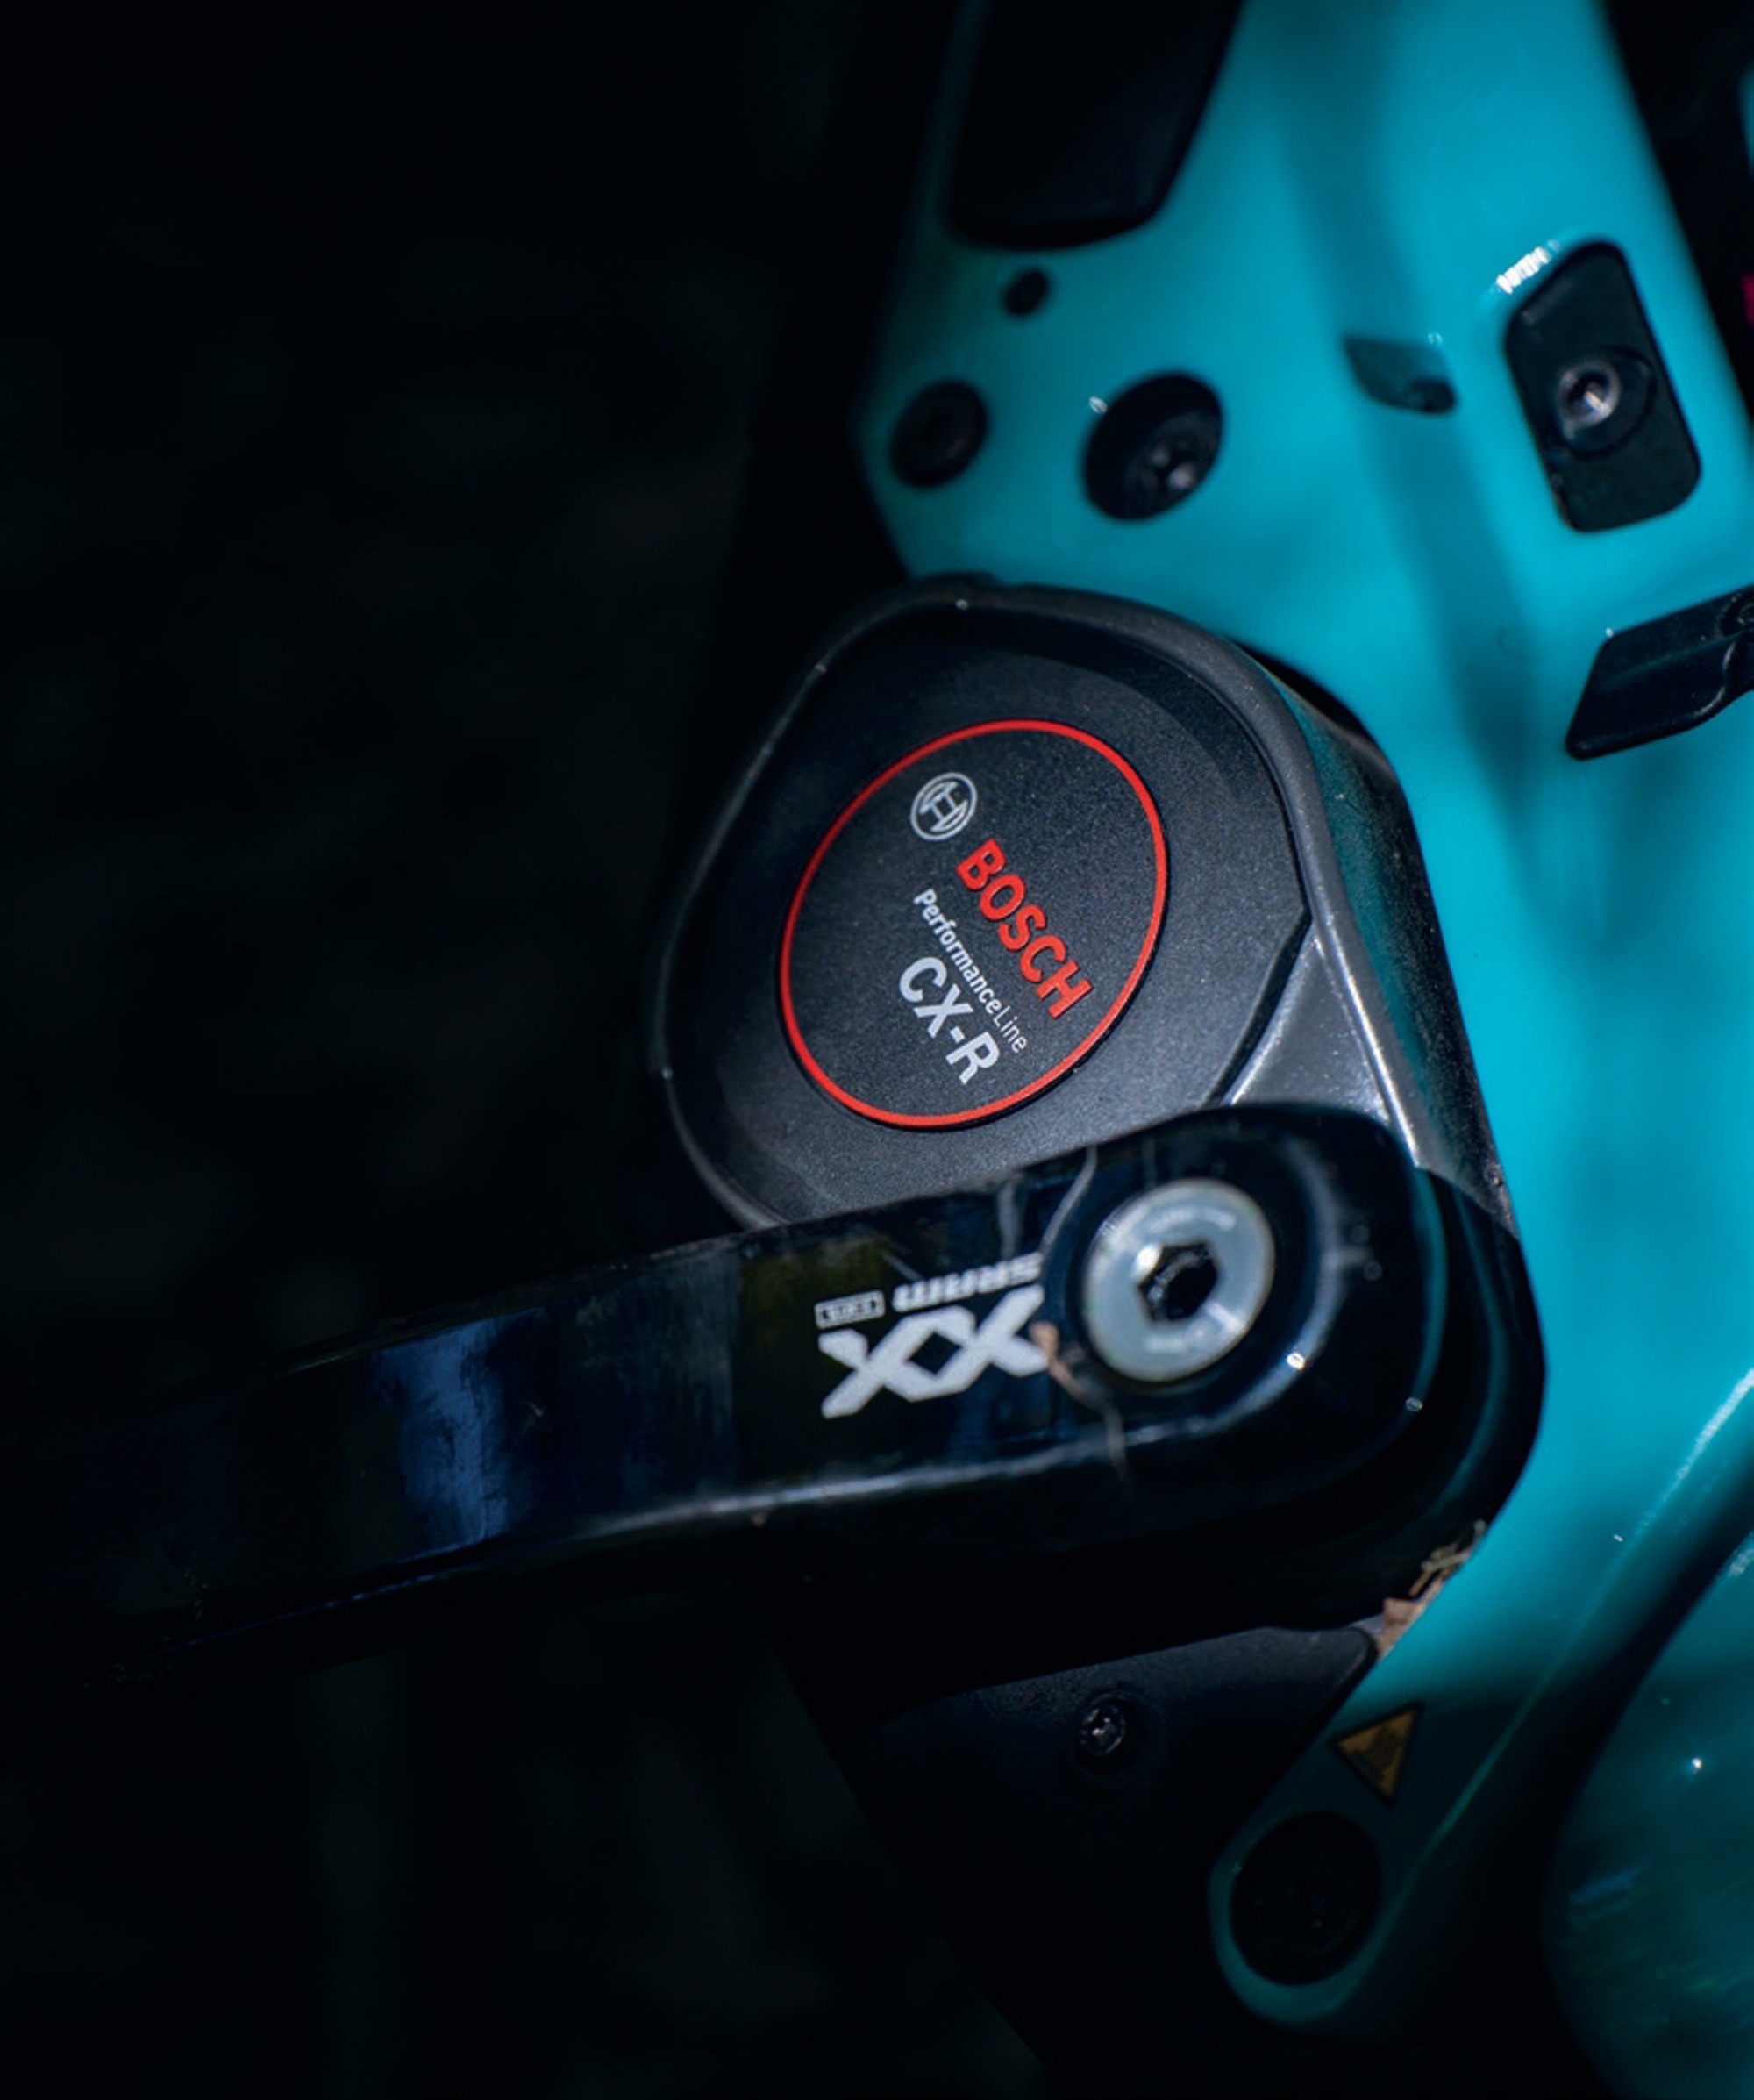
Alongside performance upgrades, Bosch released the all-new CX-R drive unit and Kiox 400C display. The Performance Line CX-R drive unit is designed to win races and slots in as Bosch’s top-tier offering. It’s lighter weight, coming in at 2.7kg, and more powerful, coming stock with 100Nm torque, 750W max power, and 400% rider support.
The weight savings primarily come from the use of a magnesium housing, titanium crank spindle, and ceramic bearings, which are designed to handle the higher torques that come with racing and consistent use of aggressive assist modes.
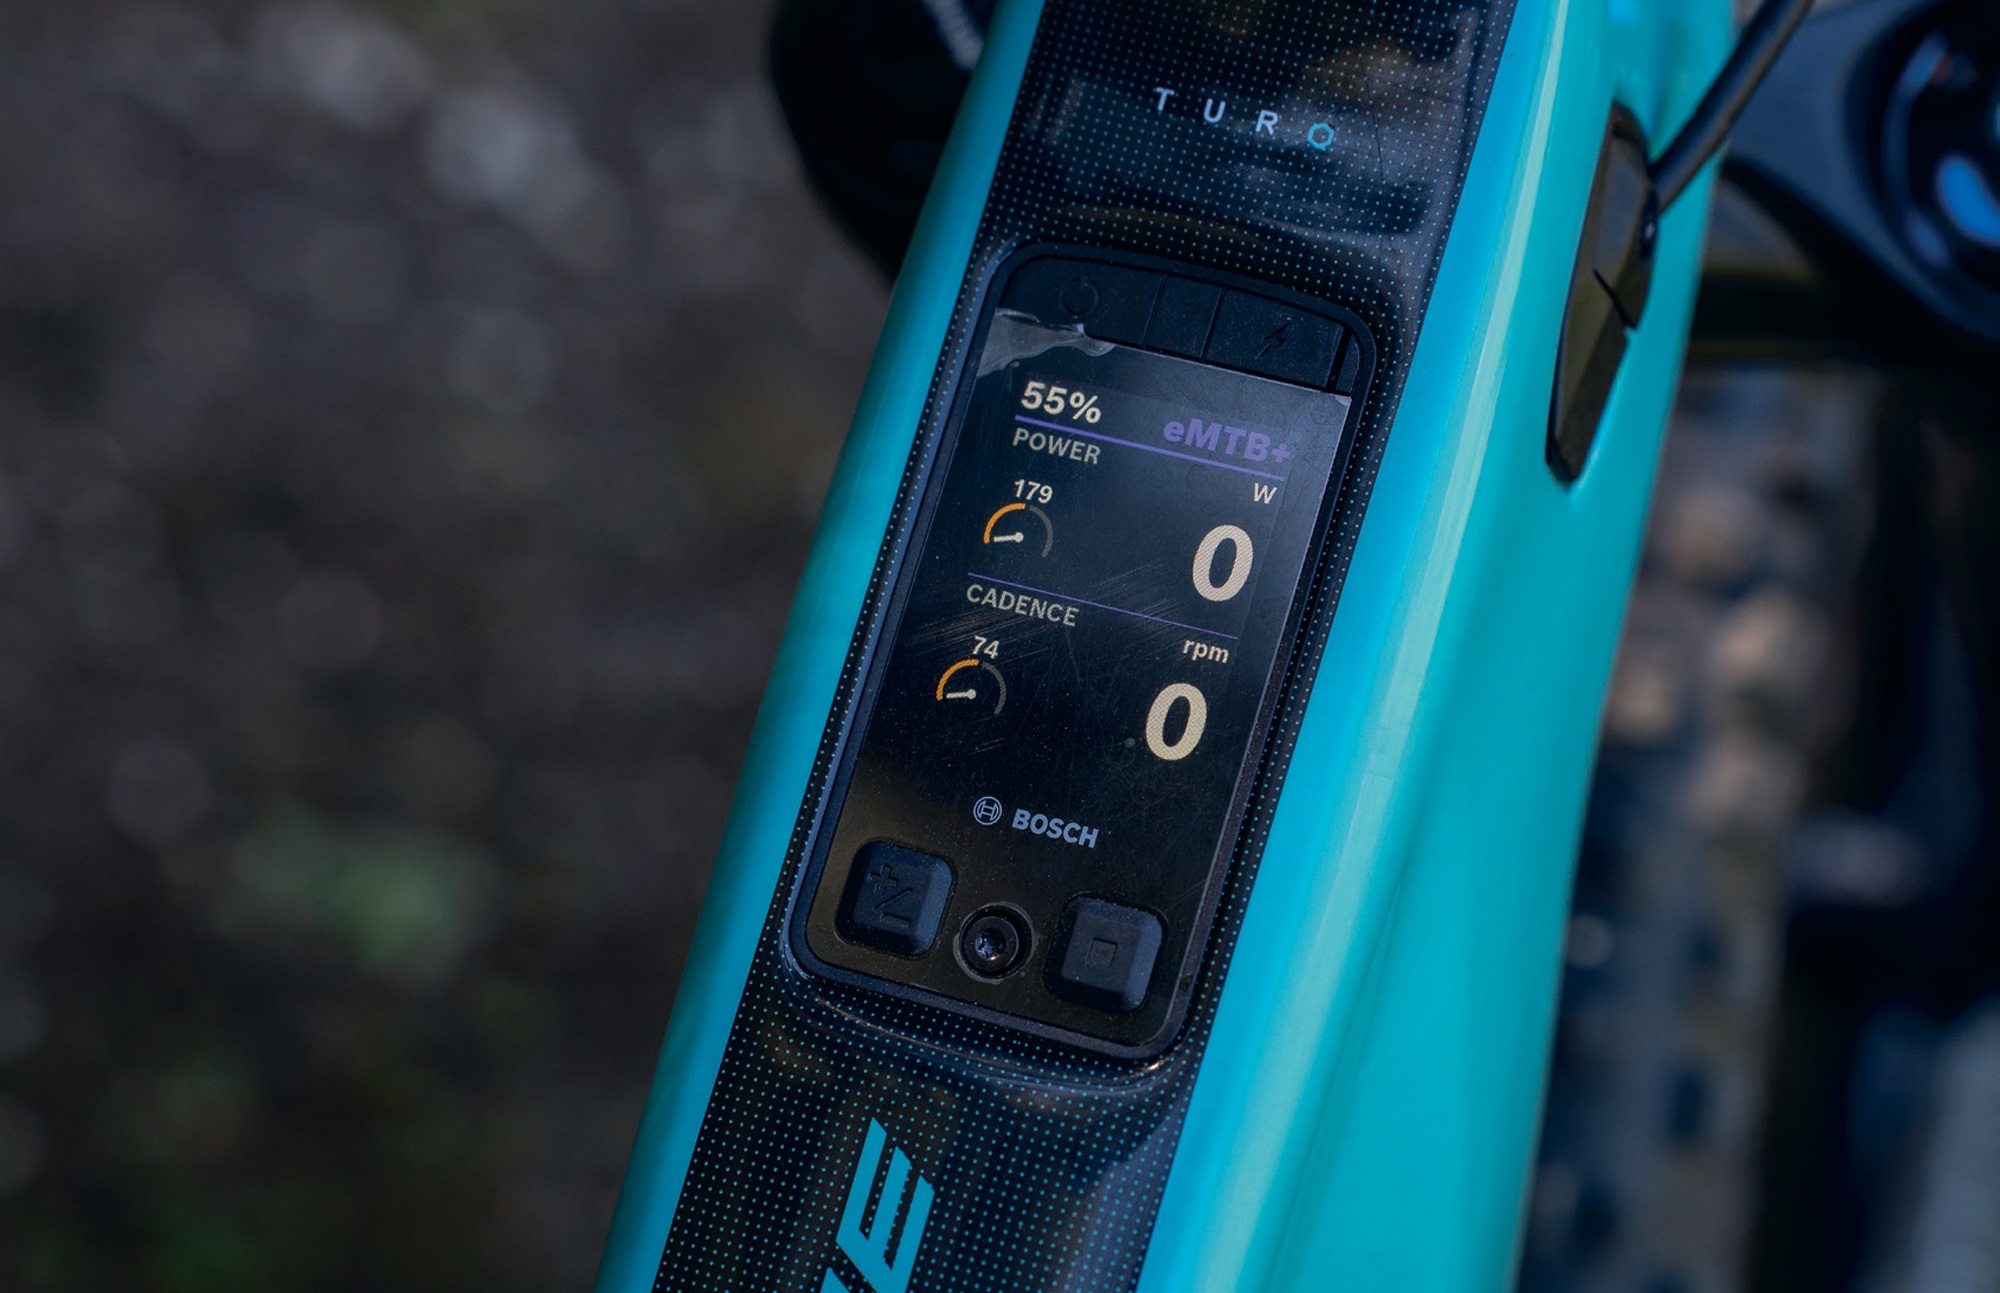
The Kiox 400C display and wireless “mini-remote” were released alongside the CX-R drive unit. With these two gadgets, it feels like Bosch has finally caught up with the competition. The Kiox 400c is a fully integrated display that tucks snugly and almost seamlessly into the bike’s top tube just behind the headset. It’s large, measuring 2 inches diagonally, it’s bright, it’s high resolution, and it’s full colour, almost a mini-iPhone mounted in the bike! Unfortunately, unlike an iPhone, it’s not touchscreen. The mini-remote lets you shuffle between info screens or scroll between assistance levels. It’s ergonomically ideal, sitting where most remotes do, just beside the left handlebar grip, the buttons have a noticeable click to them, and their rubberised finish means even the sweatiest of fingers don’t slip.
If you’ve set up navigation in Bosch’s eBike Flow app and have a destination programmed, the Kiox 400C will display directions as if it’s your phone, even with handy sounds to notify you of upcoming turns.
There’s a host of information that can be displayed while riding, from heart rate (if you’re using a HR strap or other device), rider power, cadence, and even shifting suggestions. Ideal if you’re one to just throw it in top gear and grind around the trails – the unit will suggest shifting to a more optimal gear ratio. What’s displayed on the screen is entirely up to the user and can be configured in the eBike Flow app on your phone. Speaking of phones – there’s even a handy USB-C port at the top of the display for phone or light charging.
I found the Kiox 400C a considerable step up from previous, more basic, Bosch display options. The screen is a great size, and with the bright, easy-to-read display, I found myself taking a quick glance down to see what speed I was doing, or even what power I was pushing, all while navigating technical trail.
There’s a new assistance mode thrown in the mix, too. eMTB+ mode features Dynamic Control, which essentially switches between aggressive and more subdued output, automatically adjusting between the two based on rider inputs such as cadence and torque, as well as internal sensors that measure gradient and detect loss of traction.
Sampling 1000 times a second, the system seamlessly adjusts to terrain, helping maintain traction regardless of conditions or rider inputs. I found this mode to be the most natural and it felt like riding a regular non-assist bike. Although, when I put the power down, I was able to take advantage of the full 400% support and pull up and over whatever was in my path. The eMTB+ mode is not dissimilar to the standard eMTB mode in terms of how it works but it does offer the higher top-end power availability of the Race mode at 400% assistance vs the 340% of eMTB which doesn’t have the Dynamic Control feature.
We’re now presented with four assistance modes: Race, eMTB+, eMTB, and Tour+. As it says on the tin, Race mode is for just that: racing. Only offered in the CX-R drive unit, it provides 400% support (so 4x rider input). It takes some skill to make the most of this level, and it will rinse a battery quick-smart if not used sparingly. I found this level ideal for uphill sections where I knew maximum attack was the only way over or through them. It’s a load of fun but does require some caution, as more than once I nearly got spat off the back as the bike almost looped out.
eMTB mode, as we’ve known it previously, is like having the bike on automatic, offering less support than eMTB+ mode, up to 340% assistance. The Race and two eMTB modes have “extended-boost”. When stopping pedalling, the motor continues to drive for a short time, helping to maintain speed between pedal strokes or over technical crux moves where a pause in pedalling is needed to navigate a feature. Tour+ offers similar assistance to the eMTB mode at up to 340%, but loses the extended boost and prioritises battery conservation over all-out performance.
Users can tune riding modes to their liking in the eBike Flow app, so if you want more or less power or torque, you’ll find your nirvana with some digital fine-tuning.
It’s worth mentioning the Walk Mode. Hold the ‘down’ button on the mini-remote, and the drive unit moves the bike forward, helping push it back uphill. I used this each lap back up Kataore trail in Rotorua while we were shooting photos for this review. Without this function, getting back up the hill each time would have been significantly more difficult!
The whole drive system on the LTe is powered by a Bosch 800Wh battery. There’s also a range extender that gives an additional 250Wh for those big days lapping the hills! It would be nice to have an easy-to-swap main battery. Unfortunately, it’s not a quick trailside task. While I never needed to remove the battery, according to the bike’s manual (which is quite impressive, I should add), it doesn’t seem like something you’d want to do unless it’s really necessary. Sorry, team, no double-battery rides on this one, by the looks of it.
Frame details
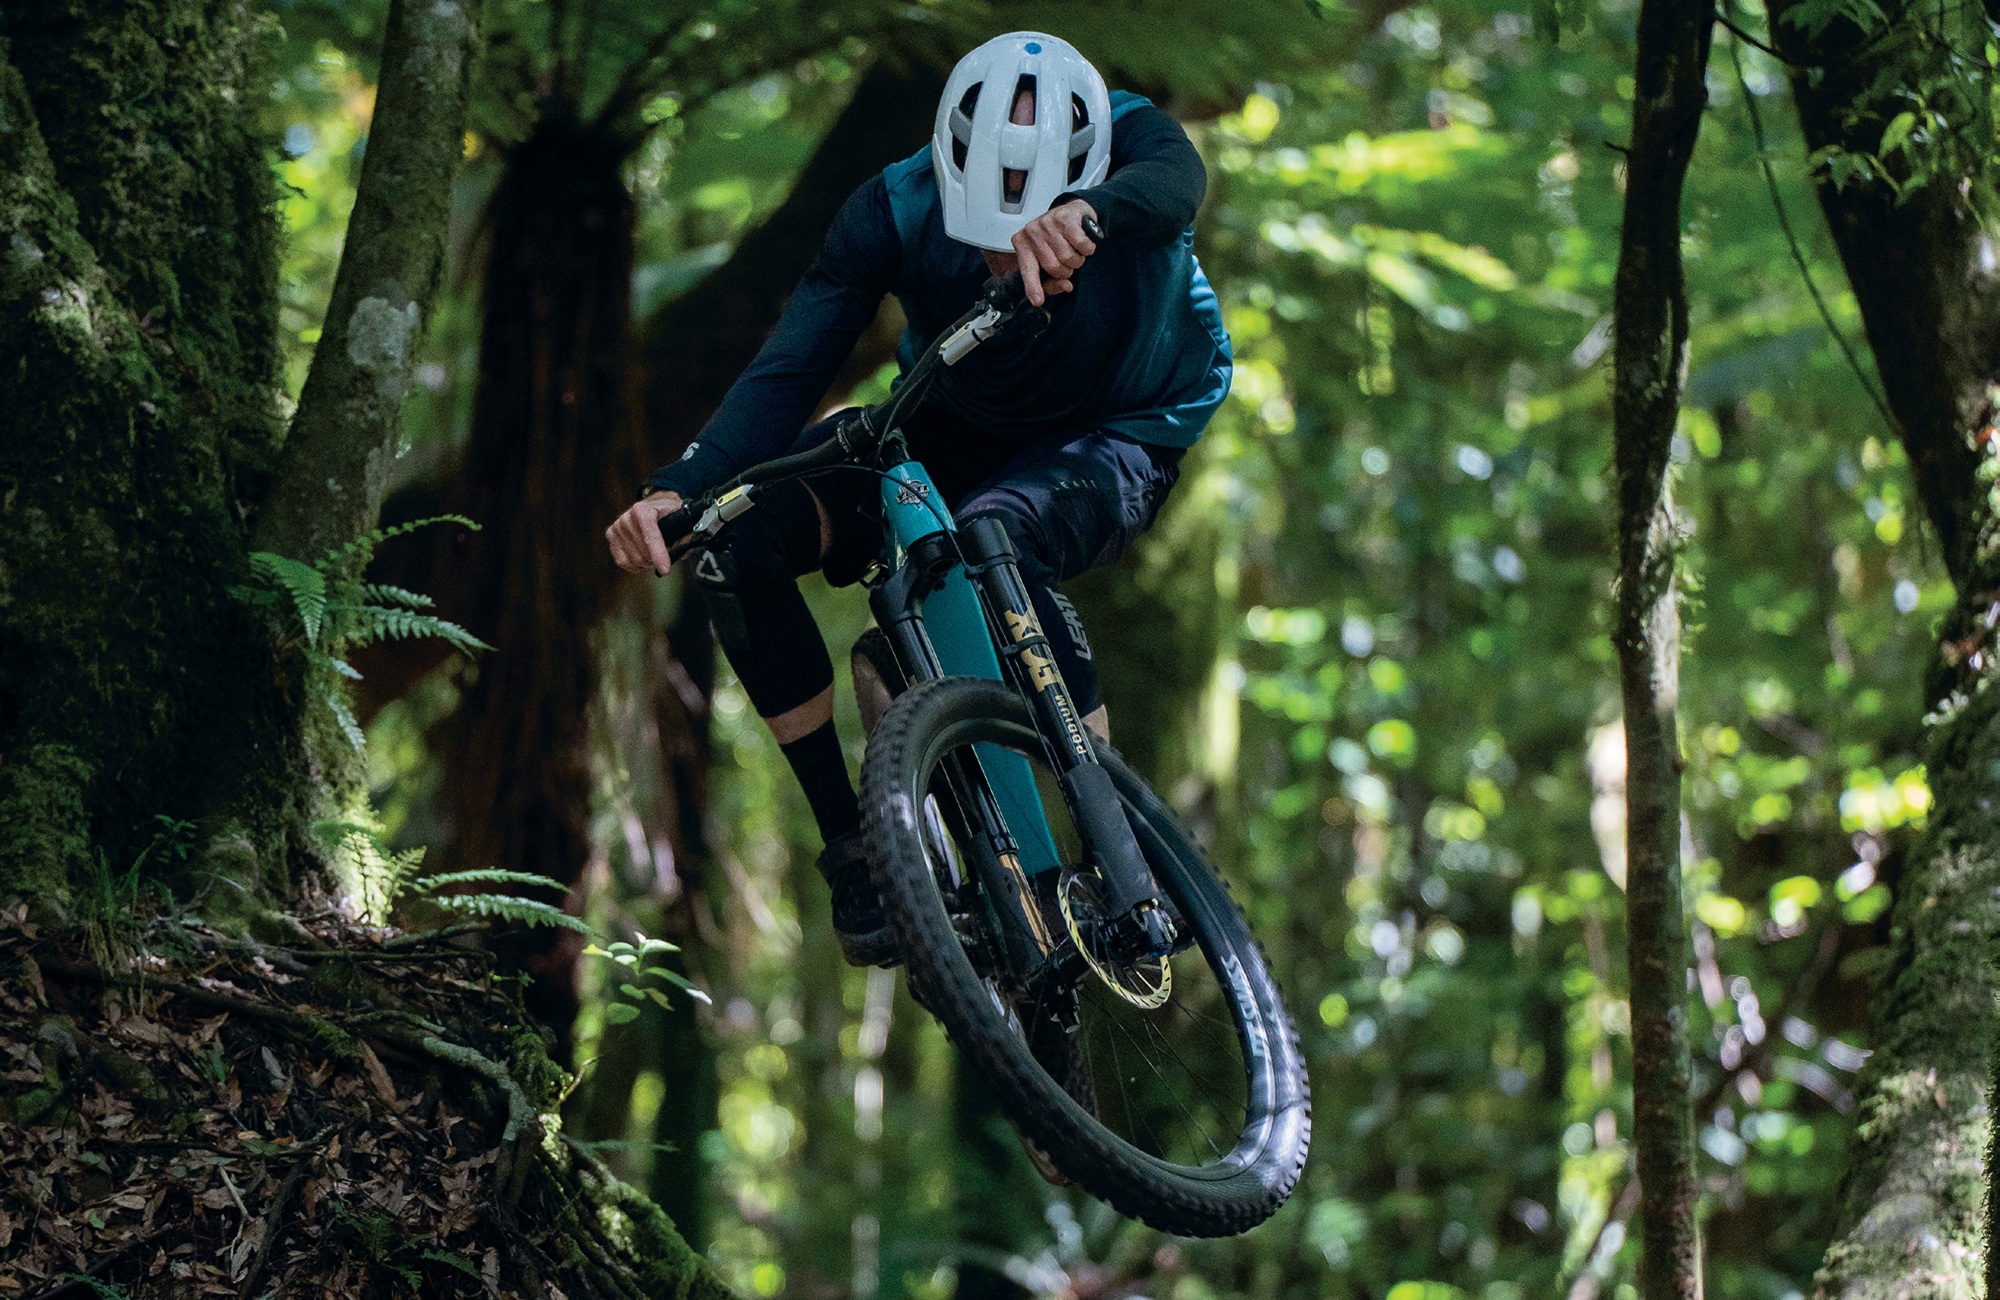
The Yeti LTe is a 160mm (r) / 170mm (f) travel bike bred with an e-EDR focus. It’s crafted from Yeti’s signature TURQ carbon fibre, reinforced with Vectran (similar to Kevlar) to deliver downhill-bike-level strength. The complete chassis (minus suspension linkages) is top- shelf, lightweight carbon fibre. Using carbon not only helps keep the overall weight down but also allows Yeti to tune the ride feel.
The Sixfinity suspension is a unique six-bar design in which all six linkages contribute to controlling the wheel path. It offers higher anti-squat focused around the sag point, keeping a solid and efficient platform for pedalling or pumping. As the bike progresses further into its travel, where pedalling is unlikely, the Switch link drops and anti-squat falls away quickly, offering confidence and stability for downhill-bike-like descending.
As one would expect from a top-tier bike, all the small details are taken care of. Cable routing is tidy (at least externally), and key areas have guards and bumpers to protect the frame and drive unit from rock strikes and debris, or chain slap, all of which helps keep the ride experience nice and quiet and the frame crisp.
I tried to find something on the frame to highlight as a negative, or perhaps not quite right, but all I could come up with is that the ‘loam shelf’ on the lower suspension link behind the motor sits right in the path of mud, slop, and, of course, loam. Most rides, I’d finish with a little pile of debris in this area. No biggie when it’s dry, but I guess long-term over a winter of riding it may negatively affect the lower linkage bearings as they’ll be constantly sprayed with slop from the rear wheel.
On the subject of bearings, by my count there are 16 bearings involved in the Sixfinity linkage, which is not an insignificant number to keep serviced or to replace when necessary. I guess that’s the cost of having all the advantages the Sixfinity brings to the bike: can’t have one without the other.
Adjustable rear suspension leverage rate can be achieved via a swap out of the lower shock mounting chip, allowing for three levels of suspension progressivity tuning: 25%, 30% and 35%. This gives the ability to set it up precisely for where and how it’s to be ridden. I ran this in the stock ‘middle’ 30% progression setting. I found it ideal for my local North Island trails, with shorter, not highly technical climbs and descents featuring a wide variety of features, from drops and g-outs to short chundery steeps and high-speed flow with jumps.
The 30% was plenty supportive and balanced enough to keep the bike playful and poppy, but linear enough to give me the confidence and control for max attack. I didn’t test either of the alternate settings, but for true mountainous descents the lower, 25% setting may be an advantage, offering a more linear suspension rate. The inverse 35% rate should be more relevant for sustained steep, technical climbs and flat riding with its higher progression making the bike ramp up quicker while maintaining the buttery early stroke. These options also open the door to swapping out the air shock for a coil while still maintaining a consistent feel.
The higher torque of an eBike compared to a non-assisted bike means that if the anti-squat is not dialled in, it will be very noticeable, as there won’t be any consistency in how the bike feels under pedalling. Pedalling the LTe was predictable and natural. Regardless of my cadence or how hard I pushed the pedals, the suspension appeared to be unnoticeably active. If I can’t notice something, that’s a green tick from me, as it must be doing an admirable job: just turn the pedals and let the bike do the rest.
Those who want a bit more clearance over the tyre or more ‘flickability’ can switch to a 27.5” rear wheel via flip-chips in the upper seat stays, and thanks to the aforementioned shock mount adjustments, the bike will ride equally as well as it does in the stock, full 29er option.
The overall system weight of the LTe is a fraction over 23kg – pretty light for an eMTB in this e-enduro category. While that Podium fork adds 300+ g over a FOX 38, the weight still feels balanced on the bike, not significantly front-heavy. I’d love to throw a leg over one of the lower-specced LTe bikes with a lighter fork for comparison, to see if a substantially lower price tag really provides a less enjoyable ride experience.
Geometry
The LTe geometry is comfortably balanced. With a 64° head angle, it’s slack enough to be confidently ripped around any terrain and just steep enough to retain a level of playfulness and keep it nimble and quick through turns, even while climbing. A 78° seat tube angle brings the rider forward into a reasonably forward position for comfortable climbing and ensures the front end doesn’t need any overly pronounced effort to keep down while climbing. A 449mm chainstay, 465 reach (medium frame) and an 808mm front centre measurement put the rider in a nice central position within the reasonably long 1257mm wheelbase.
Component highlights
As you’d hope for on a bike with this price tag, the component selection on the LTe is nothing but top-shelf. I’ve picked out a few highlights below:
Fork – FOX Factory Podium 170mm
A new-to-market fork from the boffins at FOX, oh, and it’s upside down! They seem to have solved all the issues that previously stopped upside-down forks from succeeding, and this fork seriously impressed me. Although it’s not the lightest, some 300g+ heavier than an equivalent FOX 38 fork, the weight is well worth the extra performance. The fork changes direction from compression to extension and vice versa with less effort or delay than a regular fork, in part thanks to its lower unsprung weight and constant lubrication from the fork oil sitting atop the main external seals. Buttery is not a word I thought I’d use to describe this fork, but it is just that. The early stroke is phenomenally supple and even deeper into the travel, it’s evident this is very active and smooth, the wheel sticking to the ground, no chattering, jarring or feeling like the fork is overwhelmed, just a precise, controlled feel.
With much larger bushing overlap than a standard fork, which keeps the legs stiff and parallel to each other, there’s less binding as the fork legs compress, helping maintain the smooth action. Even under heavy braking down rough, steep sections of trail, there was not once when I even began to explore the limit of the fork.
There’s ample adjustment on offer on the Podium, with the GRIP X2 damper. You’ll find high and low speed compression and rebound adjustments, as well as the ability to add volume spacers. There’s a tonne of tunability available. On most bikes, I use manufacturer-recommended settings as a baseline, then tweak settings from there. On the LTe, to my surprise, I found that Yeti’s suspension setup calculator gave me ideal settings for everything, right down to tyre pressure, so I didn’t see any need to go outside these.
The only downside to the Podium at this stage, if I’m getting picky, is wheel installation. When the axle is removed, the lower fork legs can rotate, making it more difficult to reinstall the wheel and axle than with a traditional fork. Once again, a small price to pay for the performance this design offers. If, like me, you’re often unloading the bike from a vehicle after taking the wheels off, and in a hurry to get going, lining the dropouts up with the axle and wheel can take a few deep breaths!
SRAM Selections
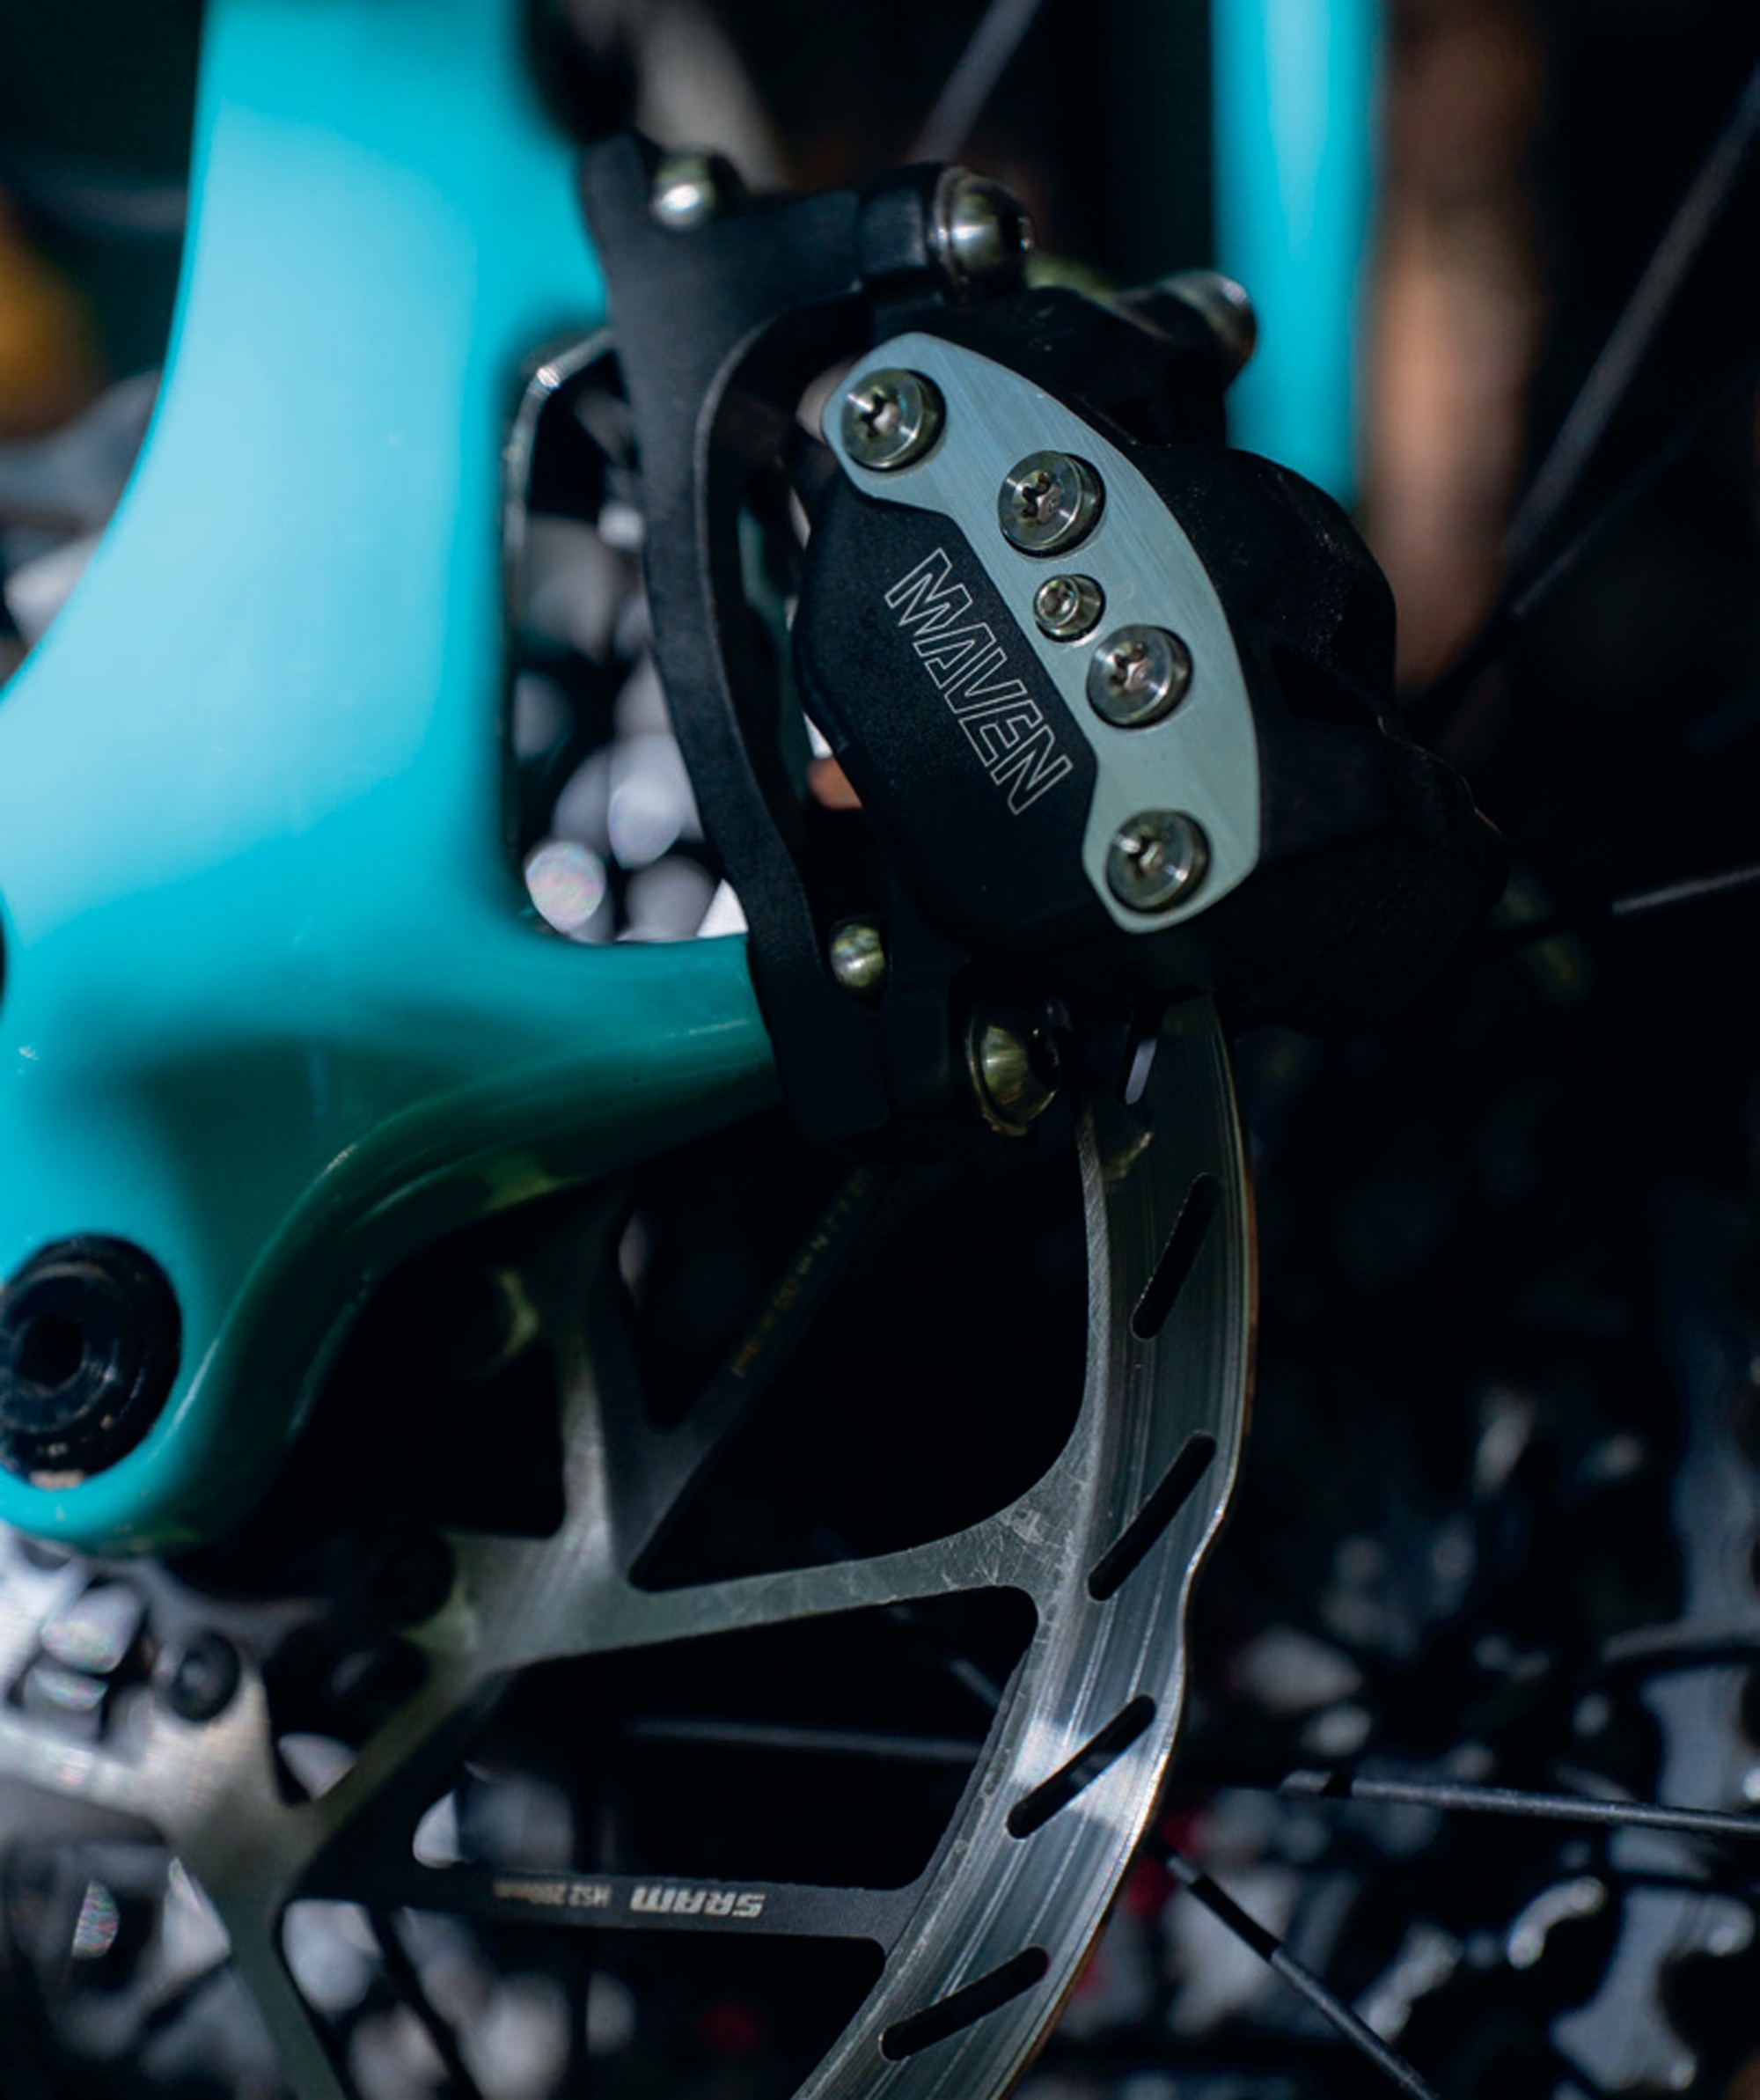
With a SRAM XX drivetrain and 165mm cranks, you can’t go wrong. Although a 160mm crank would have been better, it’s not available at the XX level. This t-type Transmission is at home on an eMTB, and when combined with SRAM’s Maven Ultimate brakes, it’s the perfect combo for speeding up and slowing down. Dropper post duties are handled by a RockShox Reverb AXS 175mm post on the medium bike, while large and XL bikes use a 200mm post, and the Small frames use a 150mm post. Another great spec, but I still find it hard to accept the bulbous battery and control unit on this post – unsightly at best. Thankfully, it works like a dream!
Tyres – Schwalbe
The best suspension and bike setup can be let down by bad tyre choice or wrong tyre pressures. I found the Schwalbe Magic Mary Trail Pro 2.5 Radial Ultra Soft on the front, coupled with the Schwalbe Albert Gravity Pro 2.5 Radial Soft, to be wise spec choices by the product managers. Having never ridden radial tyres before, I wasn’t sure what to expect. Once inflated to the recommended 29psi rear and 28psi front, much higher than my normal pressures, I discovered why people have been singing about these tyres: supple, fast and grippy all sum up the radials.
With a lighter trail casing and ultra-soft rubber up front, and a heavier Gravity casing and sturdier rubber out back, there was no need for concern on any terrain I put them on. There was enough support and traction to keep the bike well under control, although on rocky, high-speed trails, a Gravity casing up front may be preferred. I didn’t get to test them on a super-wet ride, so I’d be interested to see how they perform in those conditions. Judging by the height of the tyre knobs, I doubt there would have been a need to use anything else.
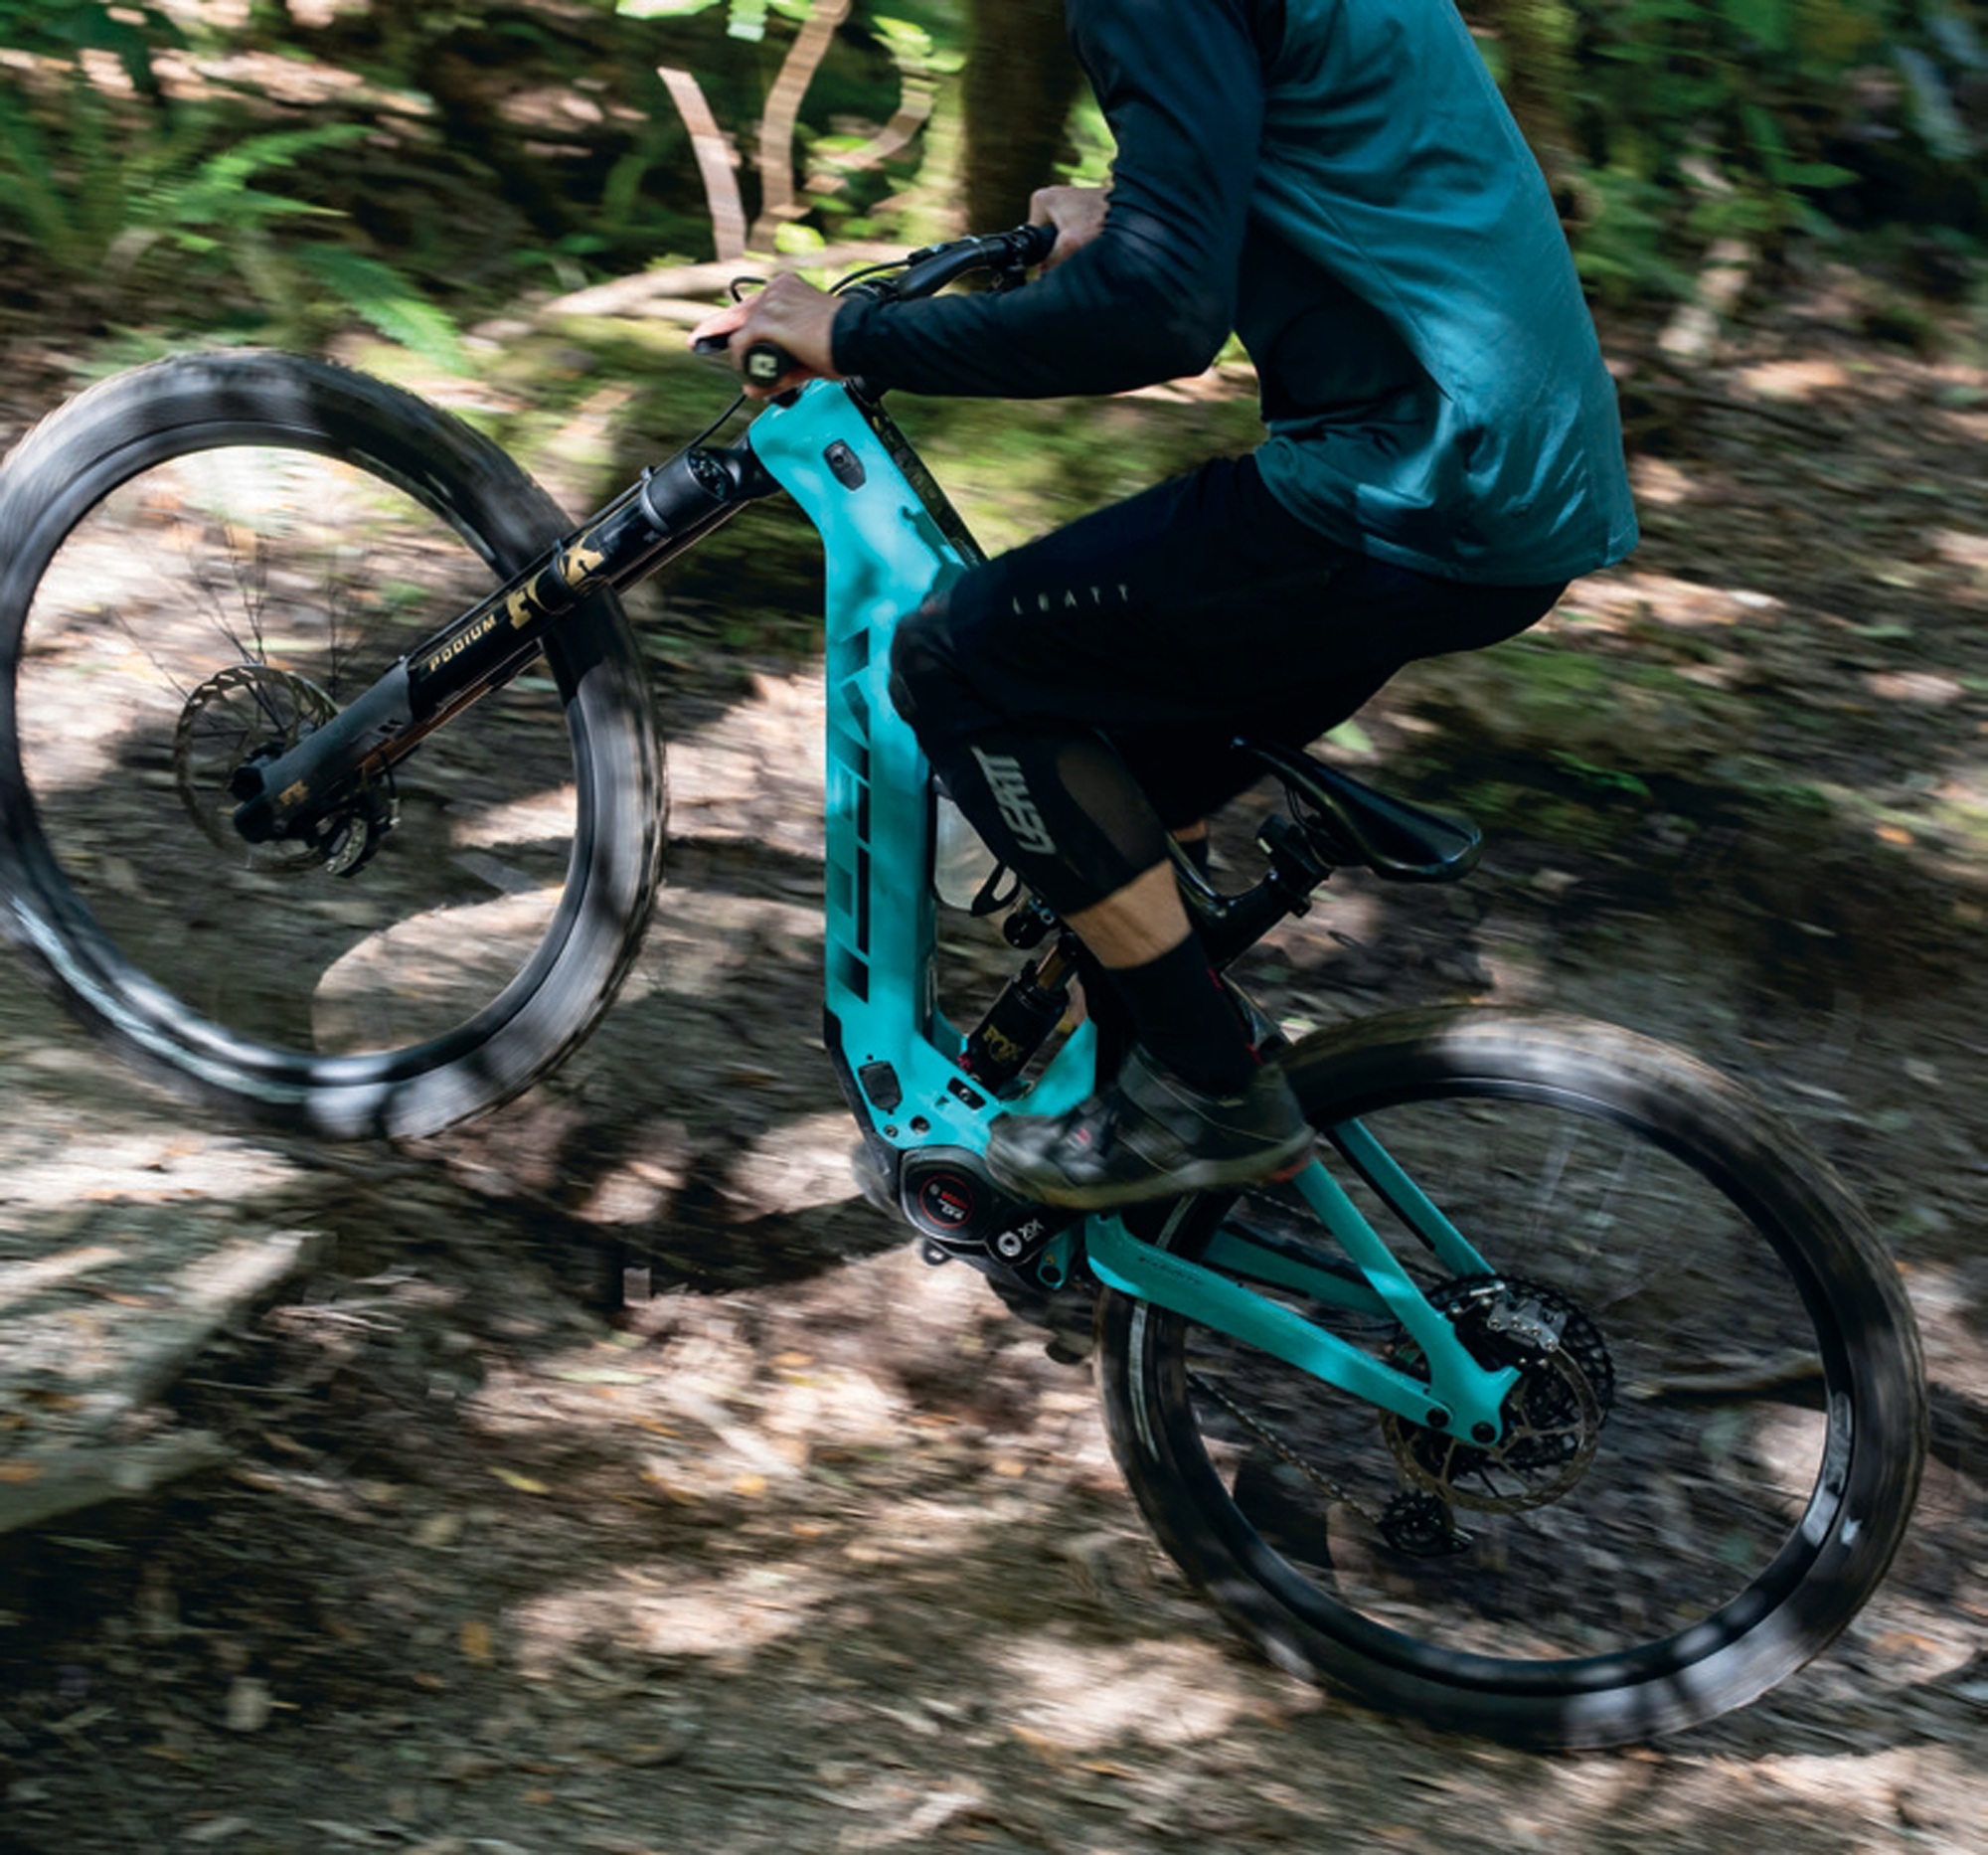
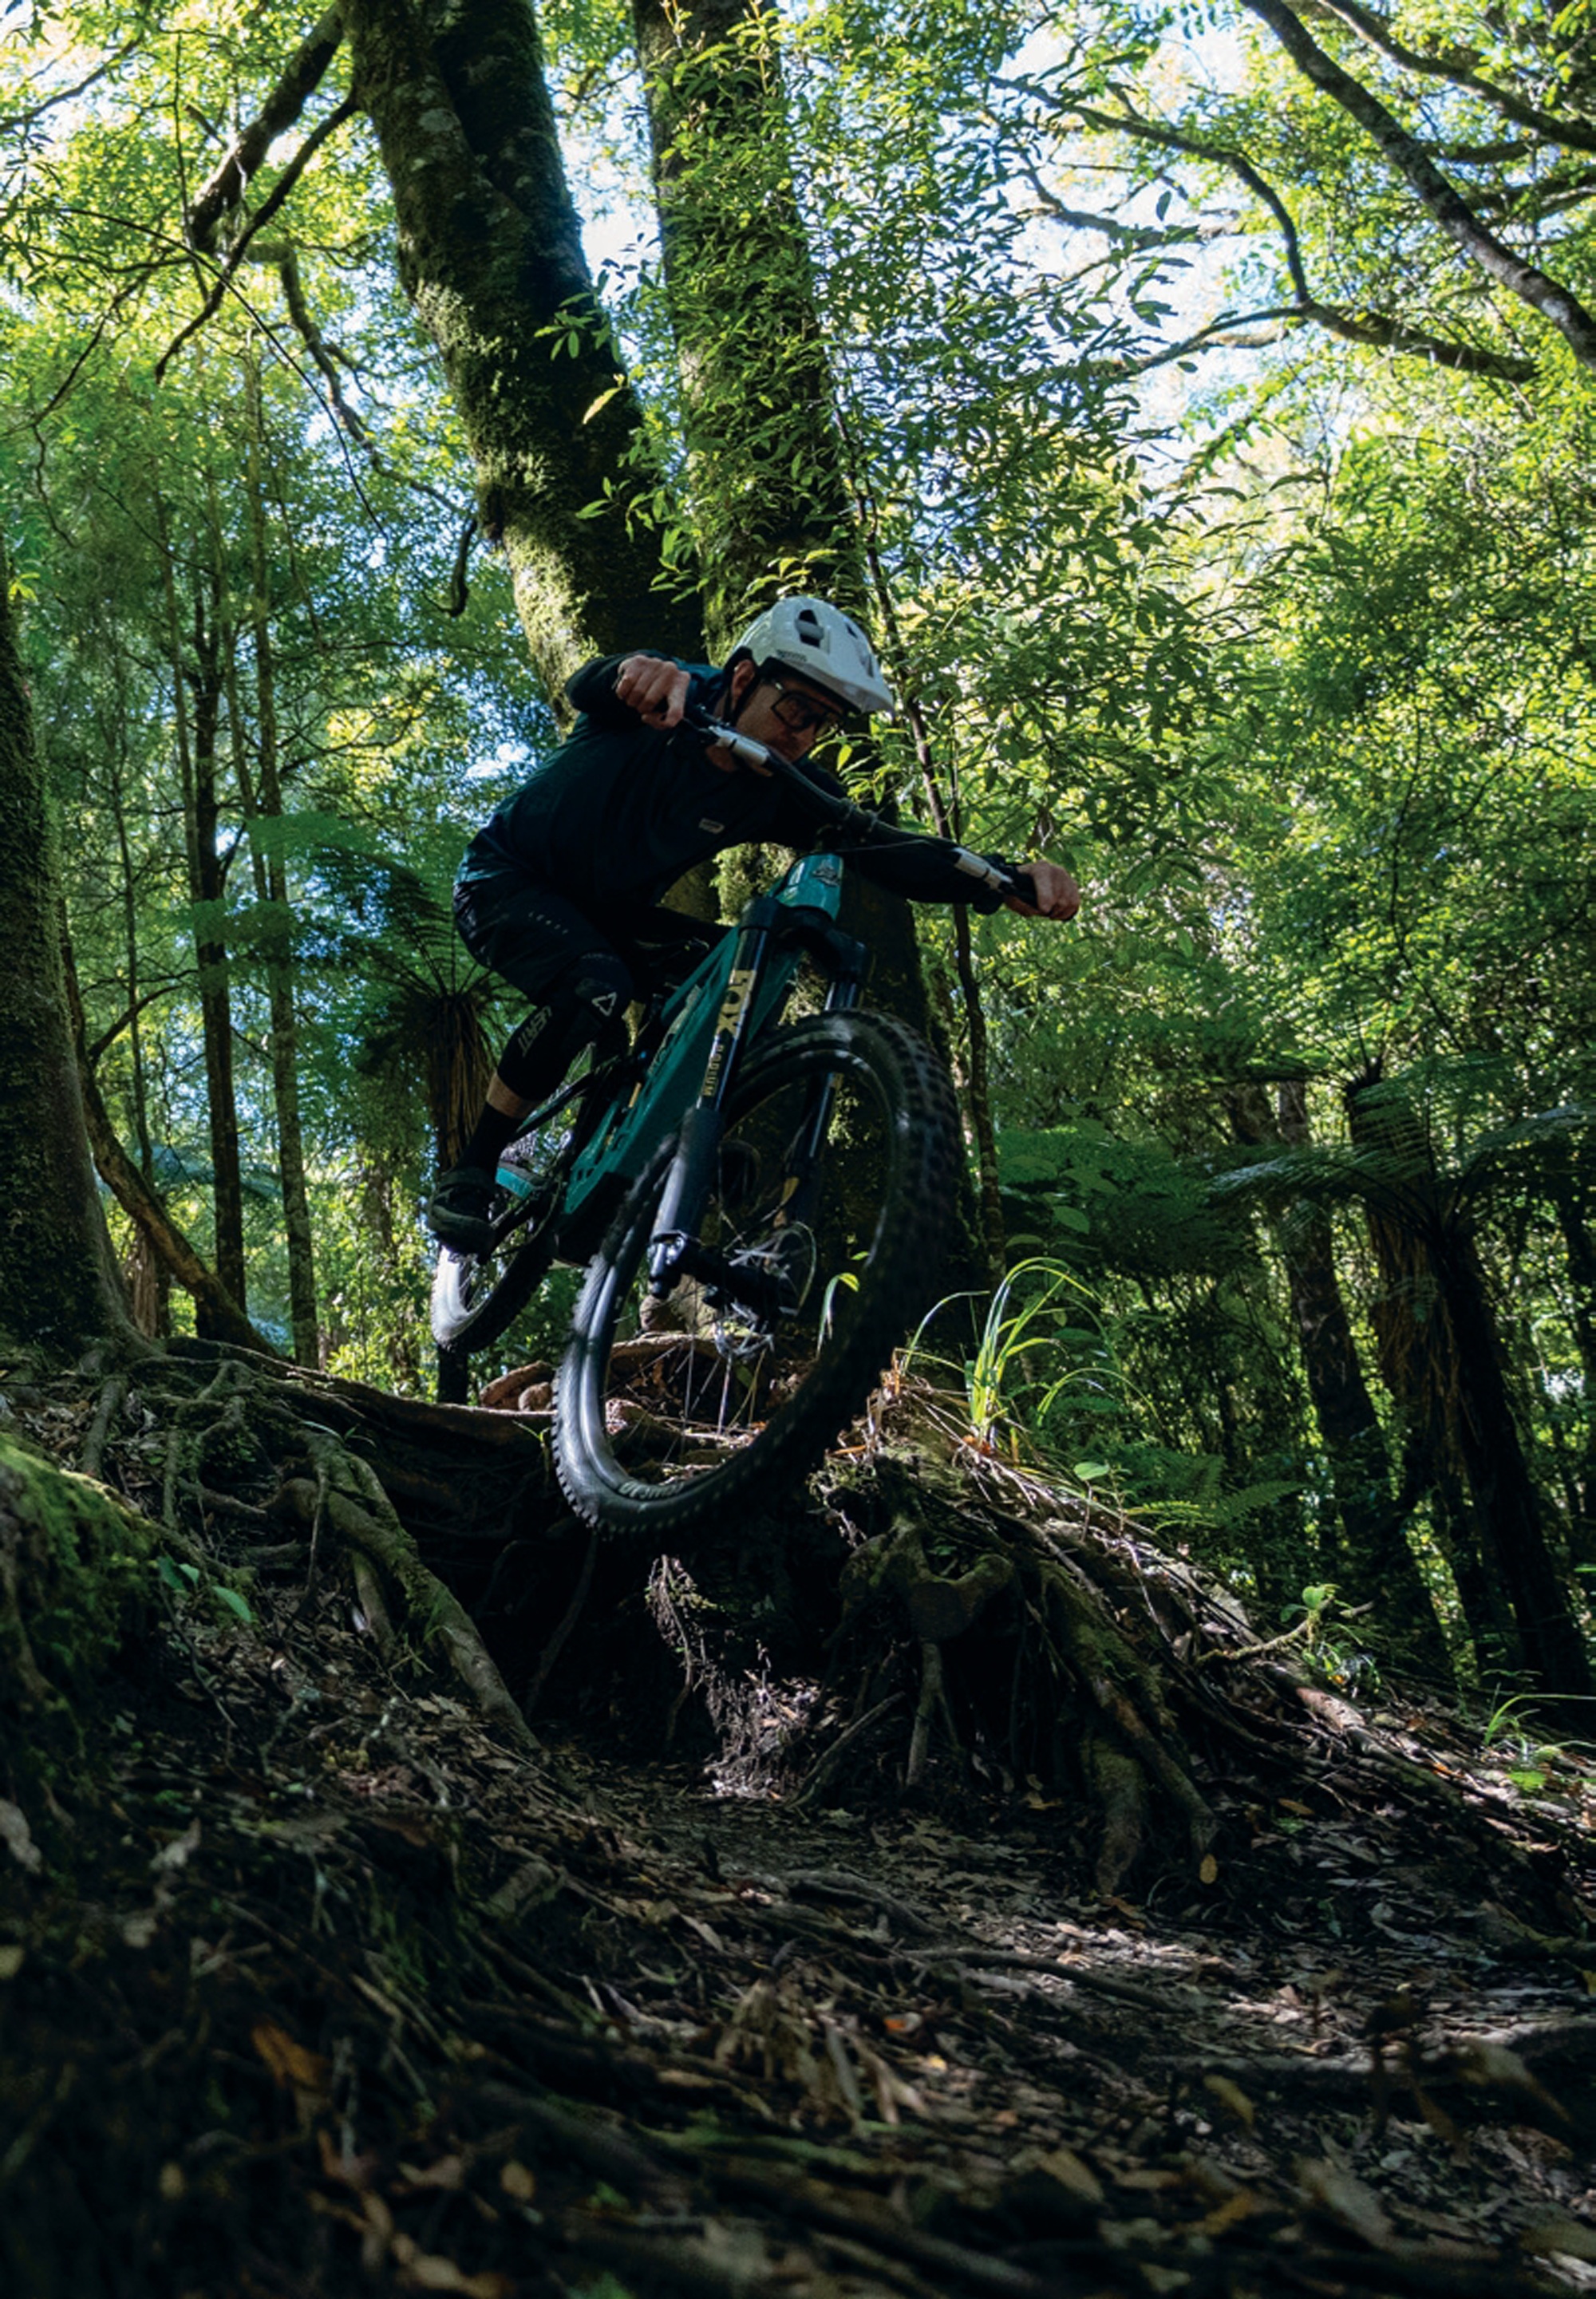
Riding the LTe
The LTe is the best eBike I’ve ridden, and potentially the best overall bike I’ve ridden, full-stop, end of story. Set up was effortless thanks to Yeti’s suspension setup web app. I found no reason to change anything from their recommended settings after some initial pressure adjustment and dial twiddling. The medium bike was perfect for my 176cm height, and everything felt in the right place, even down to the handlebar width. I’ve reviewed other high-priced carbon eMTBs with similar drive systems, and I couldn’t get the setup to feel great, even with a reasonable amount of setup time and head- scratching, so it was nice to just hop on and go.
The LTe is designed with a downhill focus, and that’s where it really shines, although climbing is also excellent. Manoeuvring up and through technical climbs was on par with other high-end eMTBs I’ve ridden. Nothing really puts it head- and-shoulders above, and in some ways, the excess weight of the fork makes it marginally more challenging to pull up over obstacles. Fortunately, that Bosch CX-R drive unit has enough torque on tap to pull me up anything.
Generally, I blasted around in eMTB+ mode, the Dynamic Control aiding traction when the terrain was loose or slippery. Race mode was reserved for sections of climb that I wasn’t really sure I could get through, releasing all the power of Race mode in the hope it would pull me through. The Race level of assistance was more than I needed most of the time and often required more man-handling, and thought about how best to apply power to the pedals. This bike needs to be ridden hard to get the most out of it and really see where it shines. Descending is where the LTe really comes into its own, largely thanks to that Sixfinity linkage and the top-shelf suspension, but also the brilliant selection of components. For example, sub-par brakes would totally kill the vibe on this bike, regardless of how good the suspension platform is.
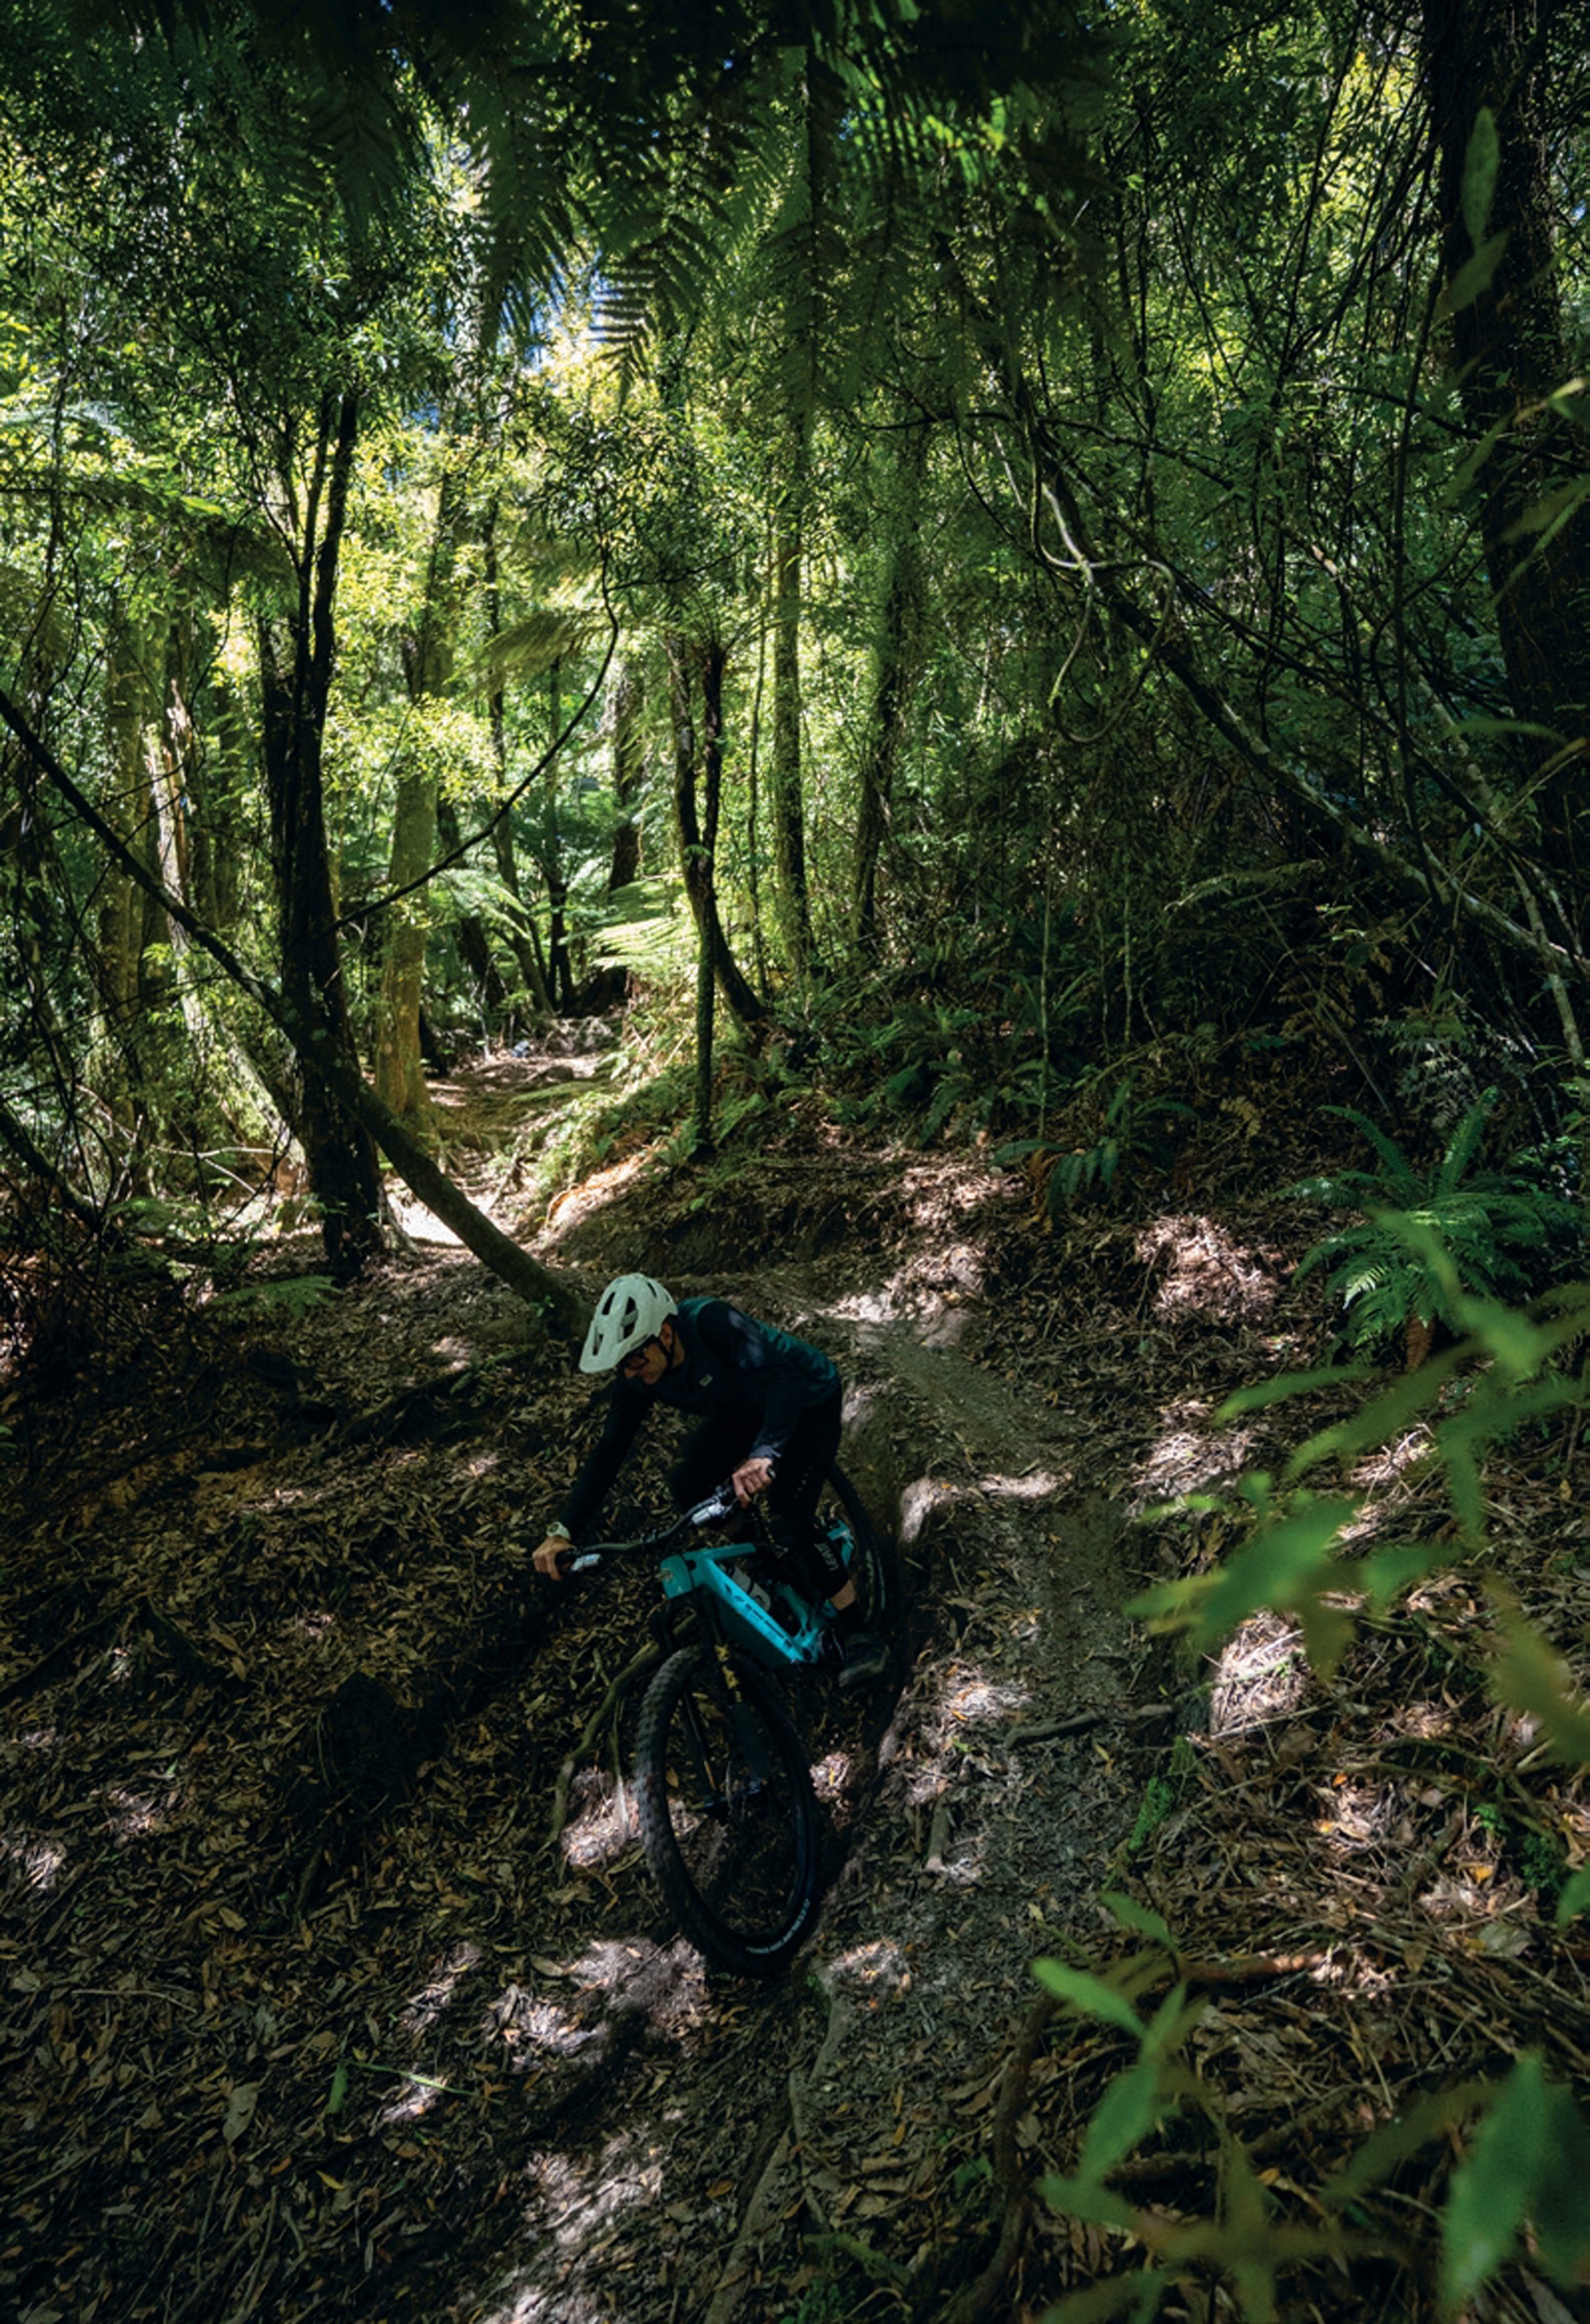
When throwing the LTe down a reasonably technical trail, I got the feeling the bike was just asking for more. The only limiting factors to how fast it could go were my skills and my level of self-preservation. The bike could handle much, much more than I was prepared to give it. Some laps through Rotorua’s Tuhoto Ariki and Kataore native bush trails really shone a light on how good the bike is as a whole.
Swooping turns, both bermed and flat, with roots, were no bother. Even with a reasonably long wheelbase, the LTe was easy to change direction in turns and held a line exceptionally well. At slower speeds, the weight of the fork was evident, but once I opened the taps into some of the faster sections of trail strewn with steps, roots, and heavy hits, I forgot that weight altogether.
The LTe’s suspension rewards speed and aggression, and once at a decent cruising speed, the trail seemed magically smoother. Even under heavy compressions, the bike was calm and predictable, and there were no “wow that was close” squirrely moments. I’ve certainly had moments on other eMTBs where the bike squirms underneath me, feeling like a wound spring as it’s nearing the end of its travel, and as it rebounds it’s a bit like releasing a wild dog to chase a rabbit: I’m not sure what to expect, but sure it’s going to end in carnage!
Although there’s a feeling the bike is like a plough smoothing out the trail, it’s still quite spritely. There’s enough support in the suspension, and the overall light weight of the bike means it’s able to be bunny-hopped and unweighted over trail features, and popping off bumps or jumps doesn’t require excess effort.
On the steep, while braking heavily, the LTe maintained a high level of composure. The balanced geometry and buttery suspension ensured the tyres tracked the terrain, keeping as much traction as possible. I felt comfortably centred within the bike, no feelings of the front end diving and that I’d be pitched out the front. Equally, I didn’t feel like I was a passenger needing to push off the back too far while dropping down near-vert faces, just a level of composure I haven’t found on an eMTB before.
Rough off-cambered sections or getting to the highest of high lines into turns were both areas where the bike shone; again, the suspension, tyres and geometry worked together for pinpoint precision. See a line you want to get to? Go there. No questions asked. It took me a couple of rides to really unlock the confidence to go pretty well wherever I wanted on the trail. As I mentioned earlier in this piece, my skills and self-preservation were the limiting factors. Still, the bike gave me confidence to push both of these further than I’d be comfortable with on many other bikes.
To sum up, the Yeti LTe not only meets the mark for a high performer but surpasses it. It’s an all-around exceptionally fun and capable bike to ride, and the fact that it’s an eBike just opens up more possibilities for how many after-work downhill laps could be ridden and how much steeper and sustained the climbs it could go up, versus an ‘acoustic’ bike. Ultimately, I think the LTe rider’s cheesy grin will be just that bit bigger thanks to the pedalling assistance on offer over a non-eBike equivalent.
While I was testing the LTe, I also had a couple of lower-specced, alloy-framed eMTBs in the stable. Jumping between this $25k beauty and a $9k alloy bike, the difference between the two couldn’t be more pronounced. On every level, the more expensive bike was better – maybe not $15,900 better – but the two ride experiences couldn’t be further apart. In isolation, either bike was capable and fun in its own right. But once ridden back-to-back, the differing experiences showed me that between the high-end and let’s call it low-end of the eMTB spectrum, the experiences are so different they almost can’t be compared, a little like a Formula One car vs. a Honda Civic. They both have a frame, motor, and wheels, and both can be super fun to drive, but from a high- performance aspect, when piloted by a driver (rider) who can feel the nuanced differences between the two, there’s a vast chasm between
Produced in partnership with Bosch eBike Systems
SRAM Maven B1 Brakes
Words Liam Friary
Images Callum Wood & Sven Martin
It wasn’t that long ago that the original Maven launched. Two years on, extensive feedback from World Cup racers, everyday riders, and bike brand partners has shaped the next generation. The result is a brake that feels more intuitive, more controllable, and more confidence-inspiring whilst not replacing the ethos of the original Maven. The biggest change in the updated Maven is a redesigned SwingLink, the internal cam that controls how power builds as you pull the lever. To appreciate why it matters, it helps to understand what the original Maven was doing in the first place.
The first-generation Maven (A1) used a low starting leverage ratio, designed to minimise deadband. You know that brief dead zone at the top of the stroke before anything happens. The result was a very short, snappy feel – pull the lever and the power is right there. It was all brake, all at once, which some found getting used to. For me, initially it was full on, then I got used to it. But it was either on or off and not much in between. That low starting rate is what created the A1’s distinctive ‘cam-over’ feeling – a magnetic, almost binary engagement. In the field, some riders liked it and others didn’t.
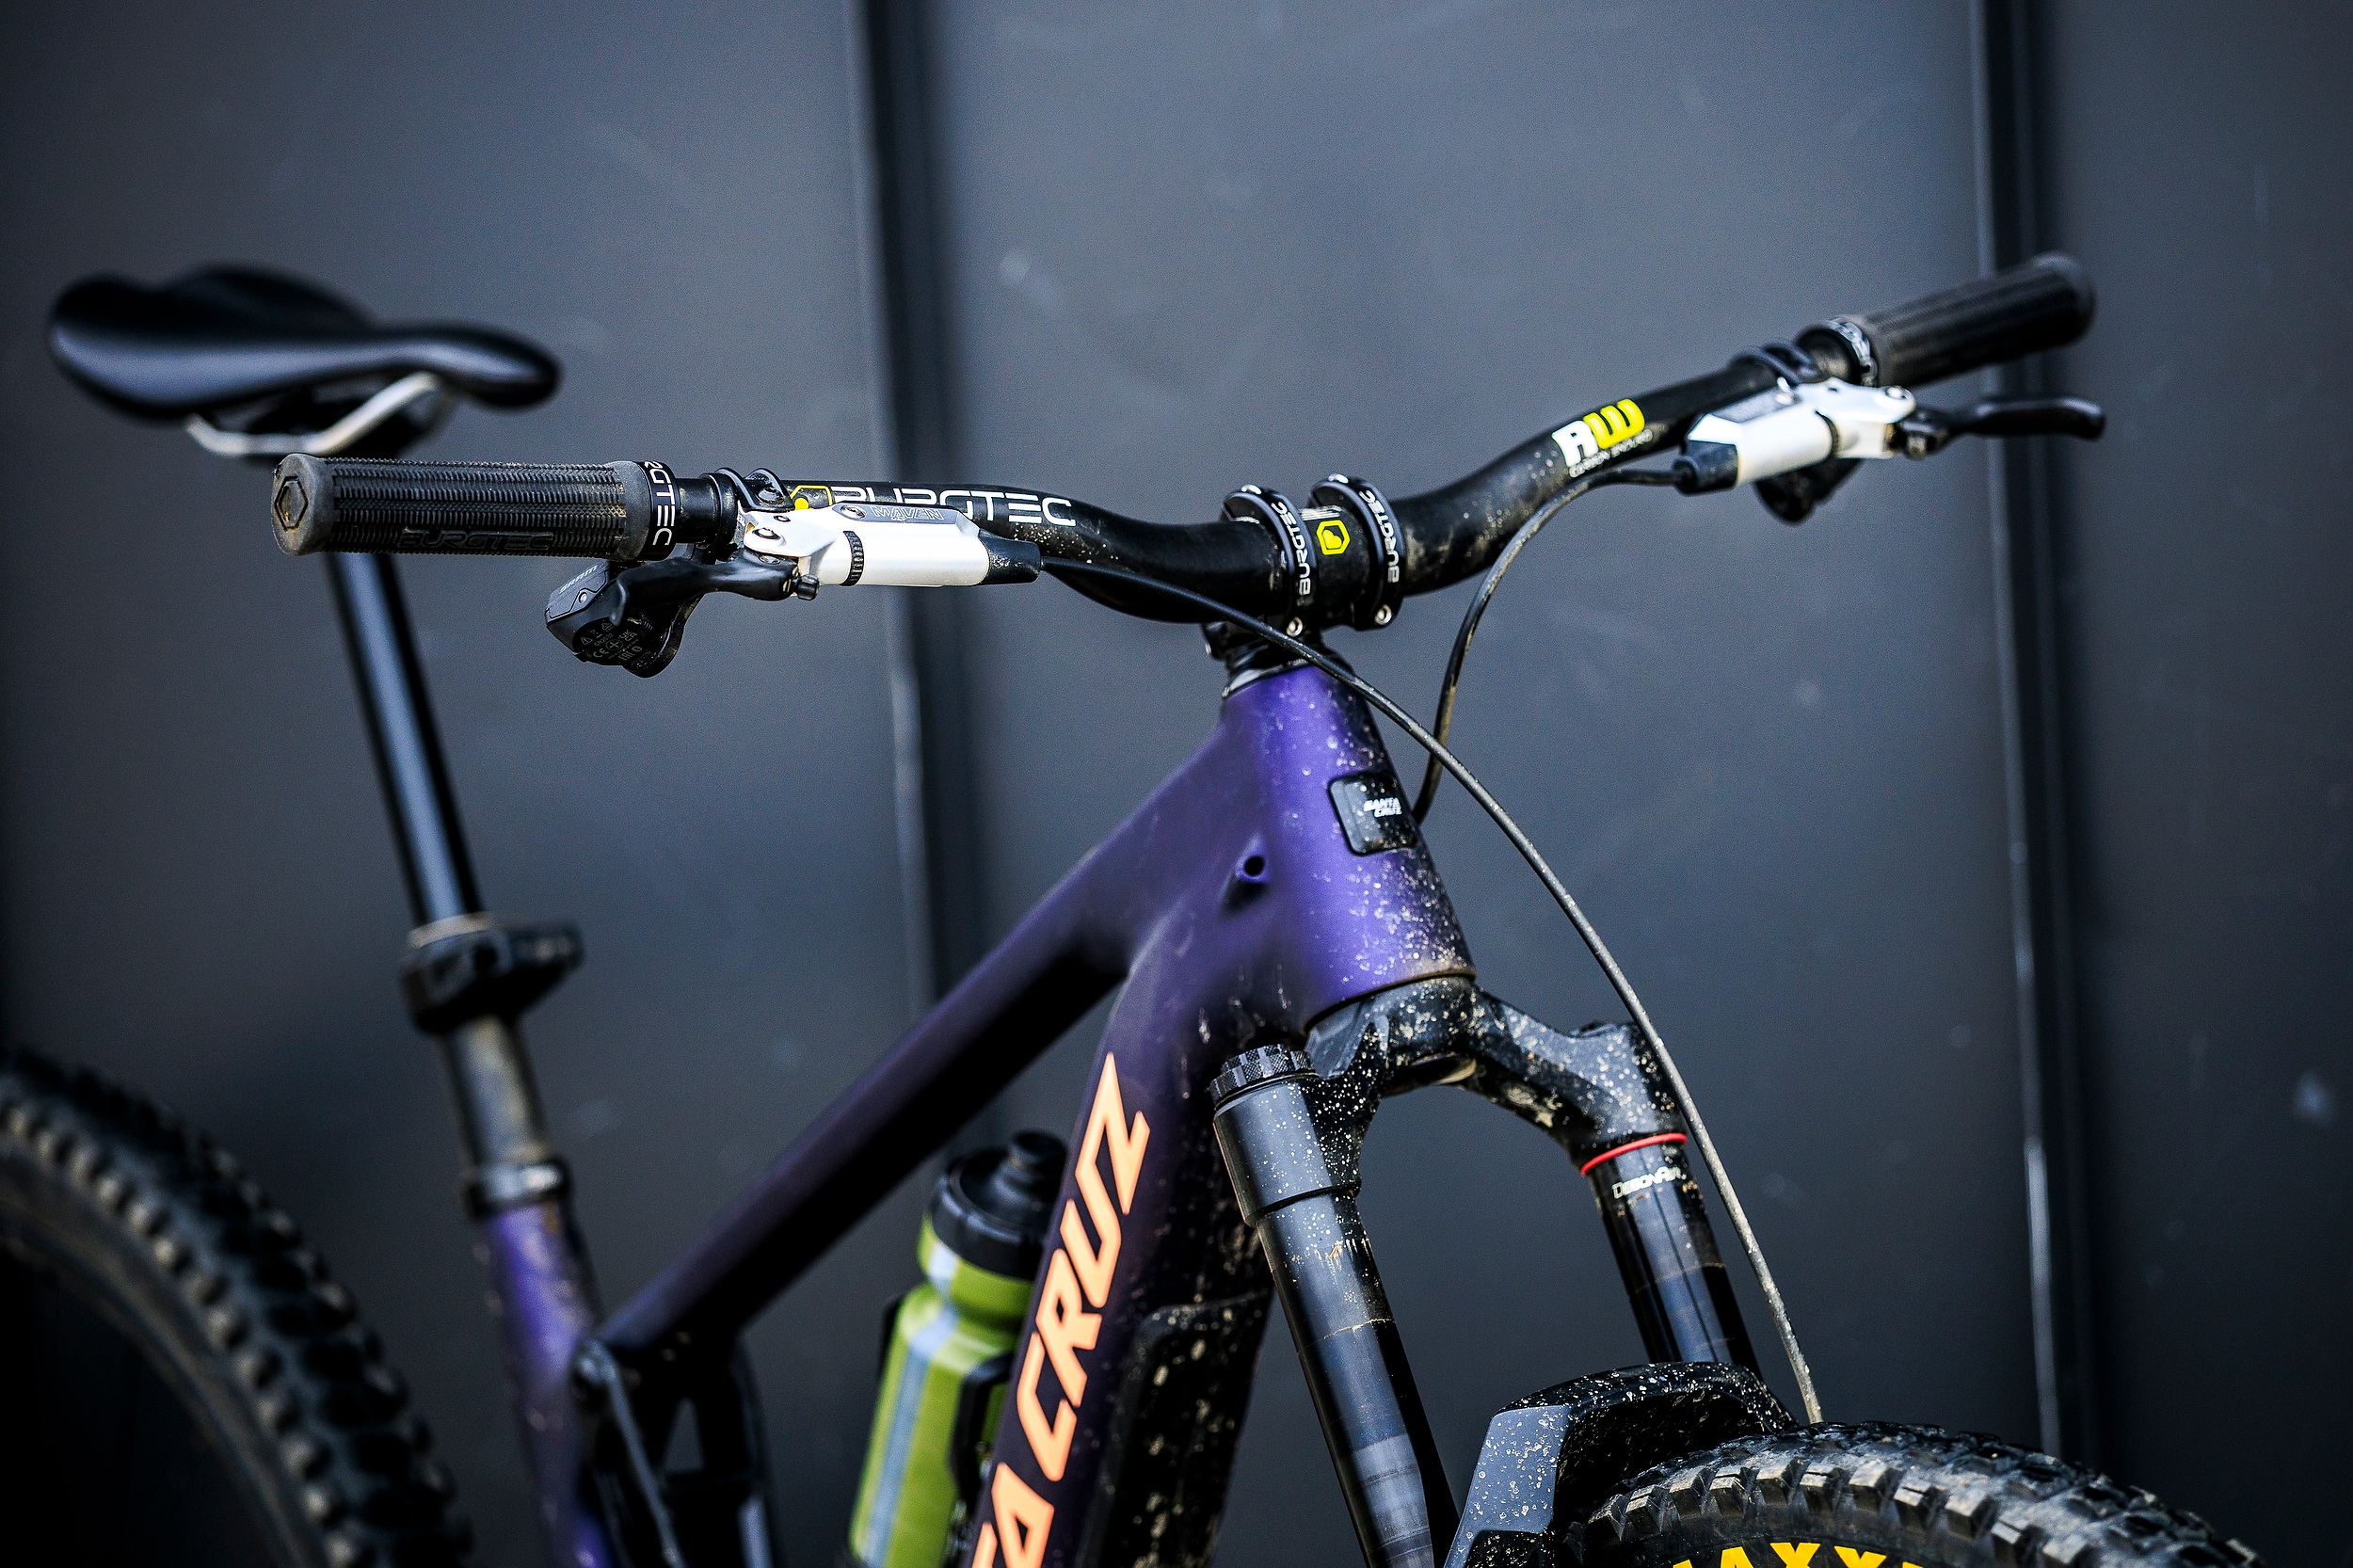
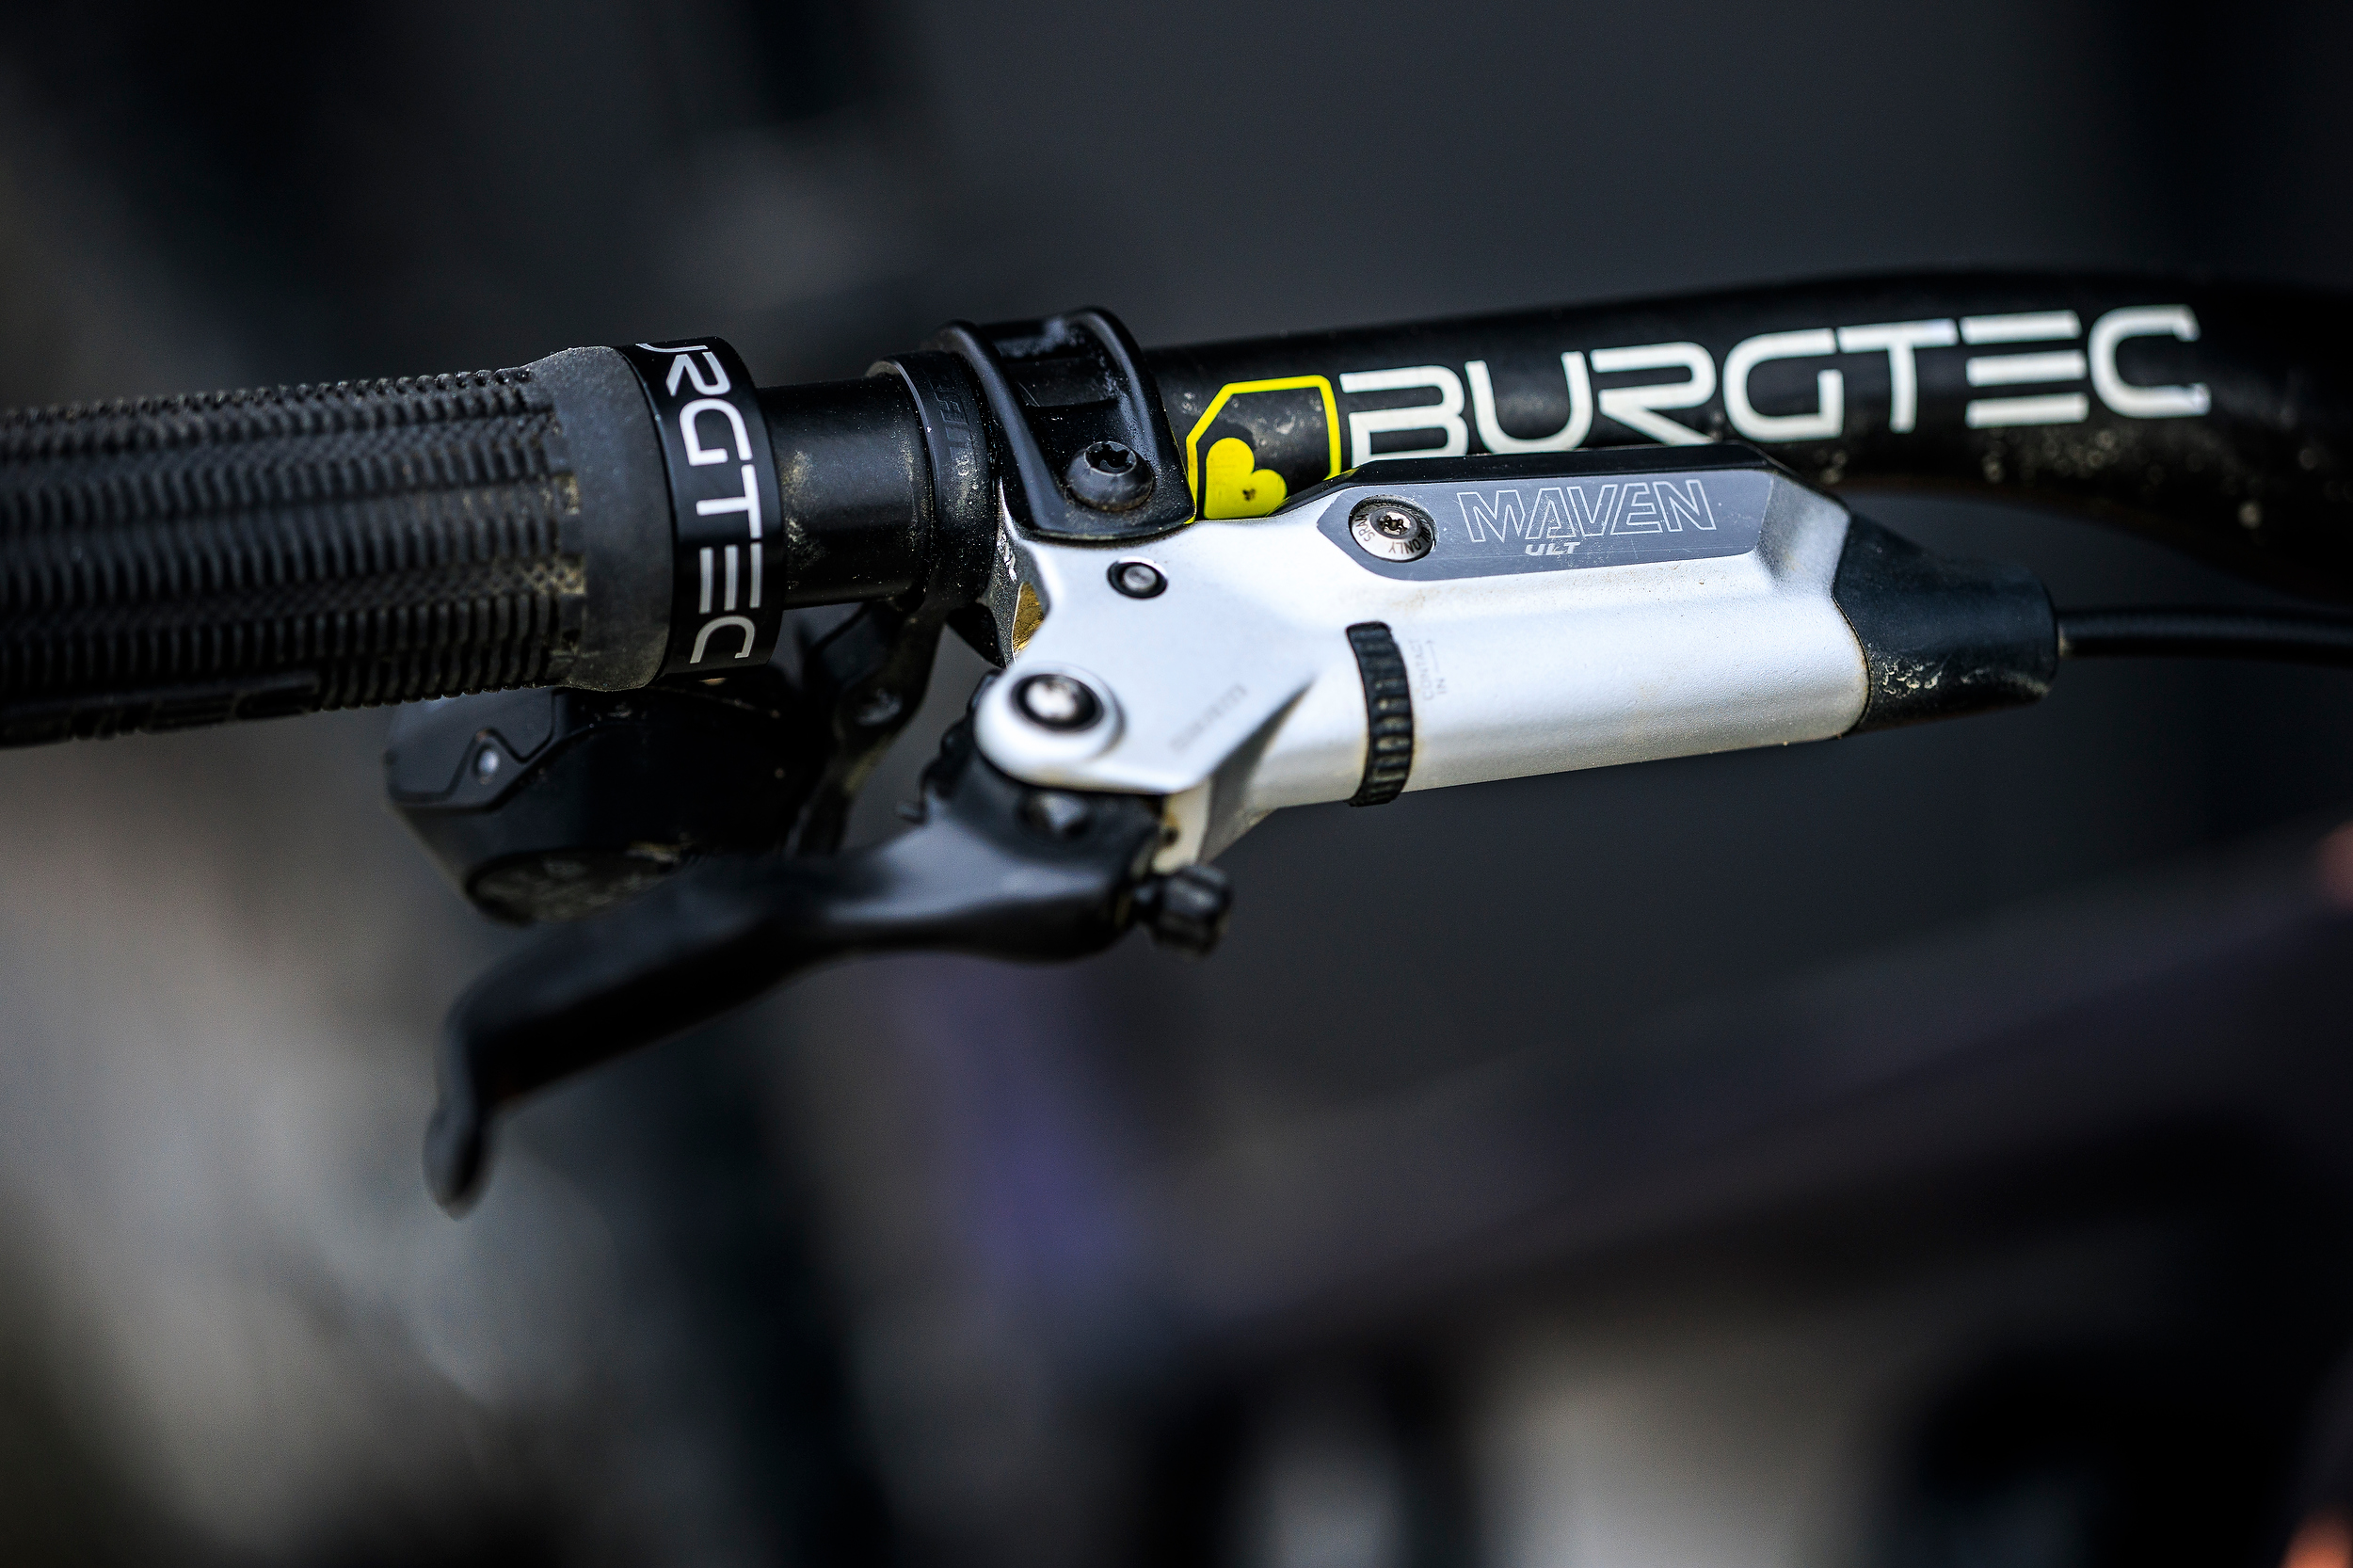
However, Maven Base sits at the opposite end of the spectrum. Rather than a SwingLink cam, it uses a simpler DirectLink lever architecture for a very light, linear feel from the top of the stroke all the way through. There’s a touch more deadband than the A1, but the unhurried, progressive character was widely appreciated when it launched quietly alongside the Maven lineup. Its positive reception was a big part of what motivated SRAM to rethink the SwingLink-equipped models.
The new B1 SwingLink finished in gold to distinguish it from the original red cam, splitting the difference between those two approaches. The initial breakaway force drops from 8 Newtons on the A1 to 4.25 Newtons on the B1, nearly halving the effort needed to get the brake moving. That lighter engagement flows into a smoother, more linear leverage curve through the mid-stroke, where most braking actually happens. Then, at the end of the stroke, the leverage ramps up again to ensure full peak power is still there when you need it. The three goals SRAM set for the project were more control, more predictability, and the same power. The B1 SwingLink delivers all three.
Reworking the SwingLink had a knock-on effect that needed managing. A higher initial leverage ratio means more mechanical advantage at the point of pad contact. Put simply, left unchecked, the B1 would have bitten harder at initial contact than the original Maven, which clearly isn’t the goal. To balance this, SRAM made a deliberate change to the caliper.
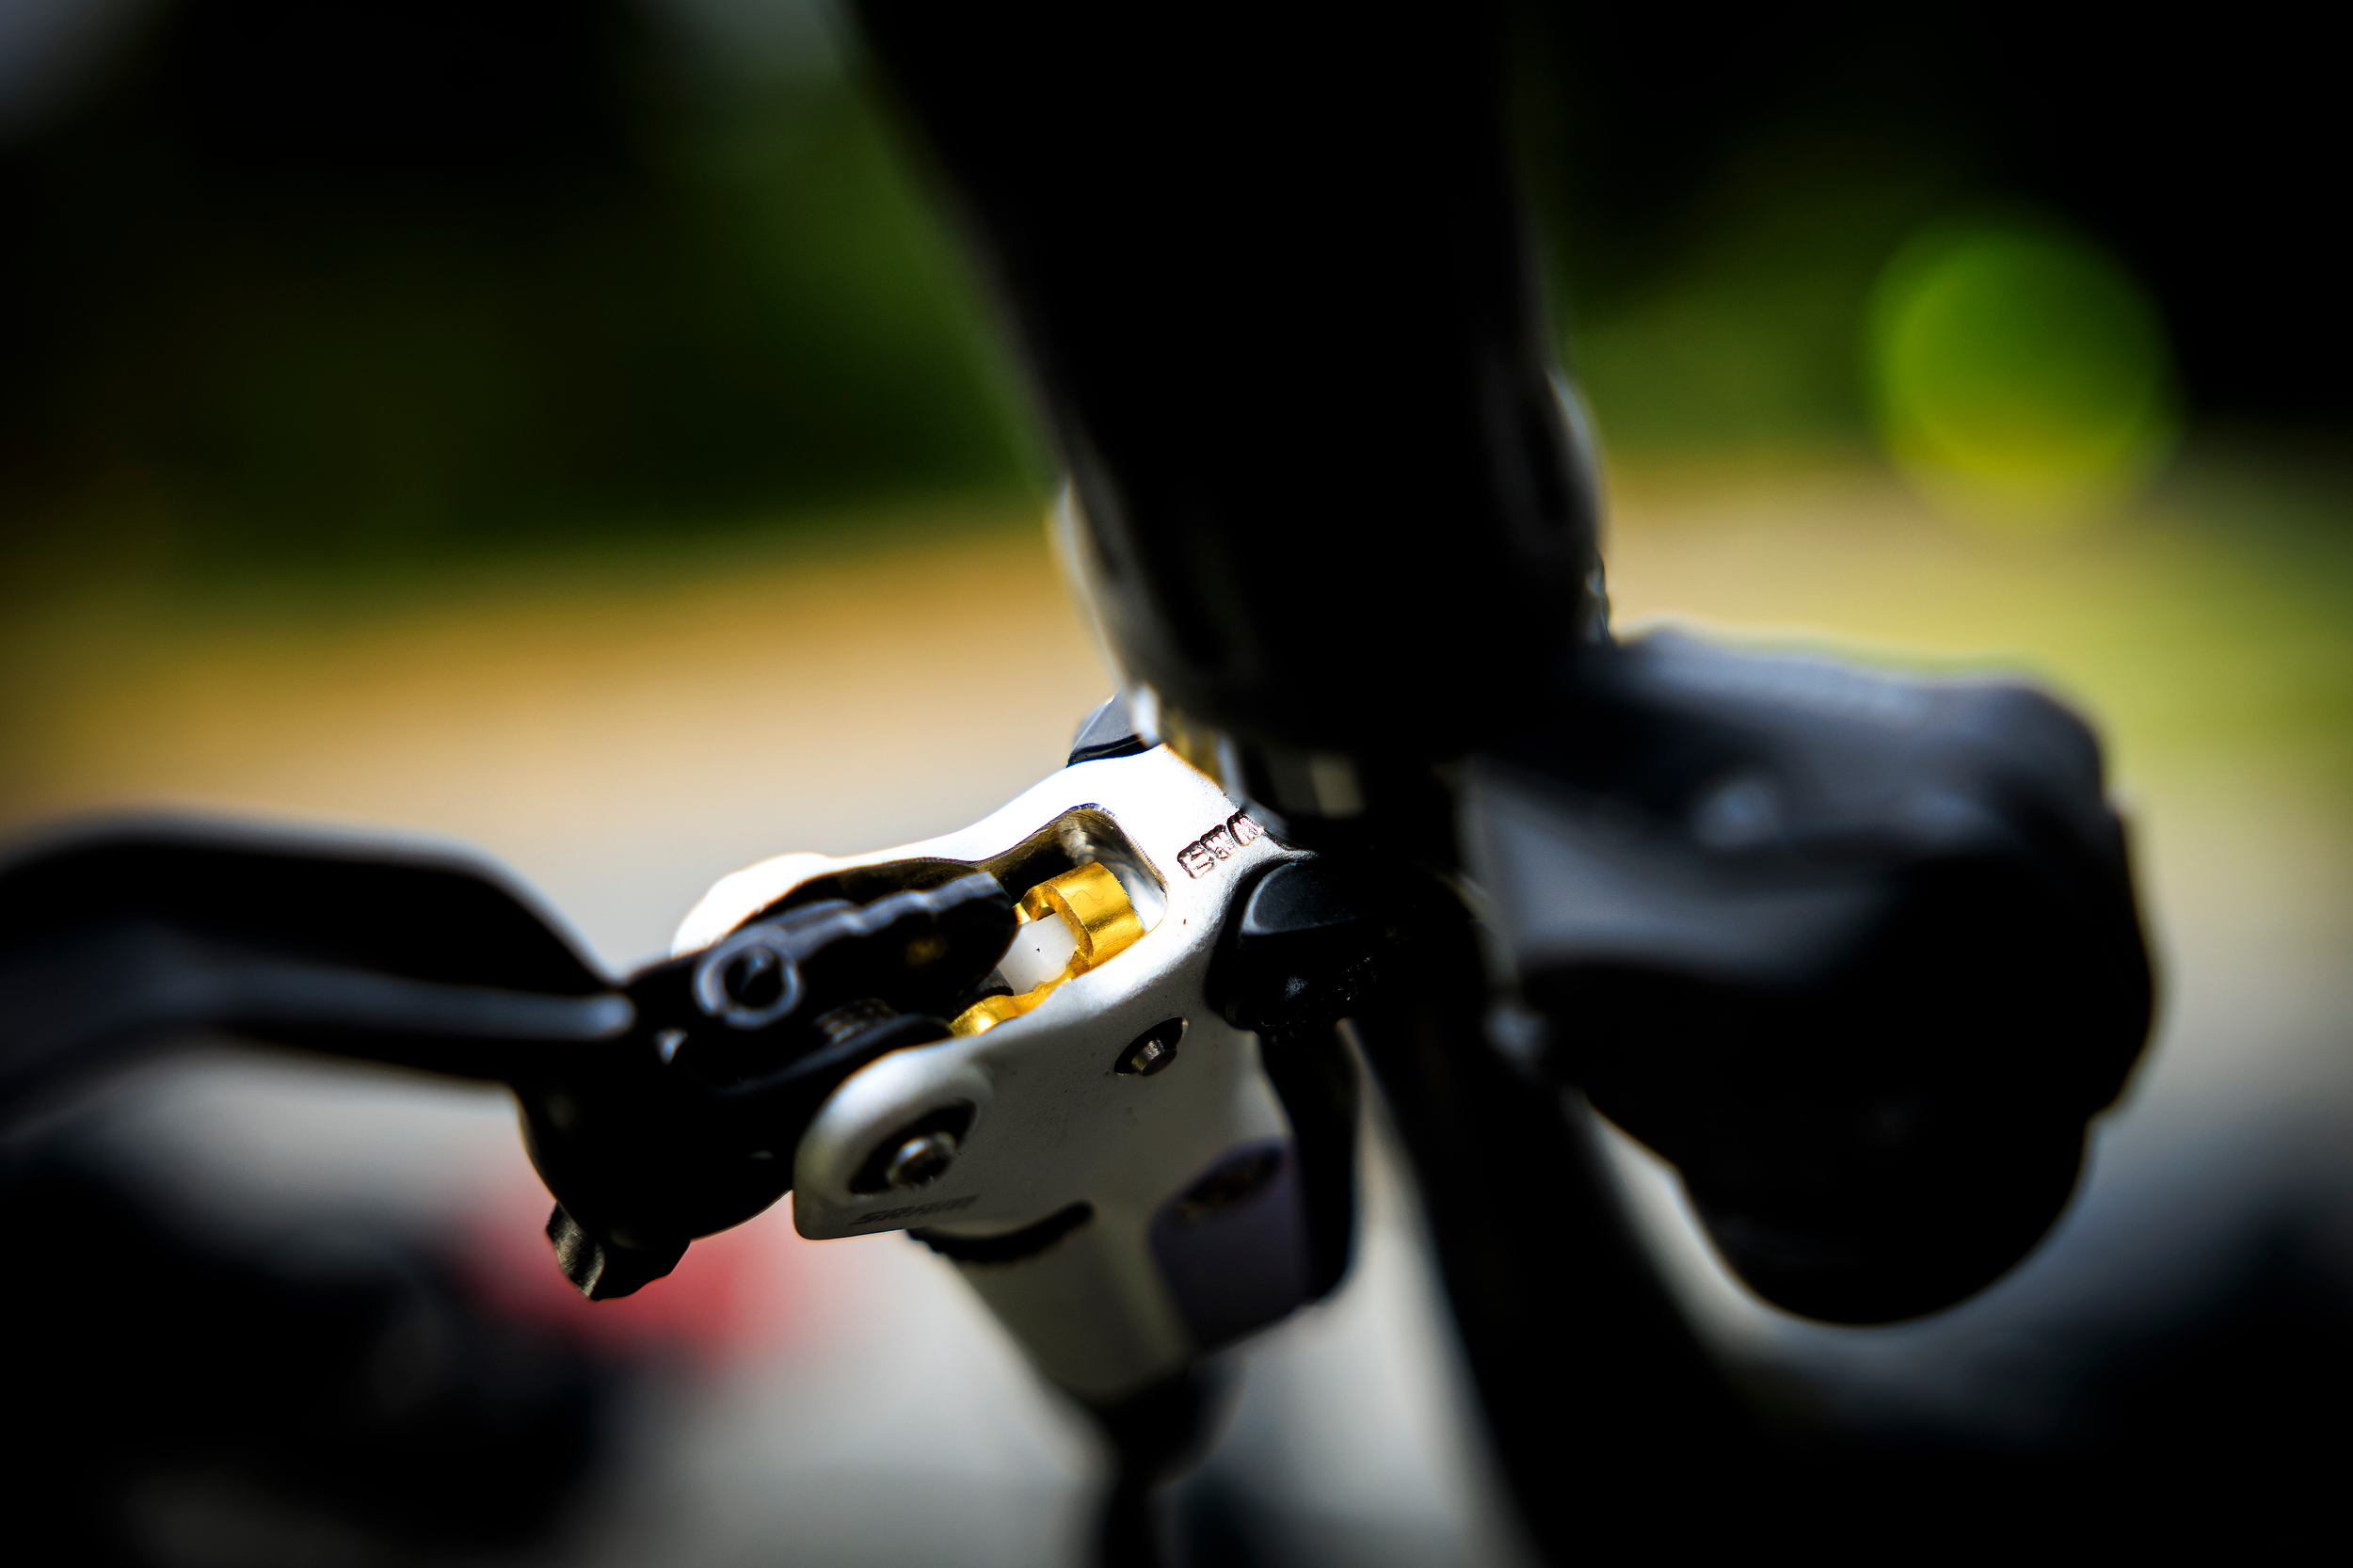
The original Maven A1 caliper used two 18mm pistons and two 19.5mm pistons. The B1 moves to four 18mm pistons, the same layout as Maven Base. The slightly reduced hydraulic ratio at contact offsets the higher mechanical advantage from the new cam, so the overall feel at pad engagement is more controlled and predictable while peak power remains the same. As the SRAM engineers put it, they’re still baking the same cake; they’ve just adjusted the recipe.
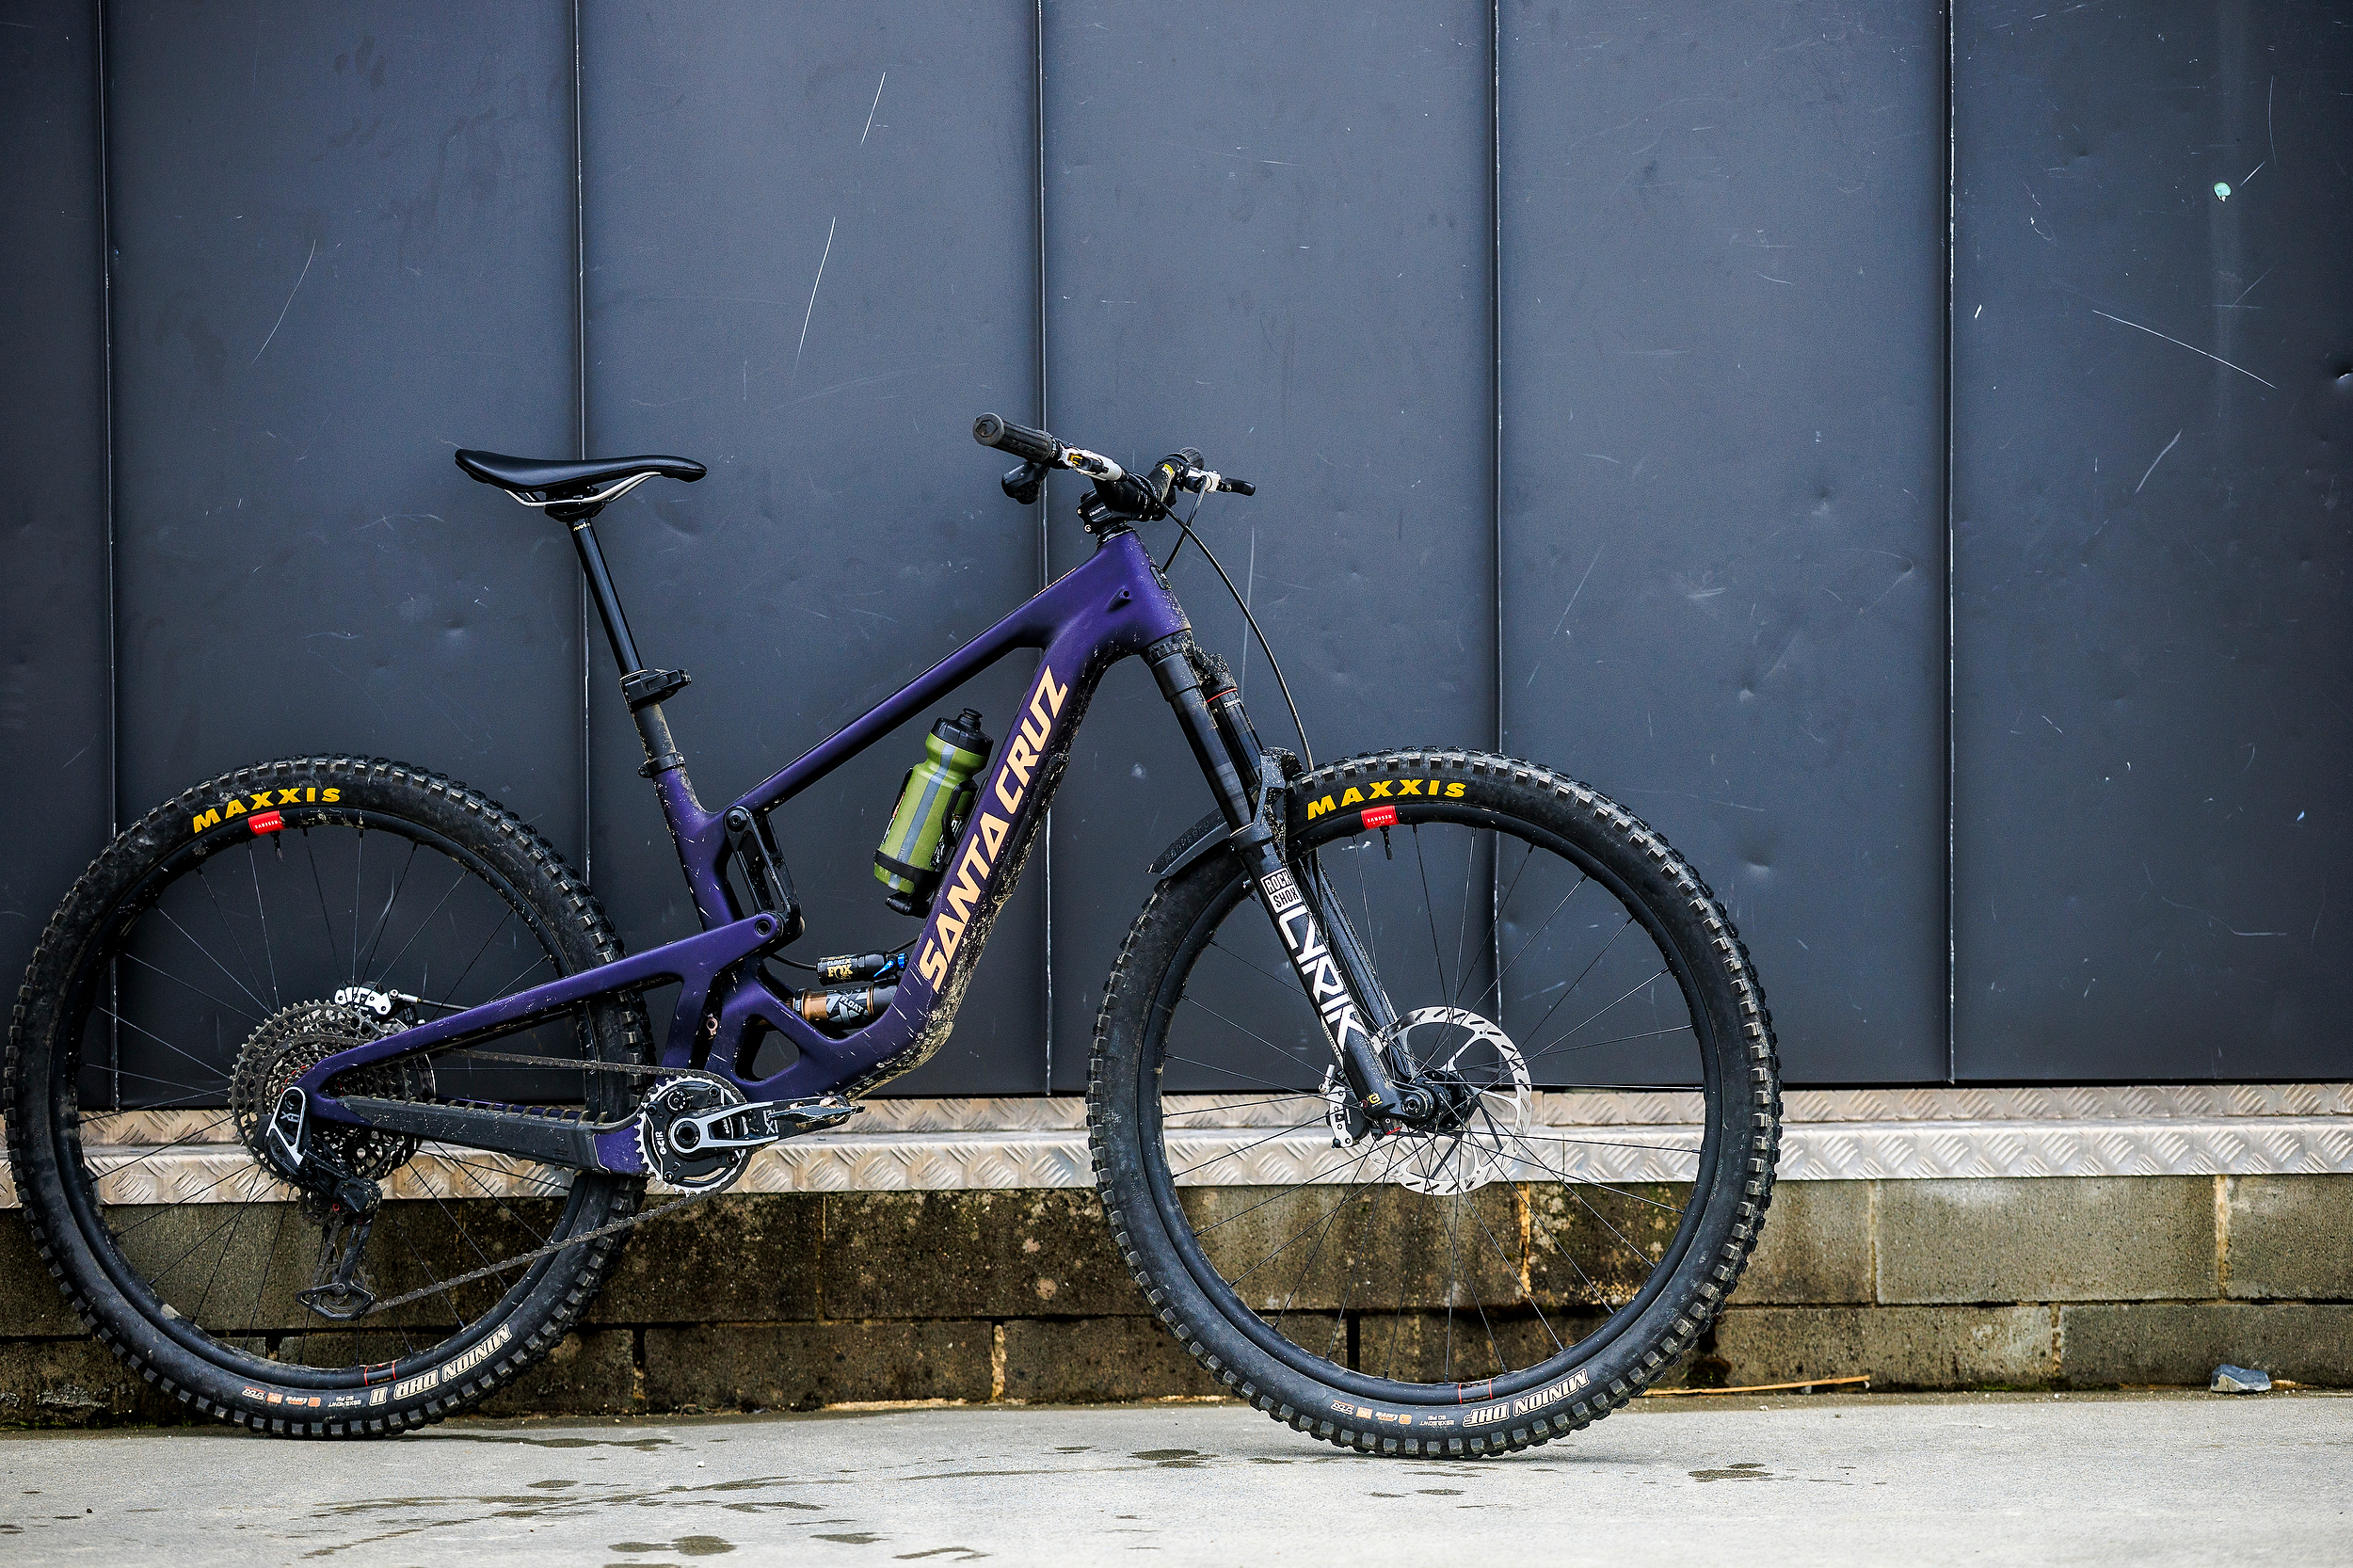
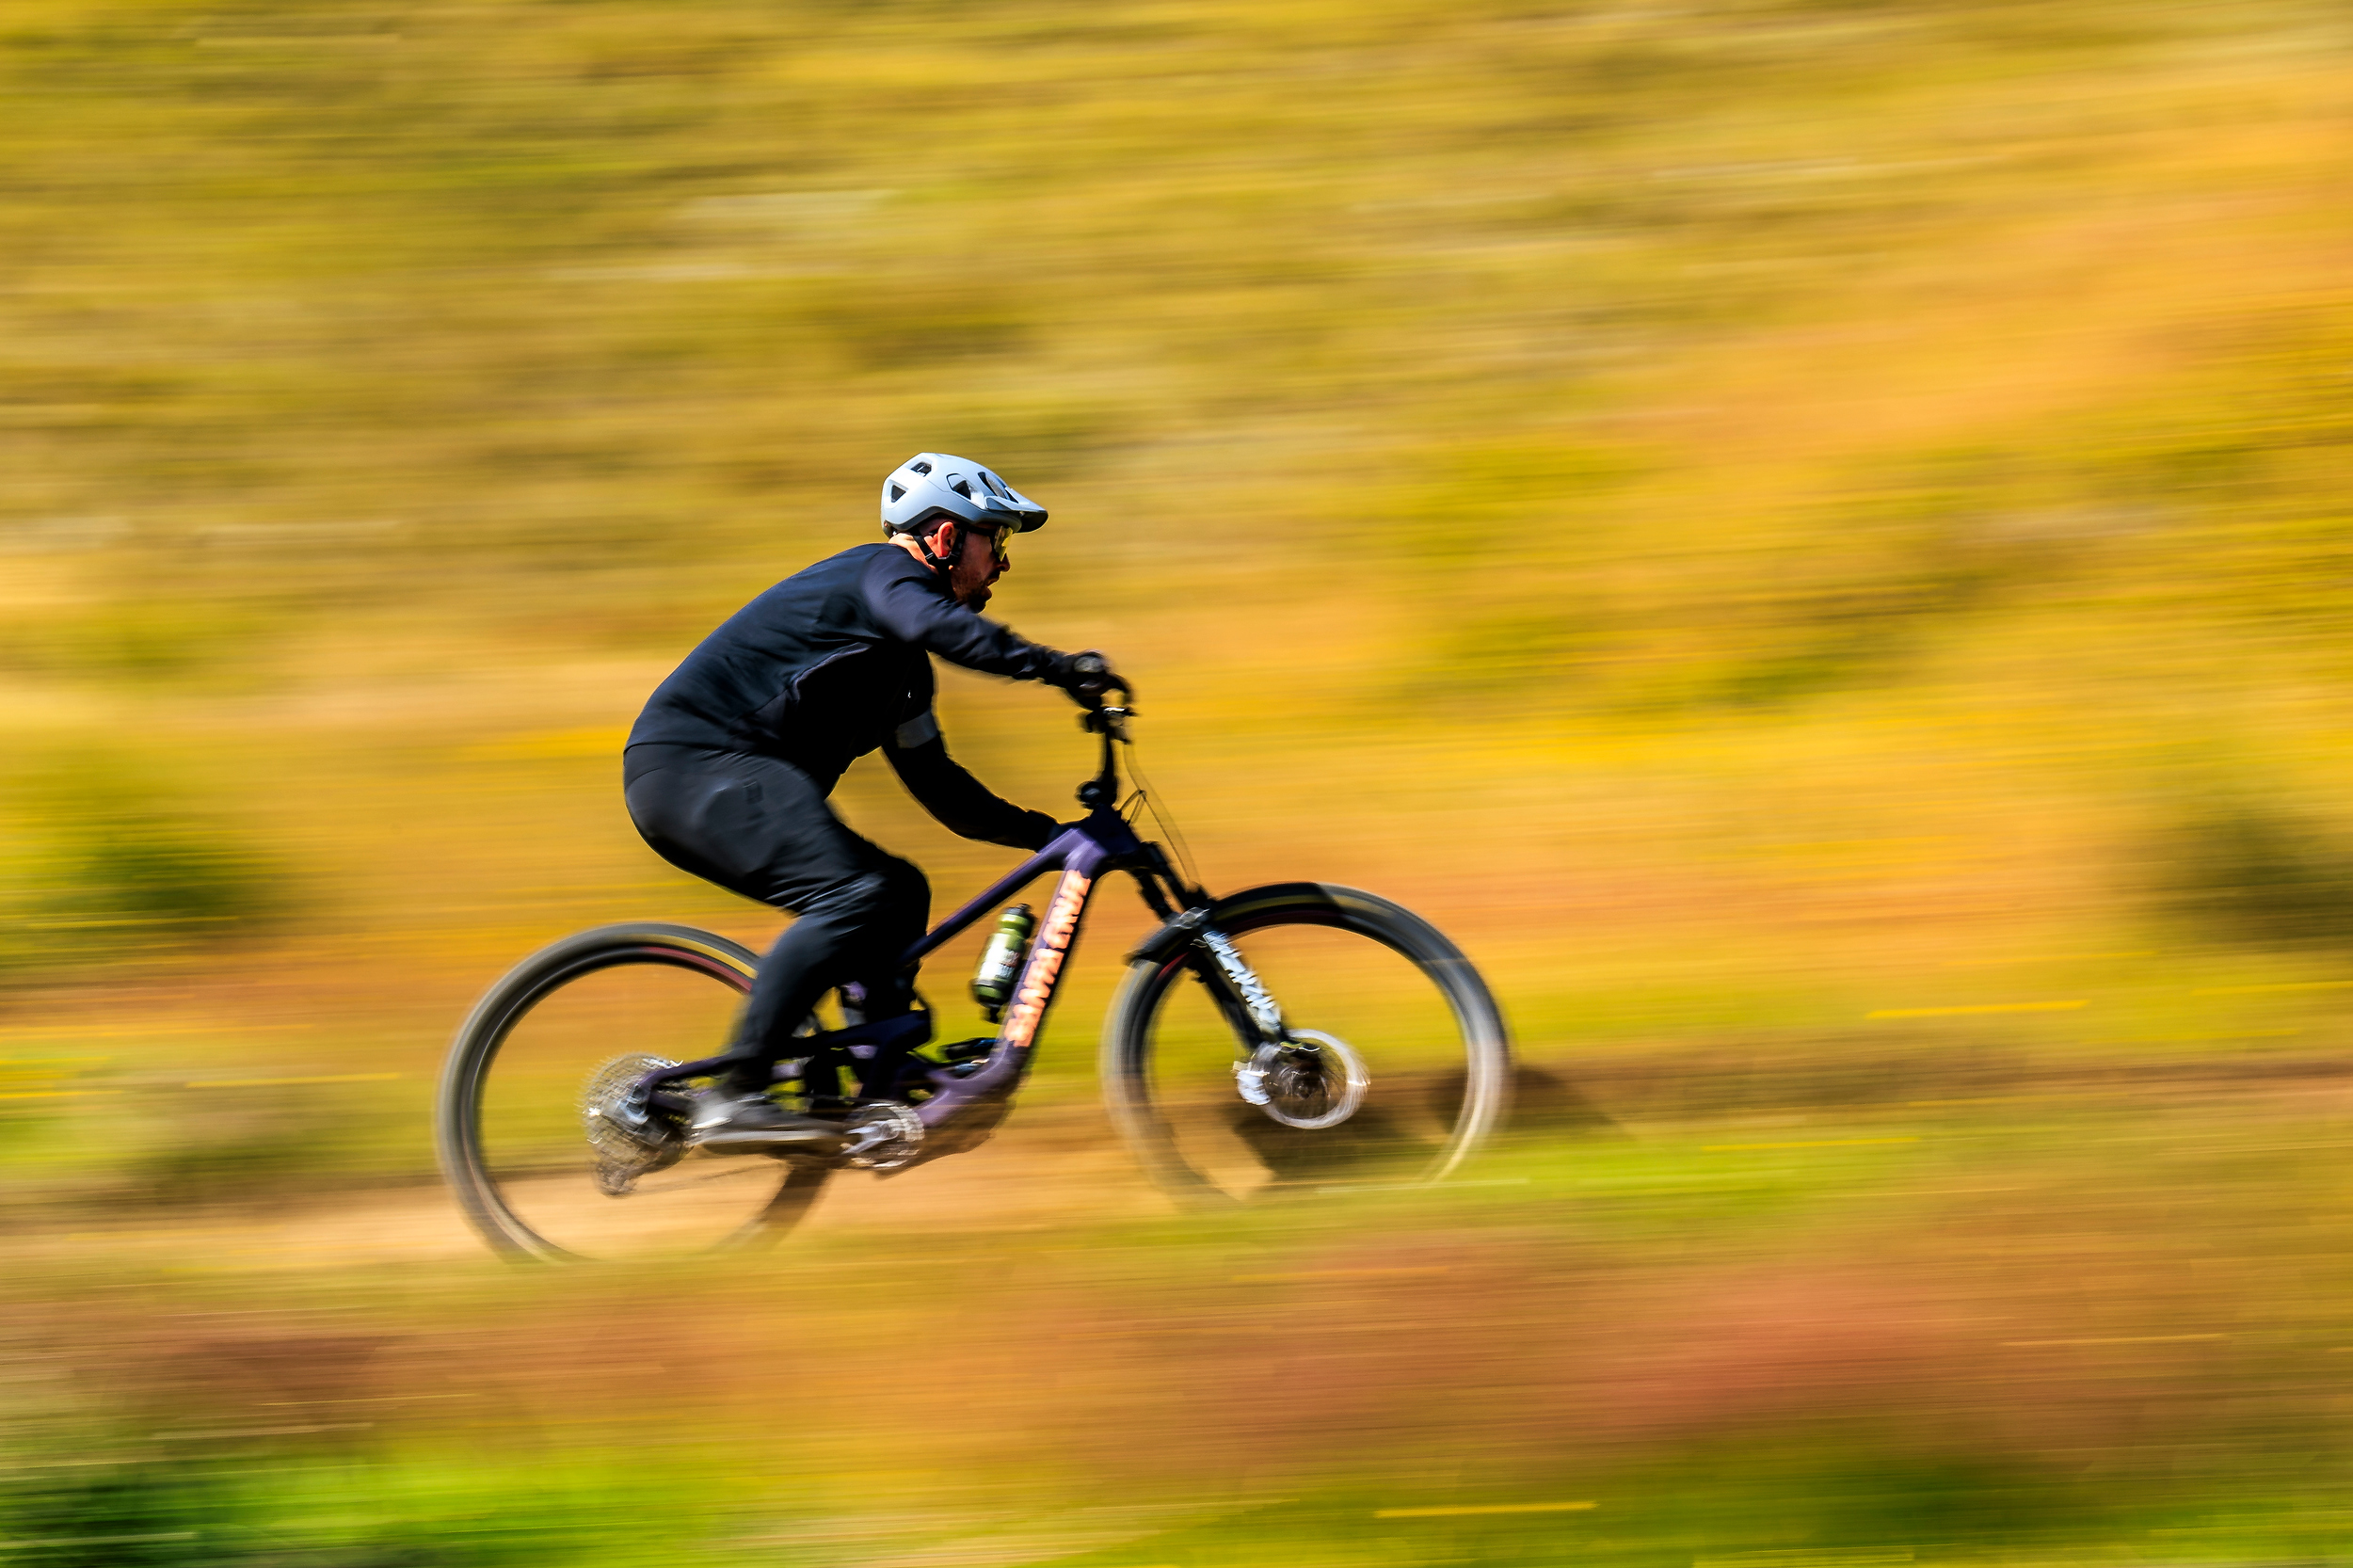
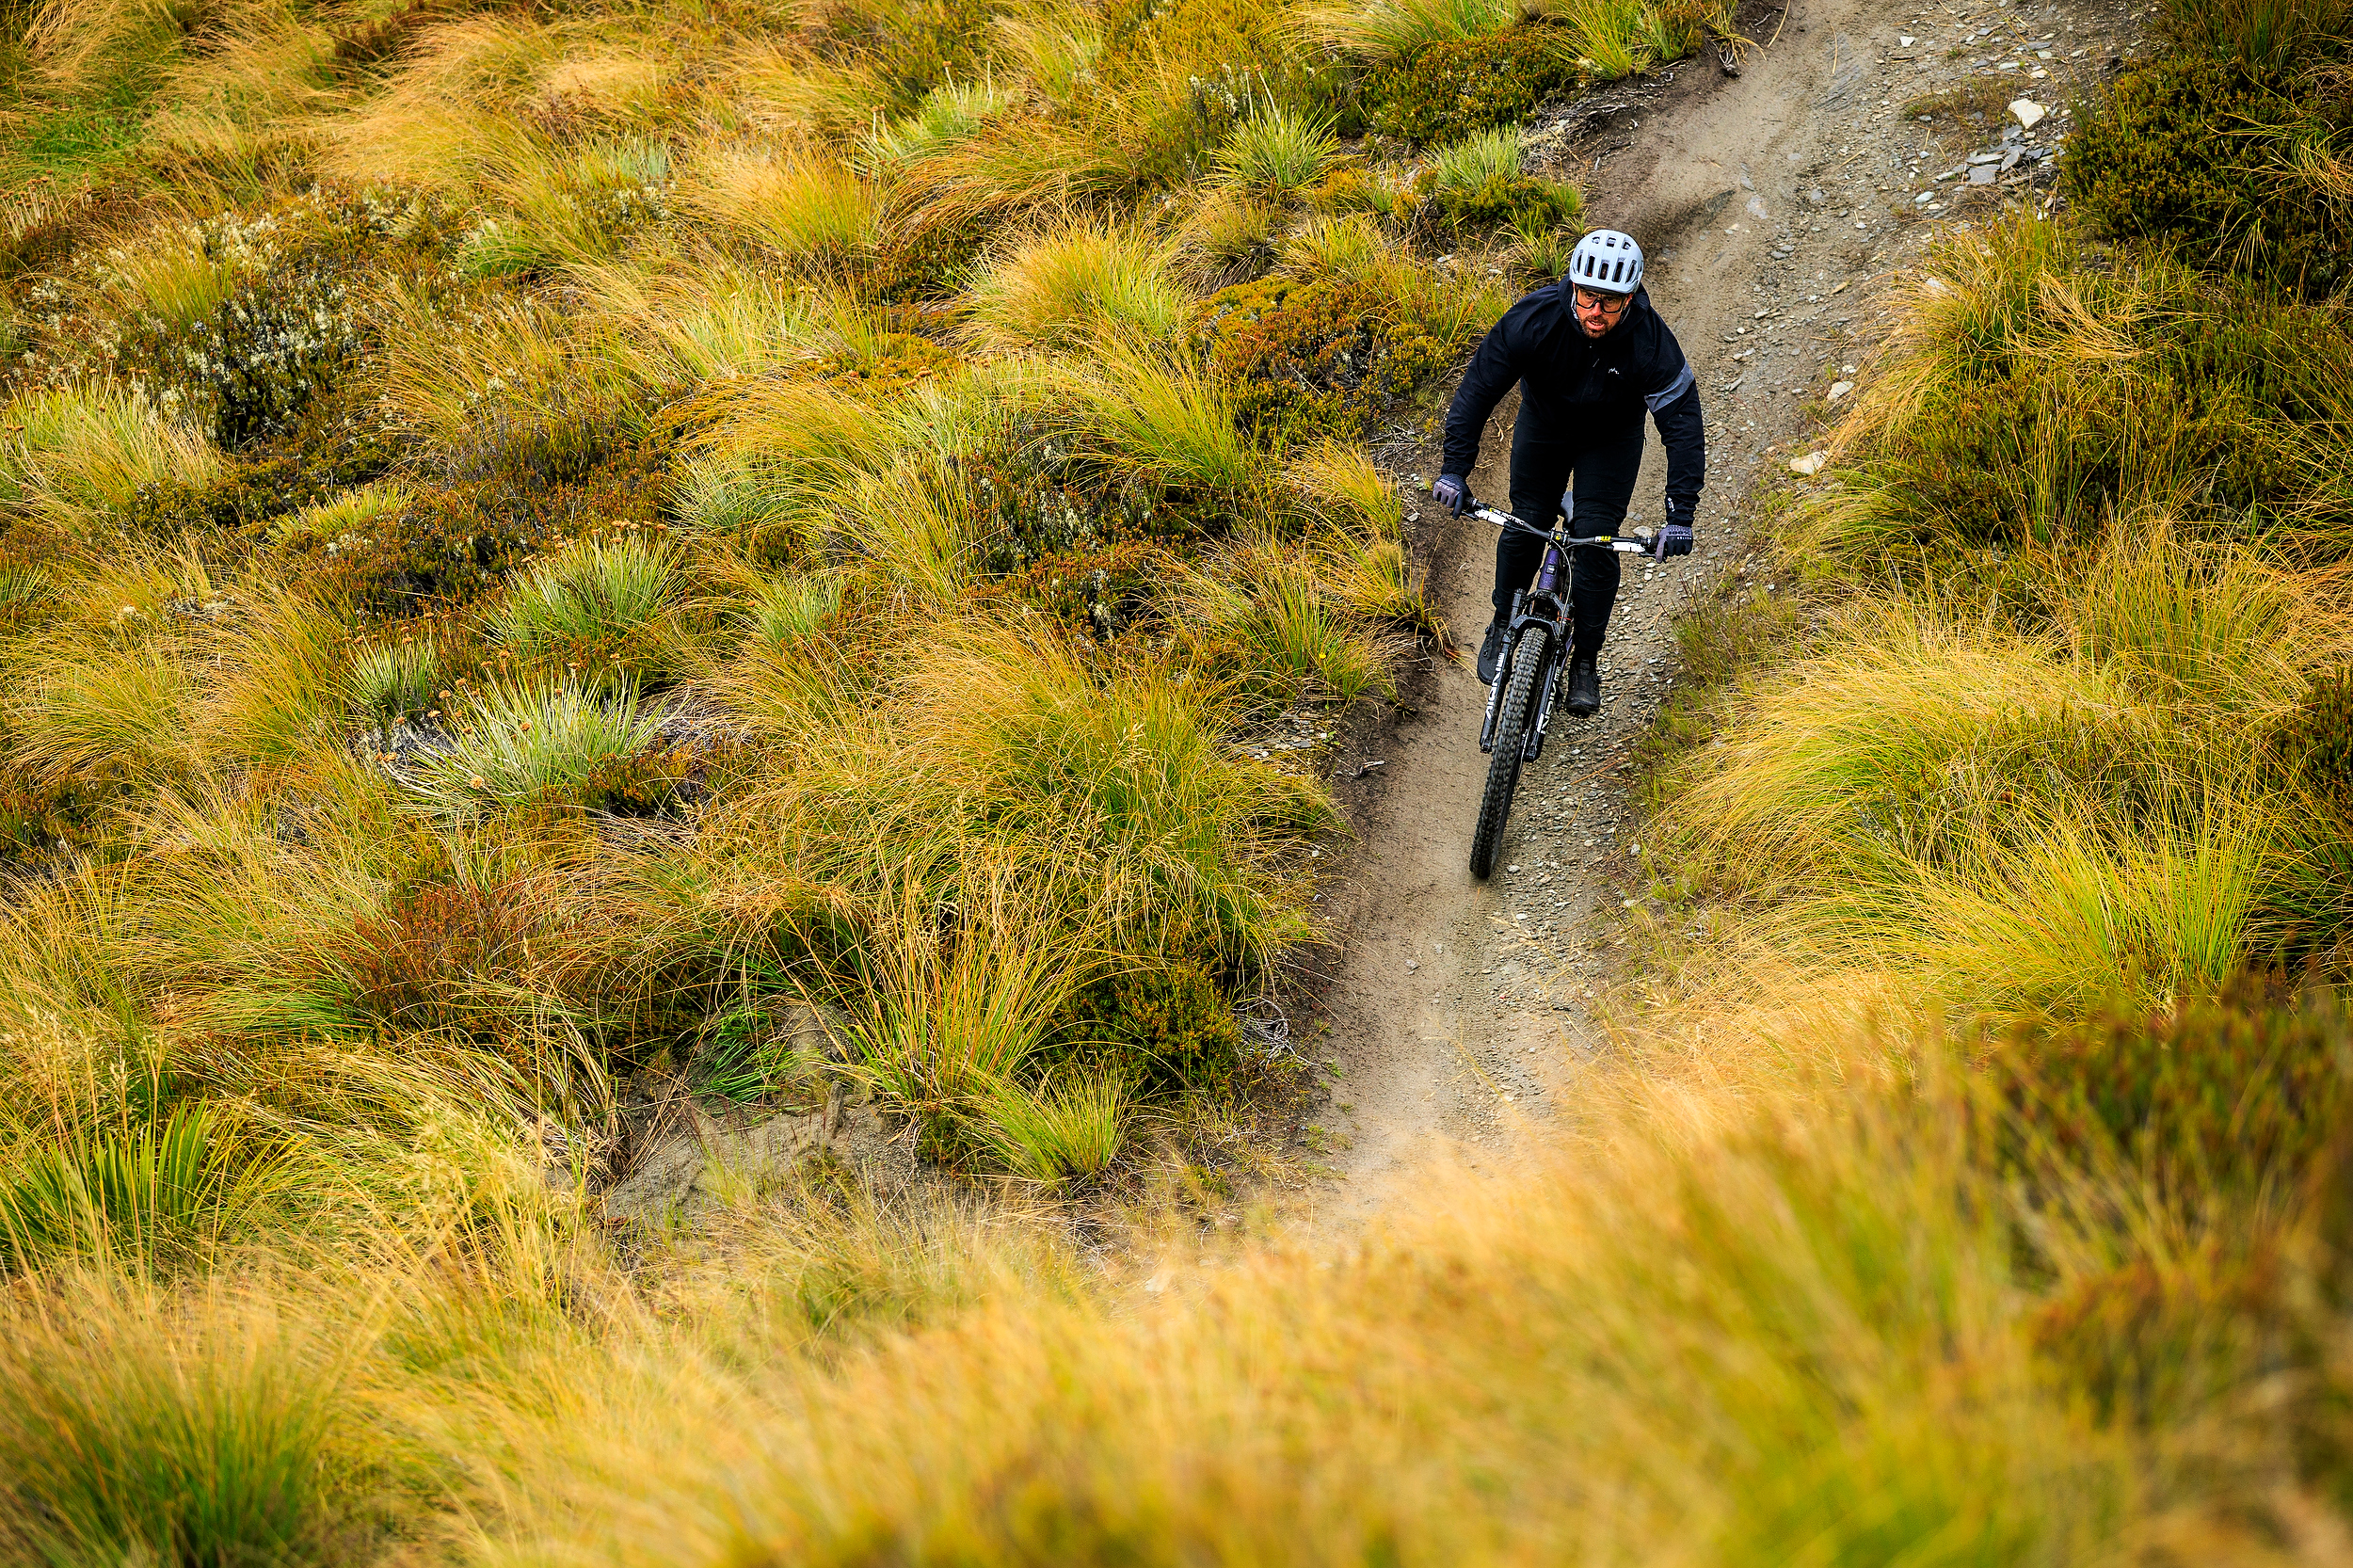
I’ve been running the Maven Ultimate B1 on my Santa Cruz Hightower for just over a week. The lever feel is solid and confident, with a noticeably more graduated build through the stroke compared to the A1. You can feel exactly when the pads make contact with the rotor, and that modulation is consistent every time you pull. Where the original Maven could feel confronting – all-on or all-off, particularly in the first few rides – the B1 builds into its power more smoothly. It’s still a seriously powerful brake but just gives you more time to work with it.
Most of my testing happened during a week of riding in Queenstown, and on longer descents where other brakes have started to fade or lose feel, the Maven kept doing its job with the same character from top to bottom. Heat builds in the oversized caliper, but by design it dissipates slowly and evenly, keeping brake feel consistent throughout. On more technical, slower sections of trail, the improved control and modulation allowed for better precision; I could pick my way through with more accuracy and less guesswork than I’d had on the A1. During testing, I had a slight fall that resulted in a cut palm and a sprained wrist. I still had a few days to go and was thankful for the better control and modulation, especially with my sore hand. Put simply, I had better, precise, and accurate brake control.

Brakes are quite subjective. If you prefer short, snappy engagement of the A1, the B1 is a different animal. But the wider usability window is hard to argue with, and I’d expect riders who struggled with the A1’s abruptness to find the B1 a much more natural fit from the first ride. This was certainly the case for me.
The Ultimate sits at the top of the Maven range and earns its place there. Carbon lever blades replace the forged aluminium of the previous version, giving a familiar tactile feel while performing better in cold conditions. Maven Silver receives a new forged and CNC-machined aluminium blade with a precision weight-saving cutout, while Maven Bronze gets a forged blade as well, a meaningful step up from the previous cast construction. The Ultimate’s caliper features machined edges and titanium hardware. Reach and contact point adjustment are both tool-free, so dialling your setup takes seconds rather than digging out an Allen key.
One of the most considered aspects of the B1 update is that it’s fully backwards compatible with any existing Maven Ultimate, Silver, or Bronze. These are called tuning kits, not upgrade kits. Clearly, making a line in the sand between the two Maven brakes. The A1 (original) is not obsolete and that’s a good thing in this throwaway world!
The new SwingLink and lever blade are available as a tuning kit – no bleed required. All the changes happen on the dry side of the brake. Two T10 Torx bolts remove the lever, a pin punch (the T10 tool included in the kit works for this) pushes out the SwingLink, and the whole assembly swaps cleanly.
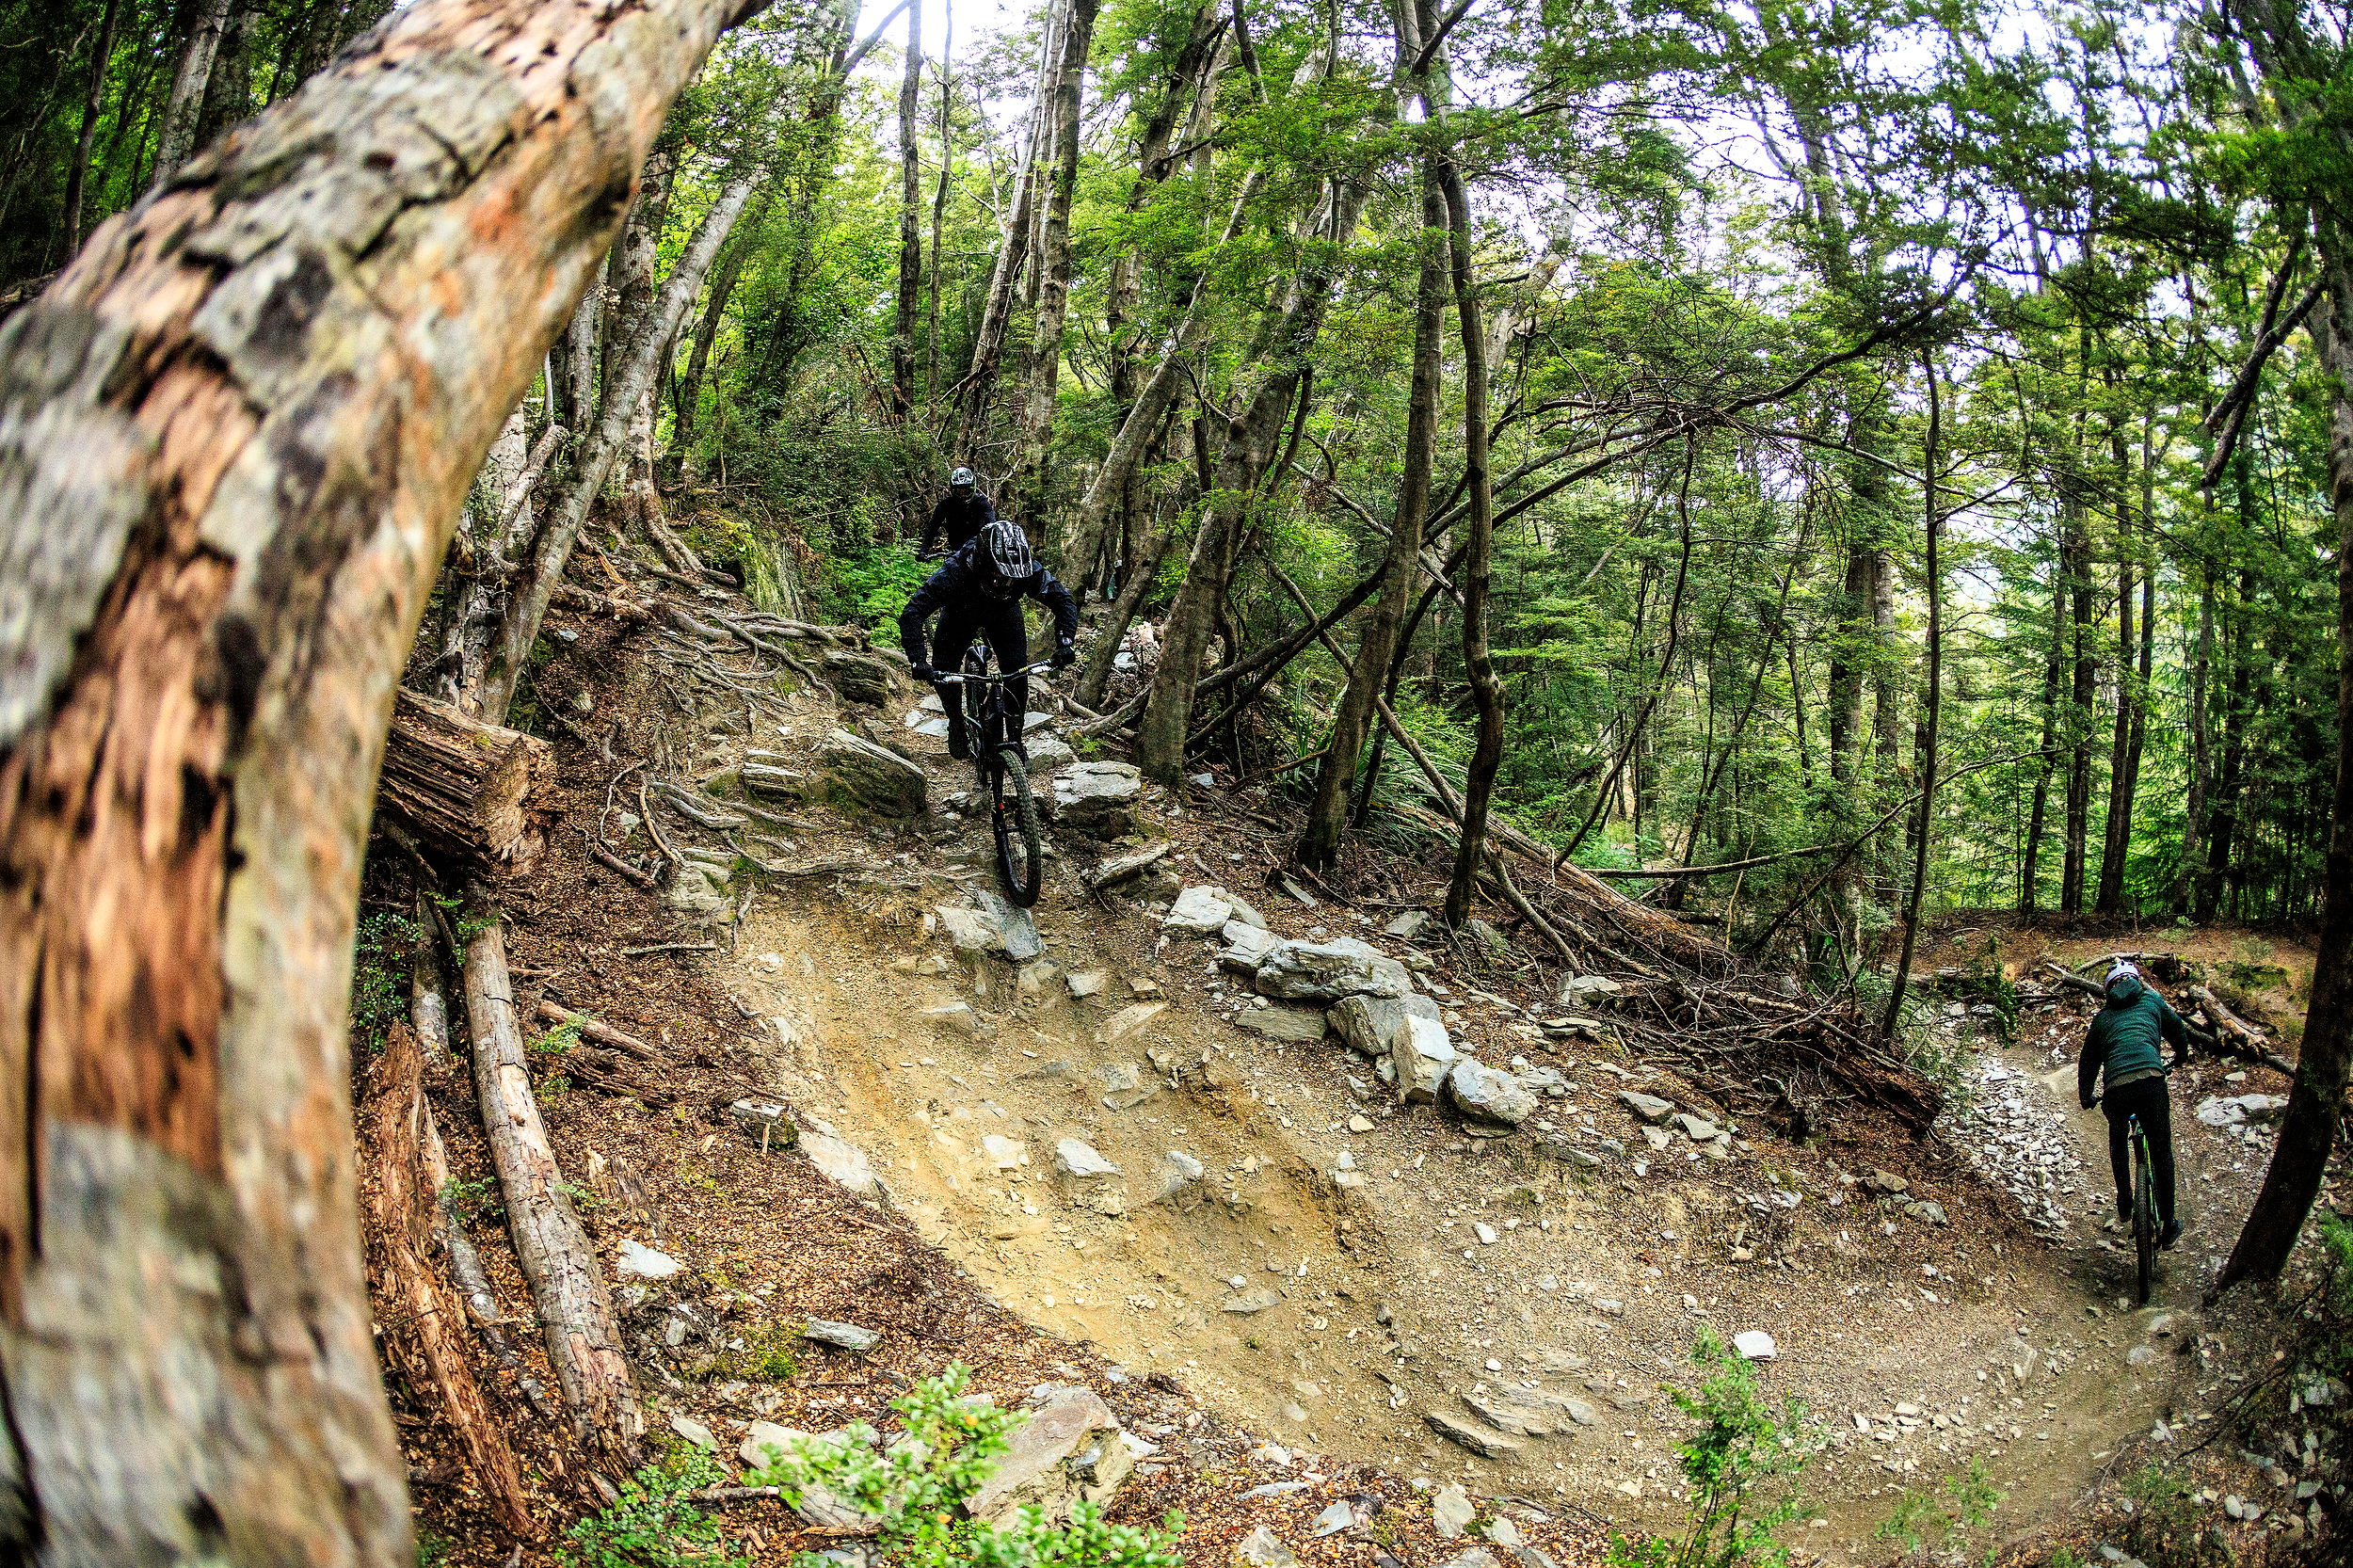
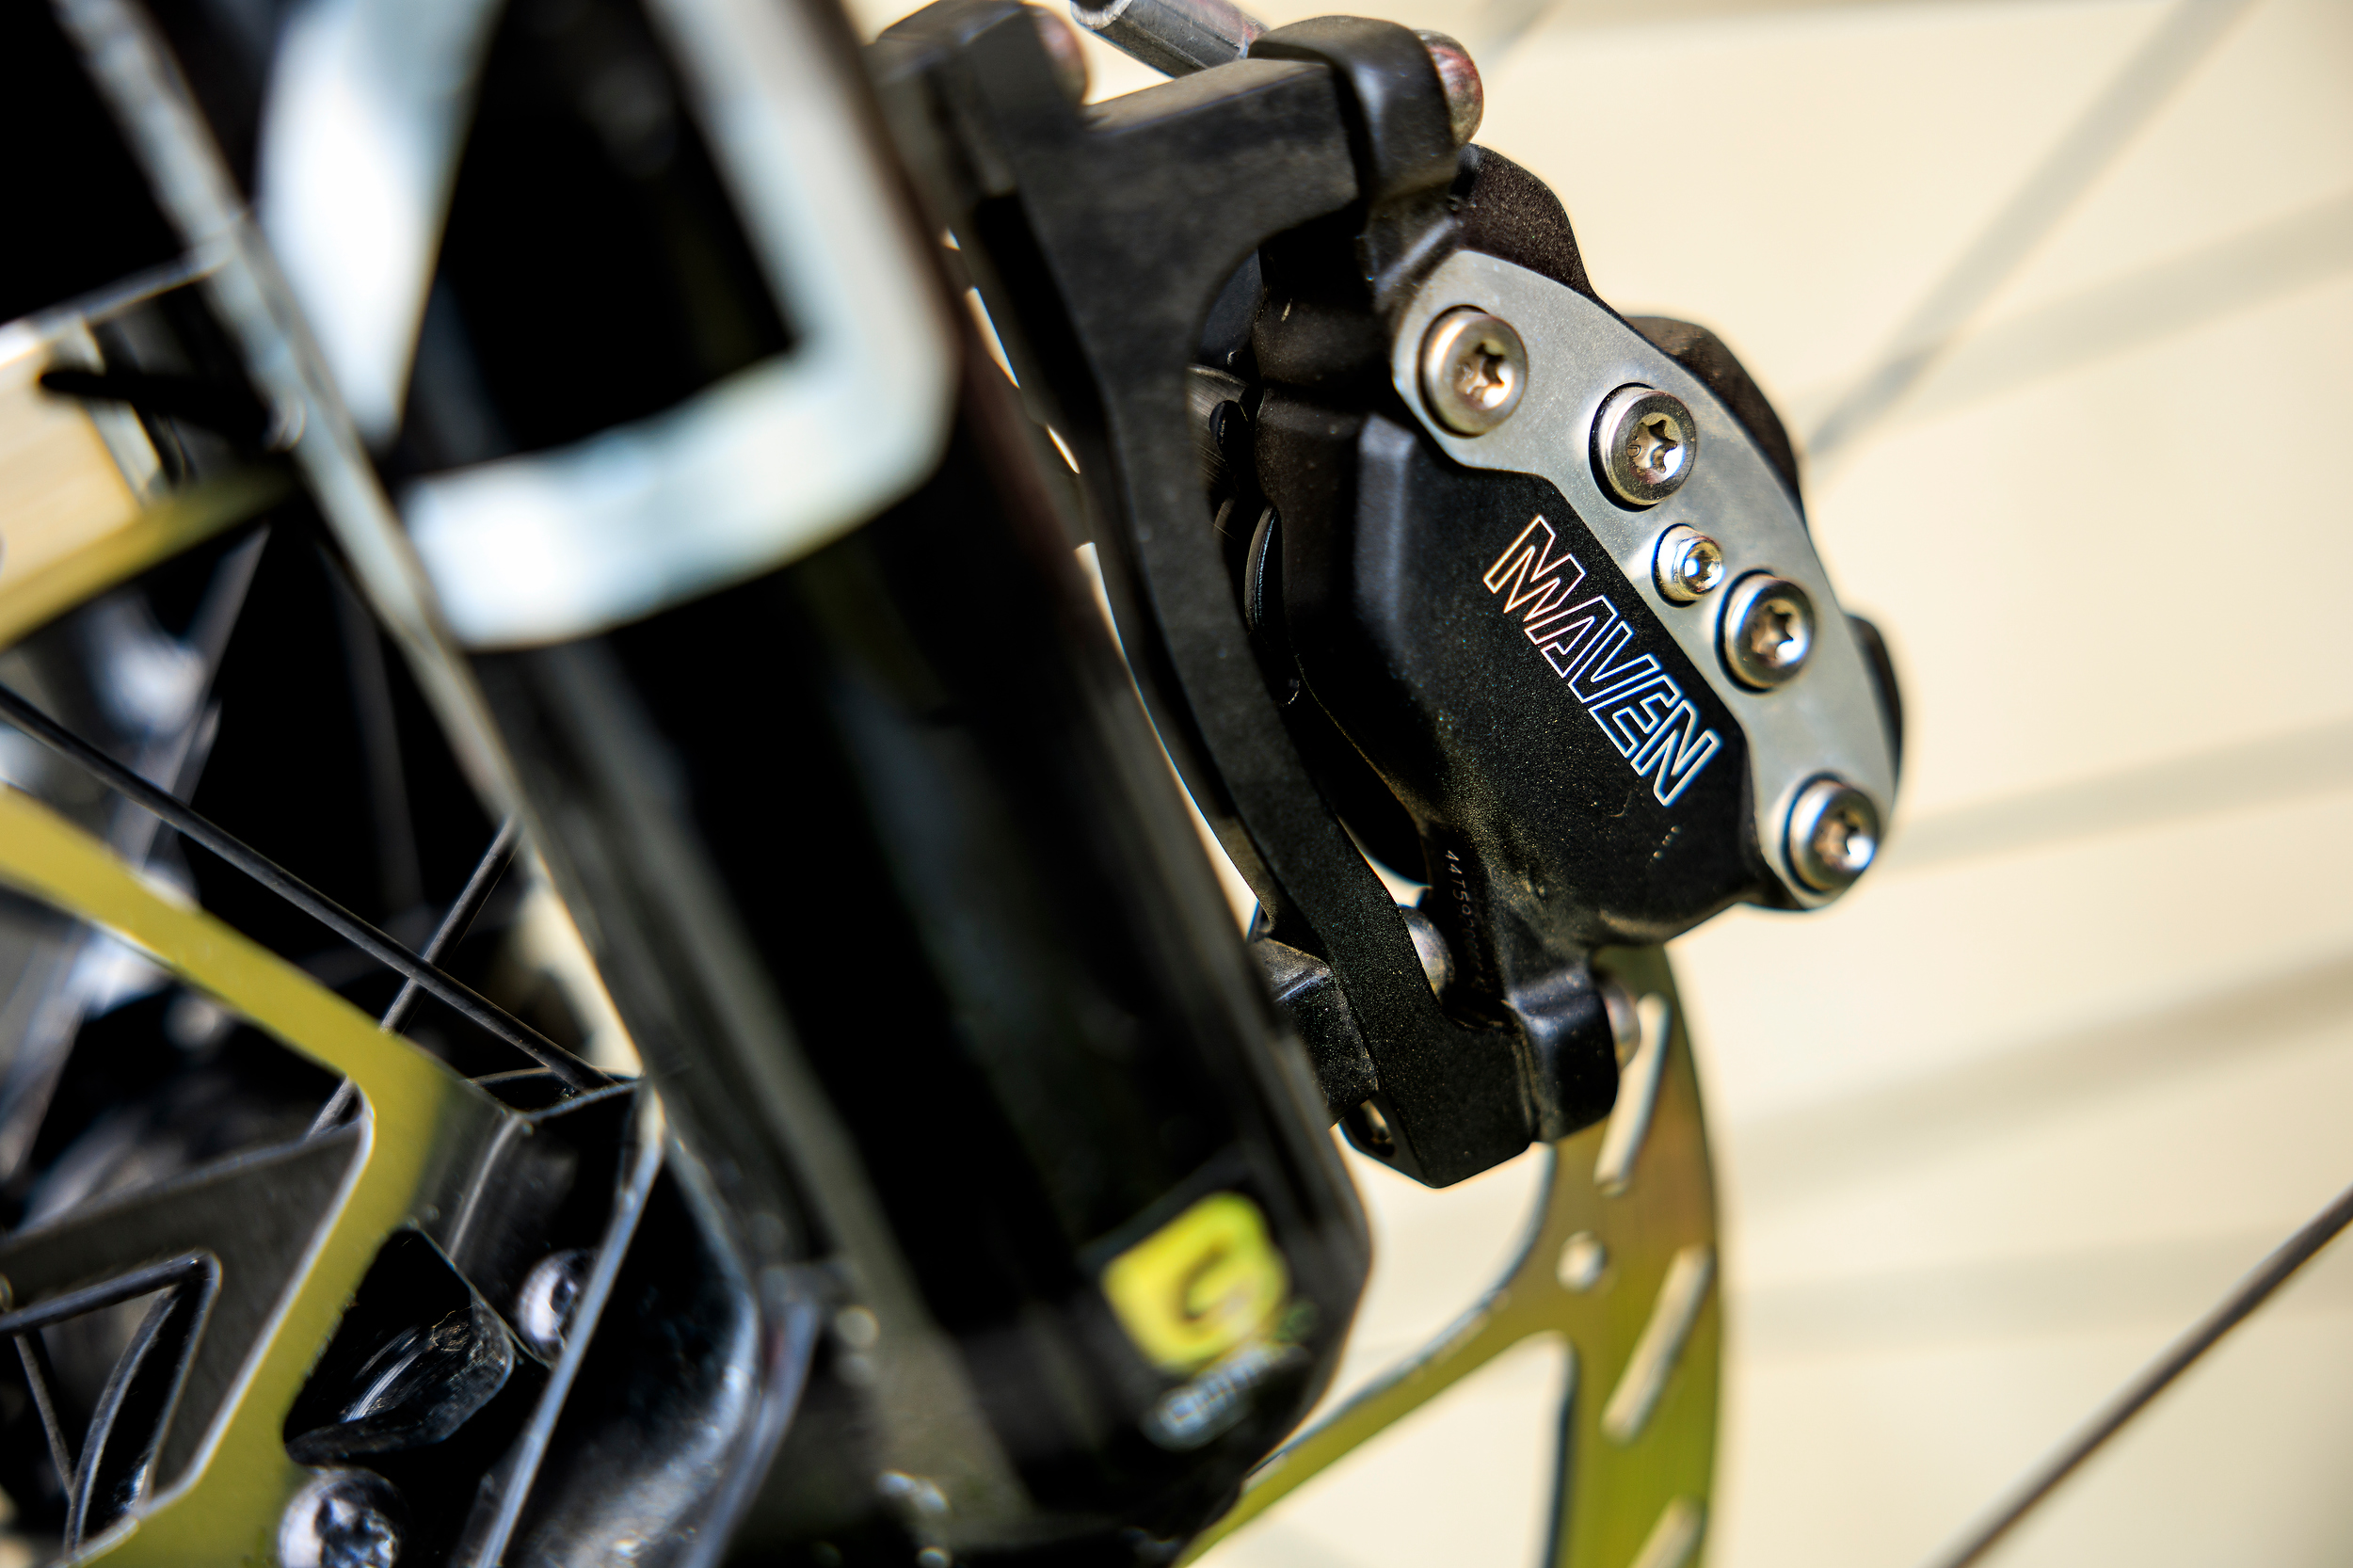
One compatibility note worth keeping in mind: the gold B1 SwingLink (identifiable by two notches on the cam body) should only be paired with B1 calipers, and the original red A1 SwingLink (single notch) with A1 calipers. Mixing them won’t cause a safety issue, but the feel will suffer. Fitting the new gold cam to old parts will result in a brake that’s far too powerful and aggressive, while fitting the old red cam to new parts will leave you with something wooden and flat with little power on offer – because the parts simply weren’t developed to work together.
In addition to those who install the tuning kit on an existing A1 brake, because the A1 caliper retains its larger pistons, fitting the gold B1 SwingLink to an A1 system results in the most powerful Maven configuration possible, lighter lever feel, with a slight boost in peak power at full stroke. Not a bad outcome if you’re after maximum grunt.
In my time on the B1 Mavens, they delivered consistent, well-modulated stopping power without fade on long descents. The original Mavens performed well too, but only once you’d adapted to them. The B1 removes most of that adjustment period. Riding with this much braking power available still means rethinking habits. Braking later into turns, going deeper into steep sections before loading the lever. Every pull feels the same. That consistency builds confidence and means you can really rely on them. After a few weeks, I prefer the more modulated feel of the new Maven. They still have all the power of the original Maven, but it gets delivered in a more refined manner.
KS Rage Circuit Dropper Post
Words Liam Friary
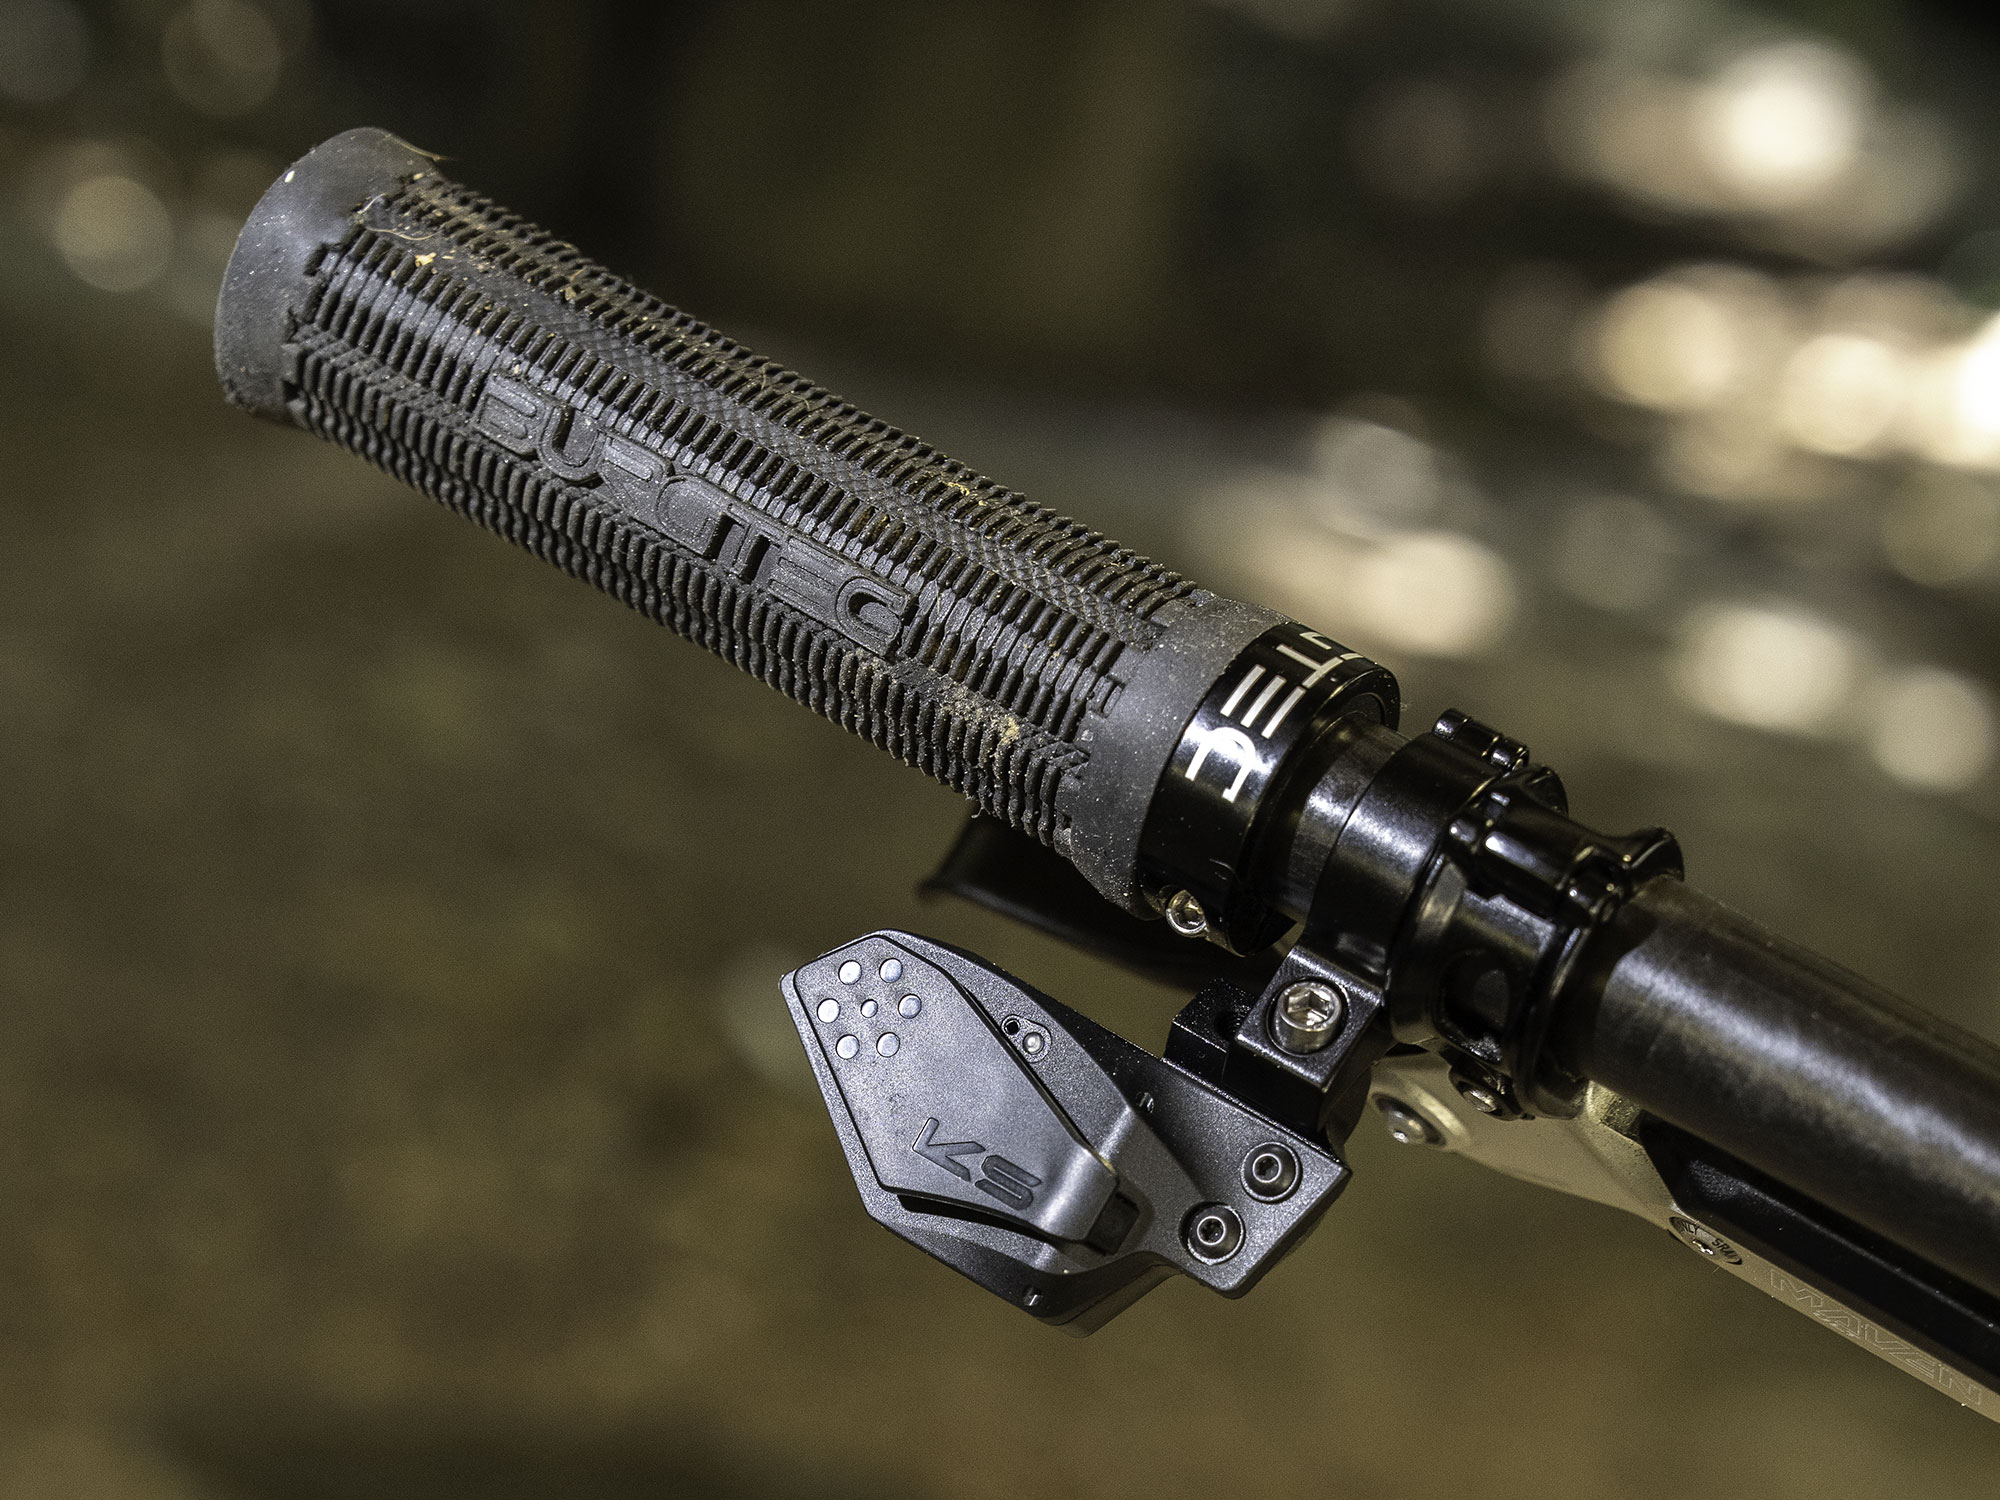
Wireless droppers are in vogue lately, and KS has thrown a great one for a good price point. Let’s start with what makes this thing tick. Much like the brand’s cable-actuated posts, the Rage Circuit has a simpler design and slots in below the LEV Circuit (top-tier) in terms of price. It’s much cheaper than the LEV Circuit, however, still shares what appears to be the same head design, battery, electronics, remote, and overall aesthetics as its more expensive sibling.
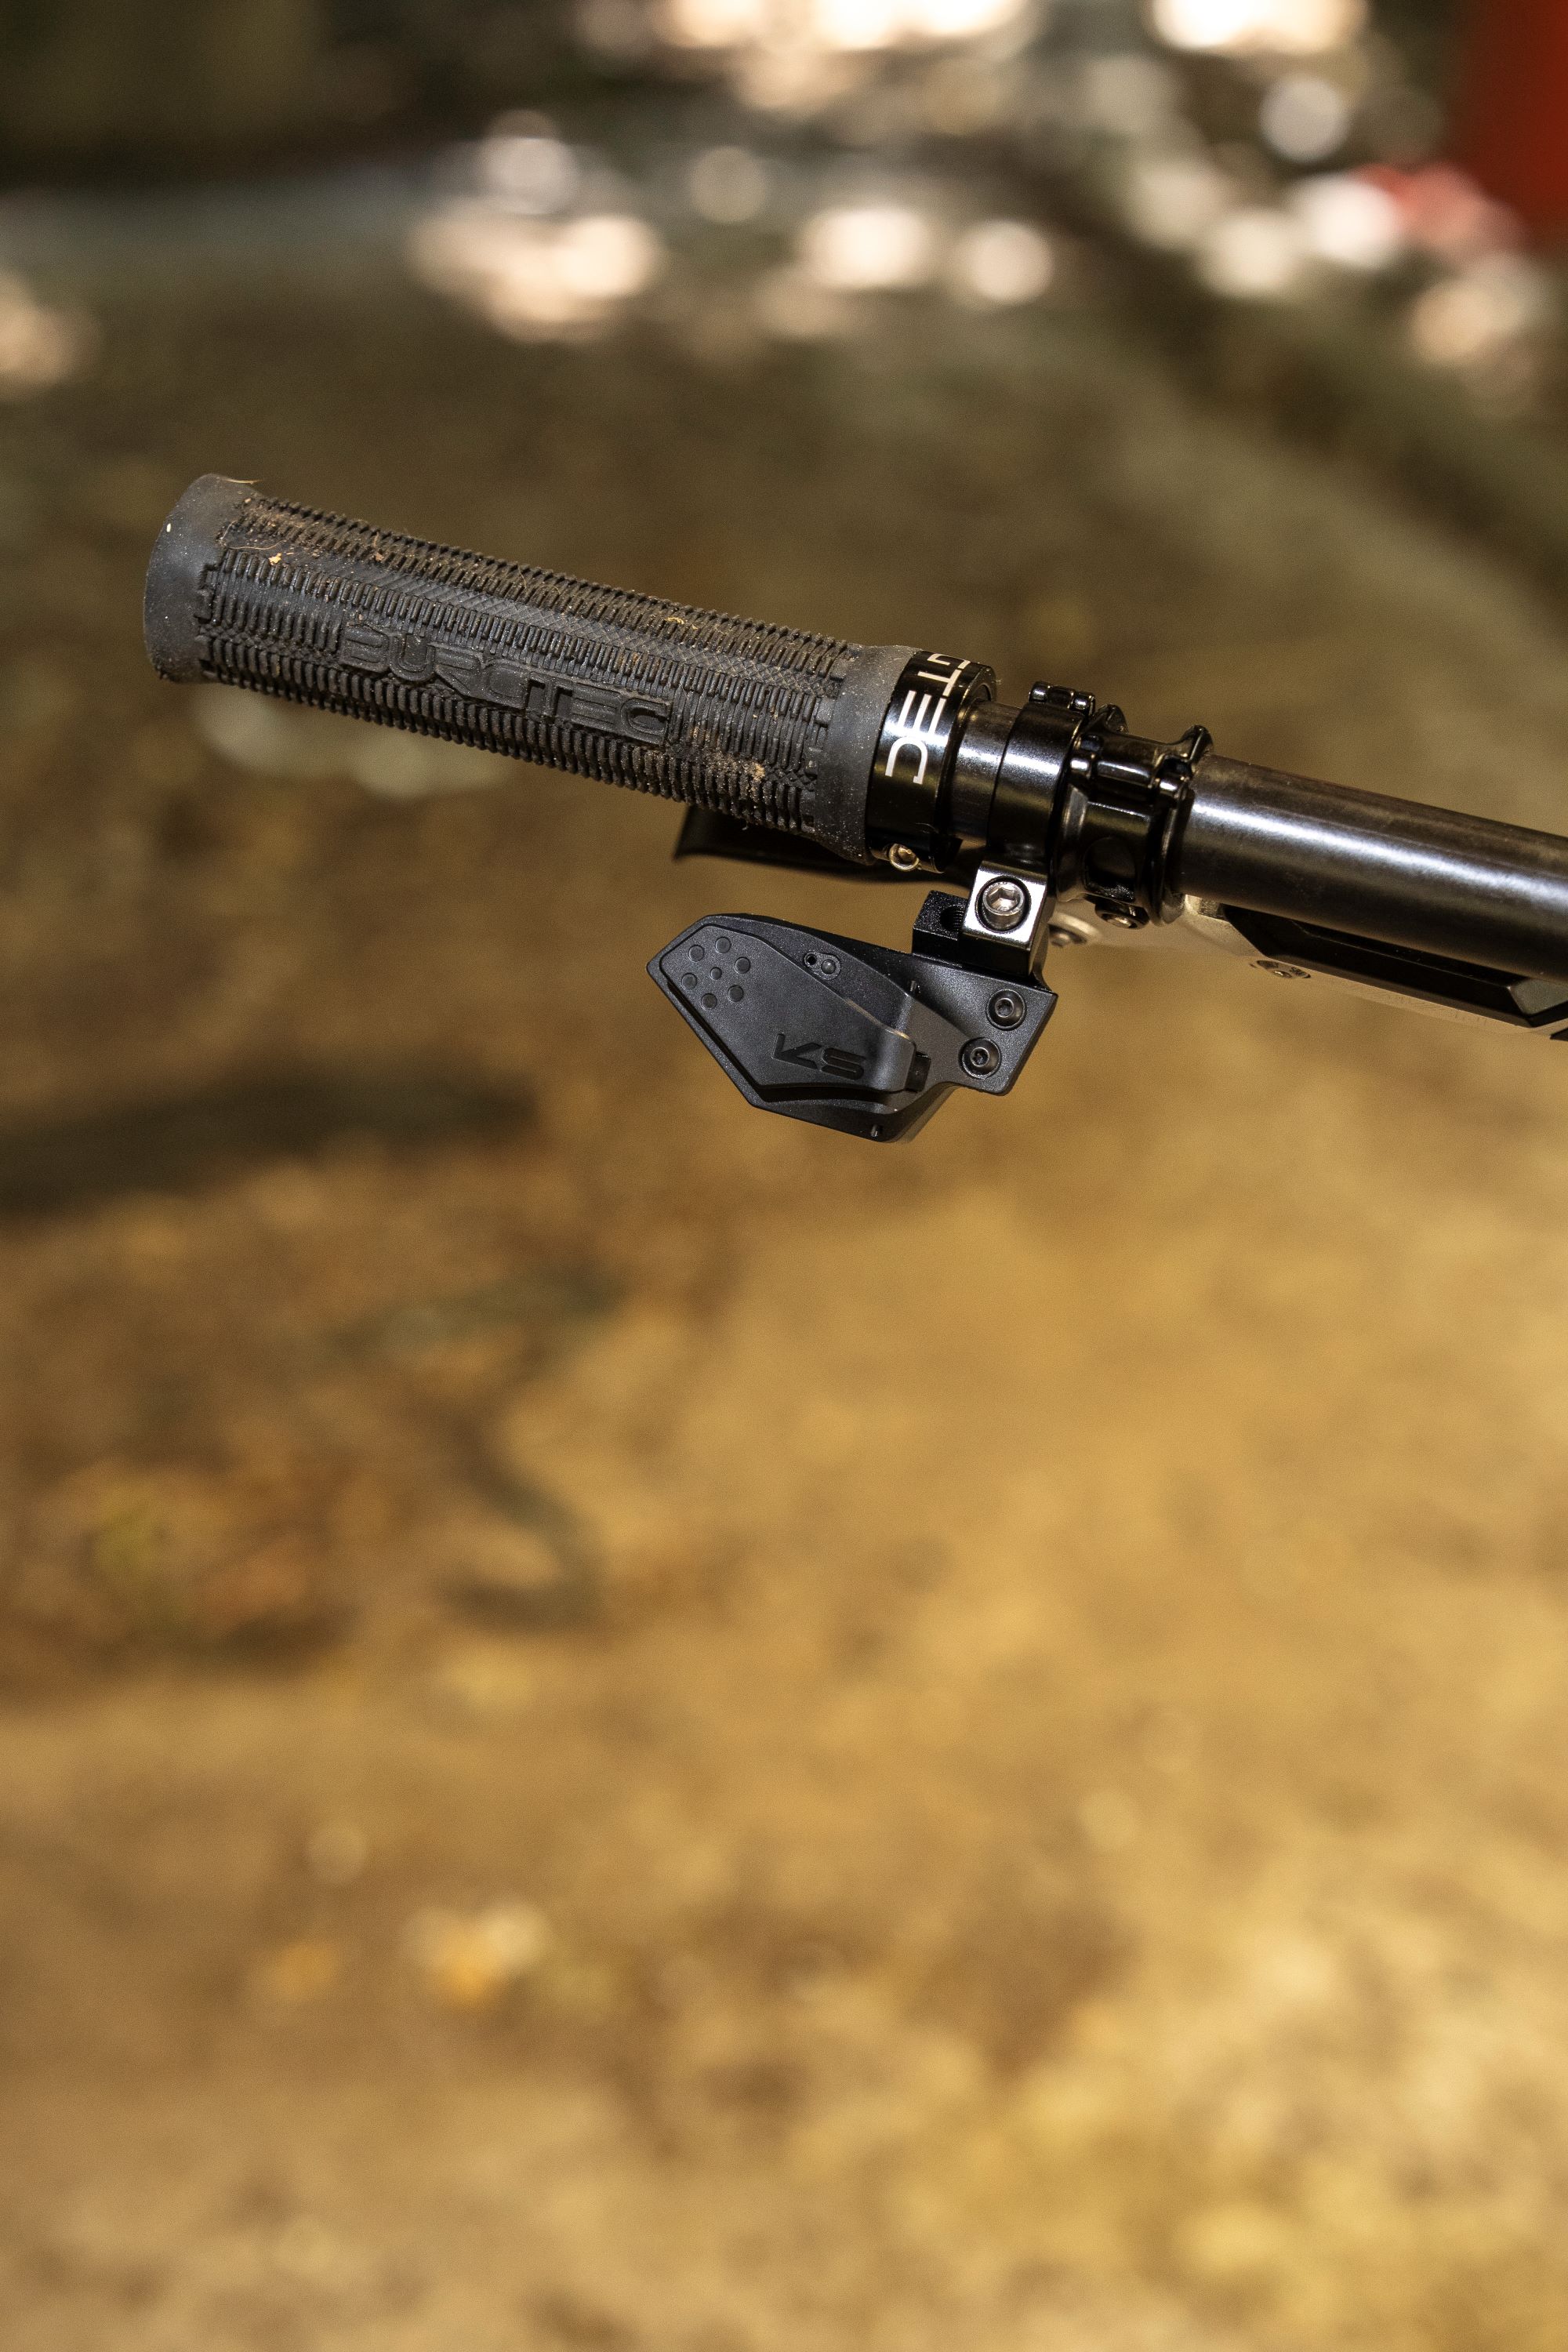
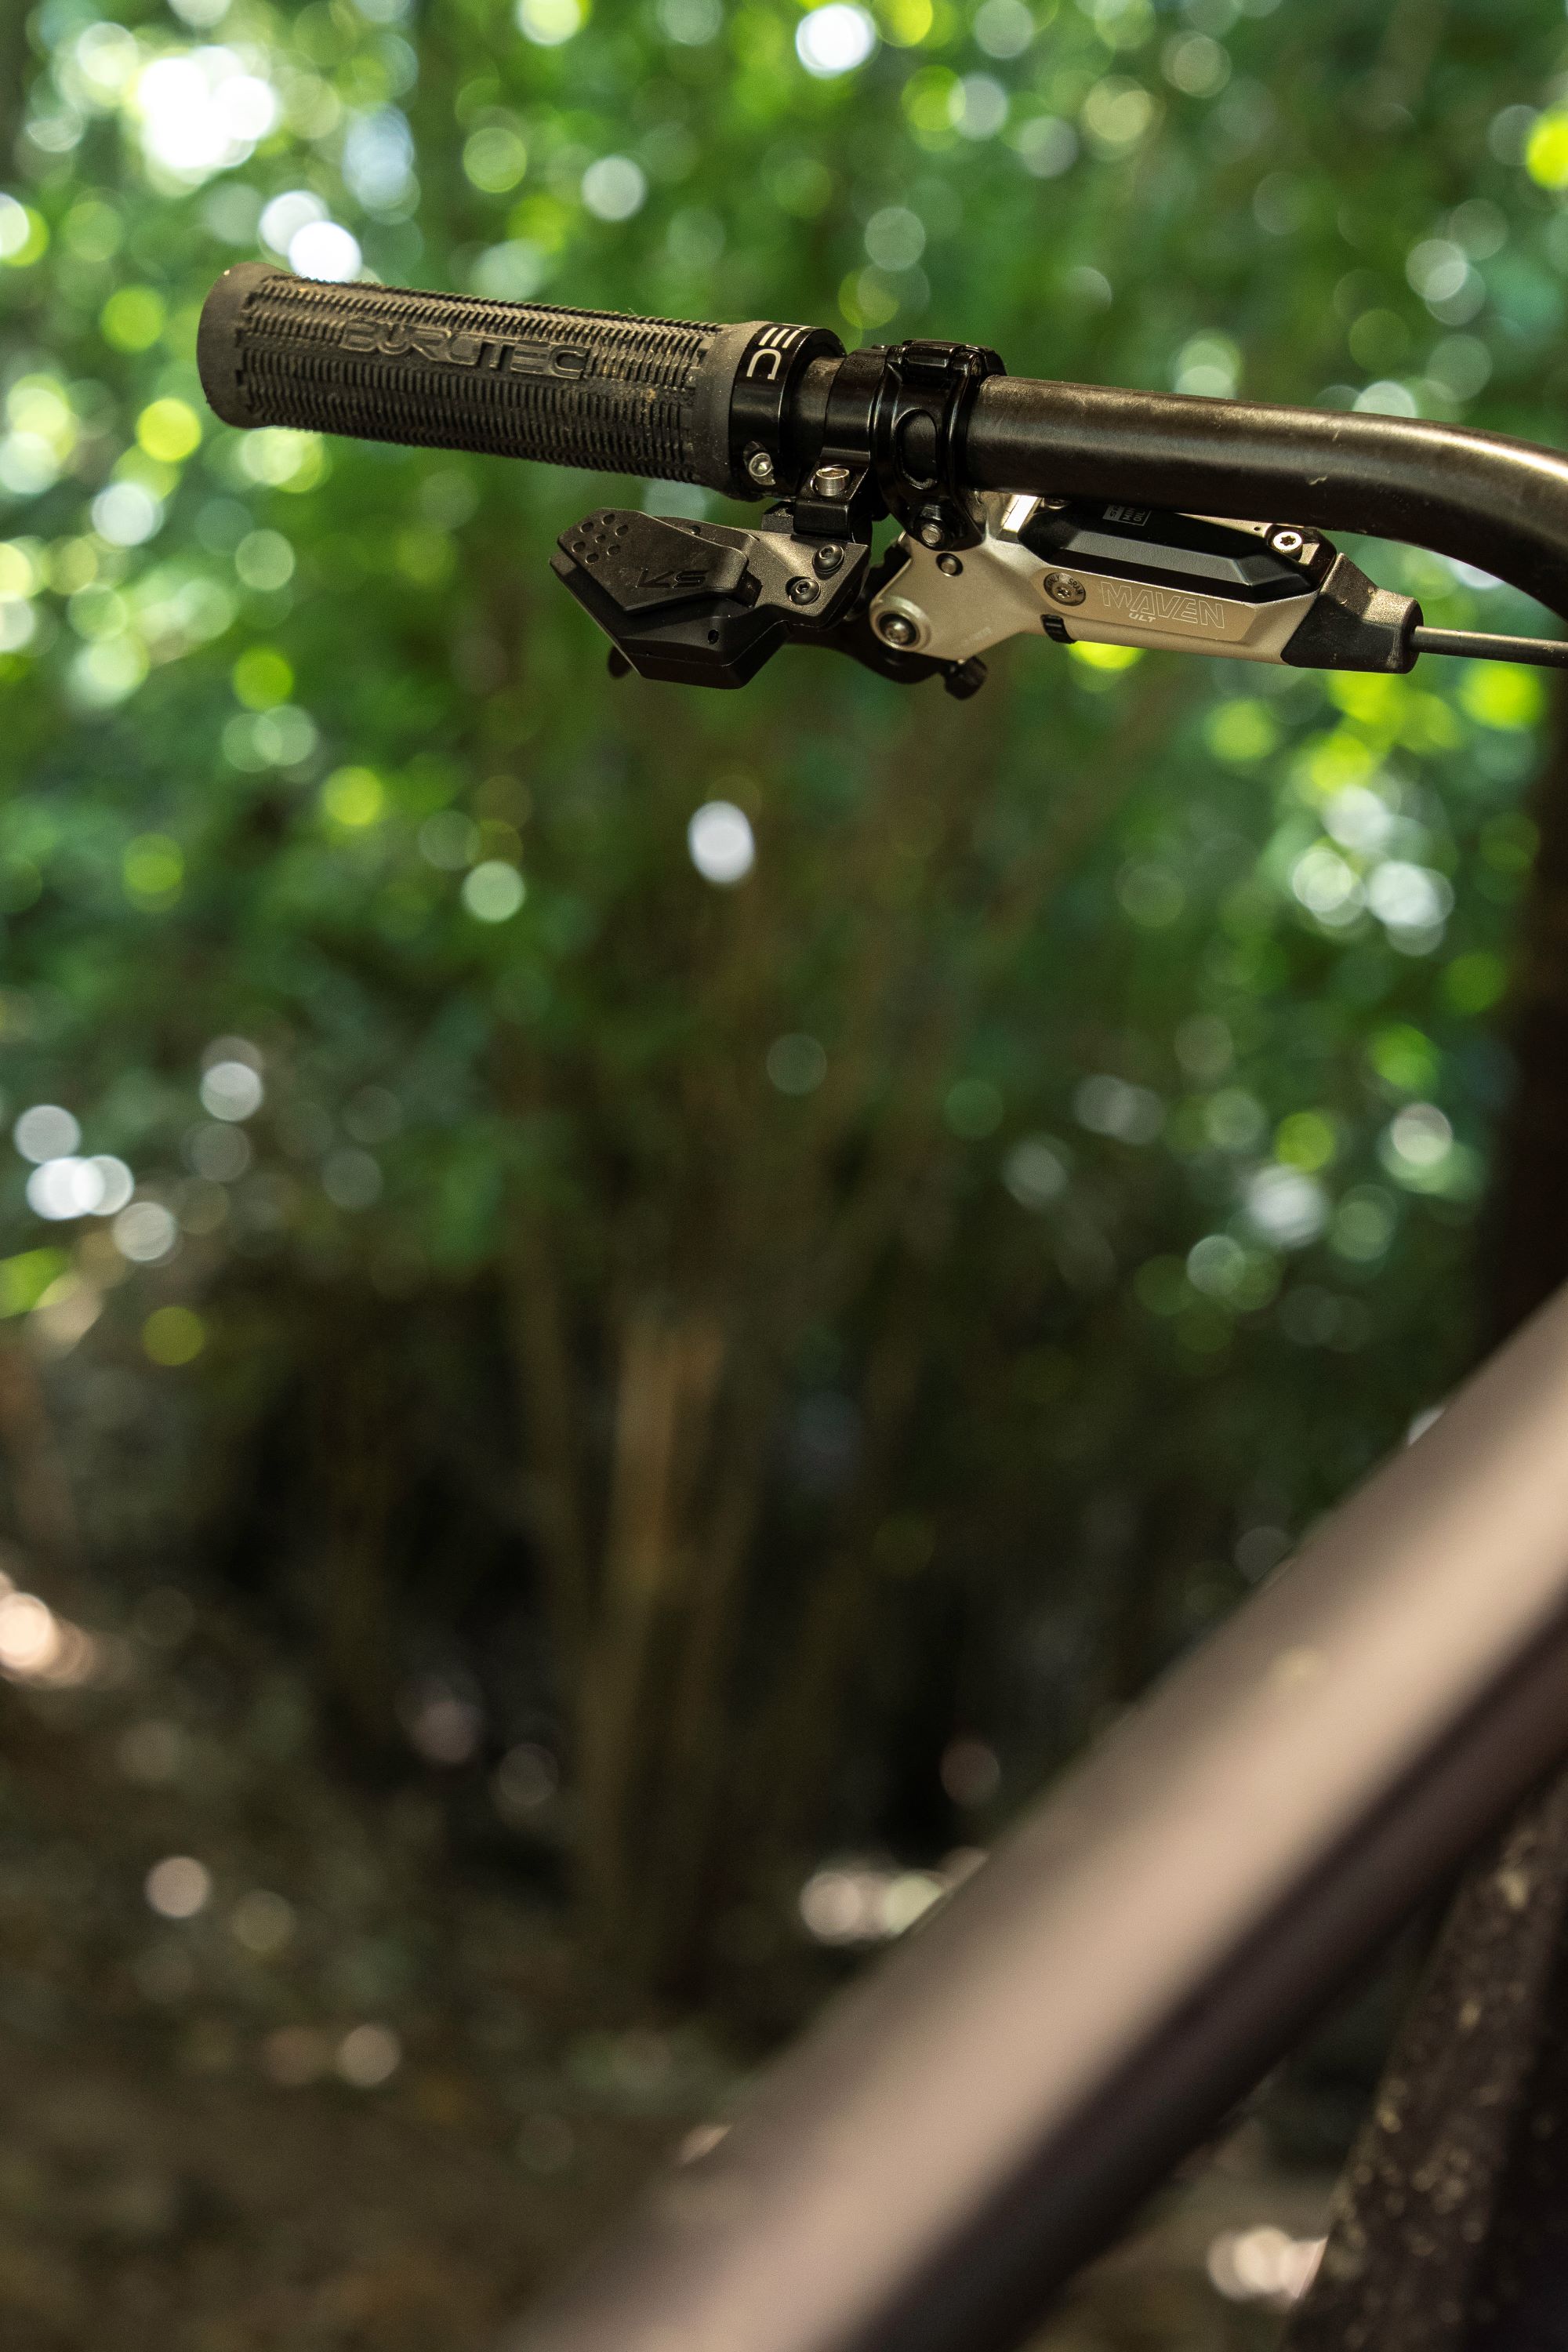
This setup is simple and hassle-free. There are no cables, housing, or internal routing, just the remote and the post. For me, the installation process was a real breeze. Drop the post in, clamp it down, attach the remote, and you’re all set. It took less than five minutes to complete. In contrast, wrestling internal cables through modern frames was a real pain. The entire setup took me about twenty minutes, and most of that time was spent adjusting the saddle height. The remote uses a standard CR2032 battery, which should last eight months or more, with an LED that flips when it’s time for a swap; the light changes from green to red. You can grab a spare battery from any dairy, petrol station, or supermarket if needed. I’ve had that happen a few times, so it’s worth having a spare and double-checking the battery life or having a spare stashed before you roll out. The post has a rechargeable battery that slots in conveniently. Everything you need is included in the box: remote, battery, charger.
The KS Rage Circuit post is available in 30.9mm and 31.6mm versions, with travel options ranging from 120mm to 180mm. KS has thoughtfully considered modern geometry, ensuring that total post lengths should fit most frames without any issues. The Rage Circuit also uses the same wireless remote as its more expensive sibling, which employs KS’s proprietary 2.4GHz wireless communication system. Conveniently, the rechargeable 450mAh battery is stored behind the seat clamp, keeping things tidy. KS estimates that the post will run for up to eight weeks on a single charge under normal use, and it takes approximately 4.5 hours to top up with the included charger.
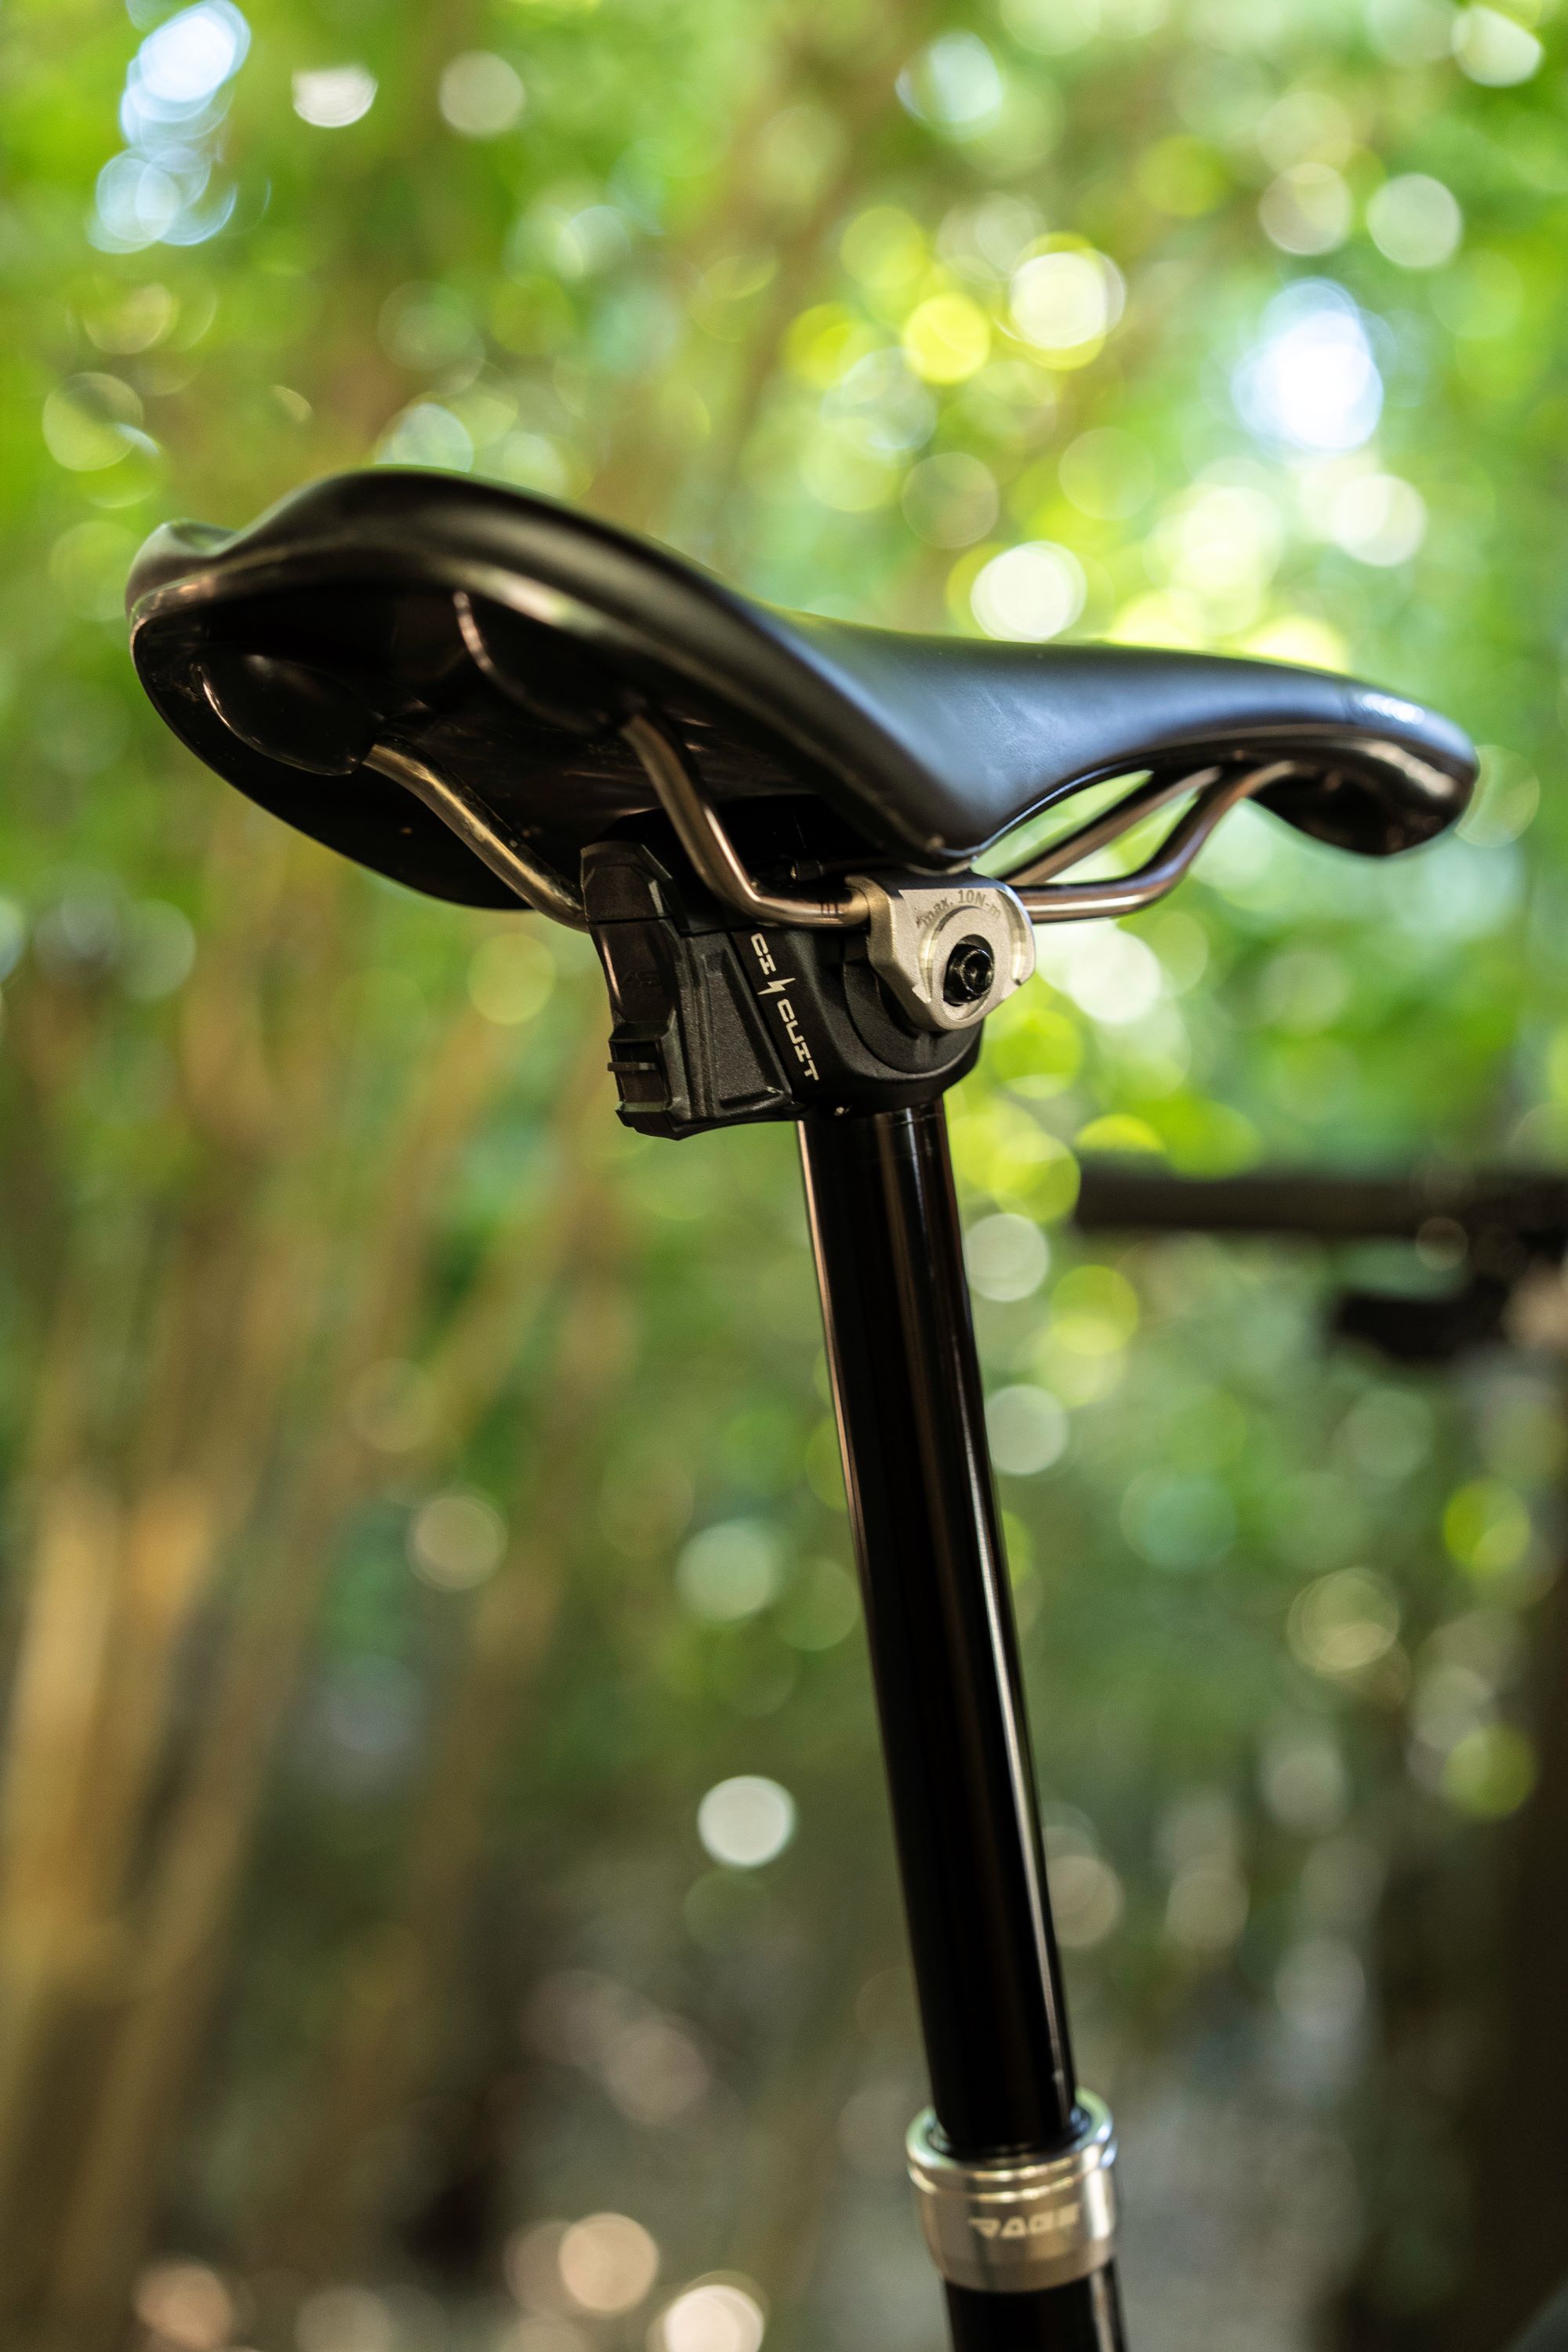
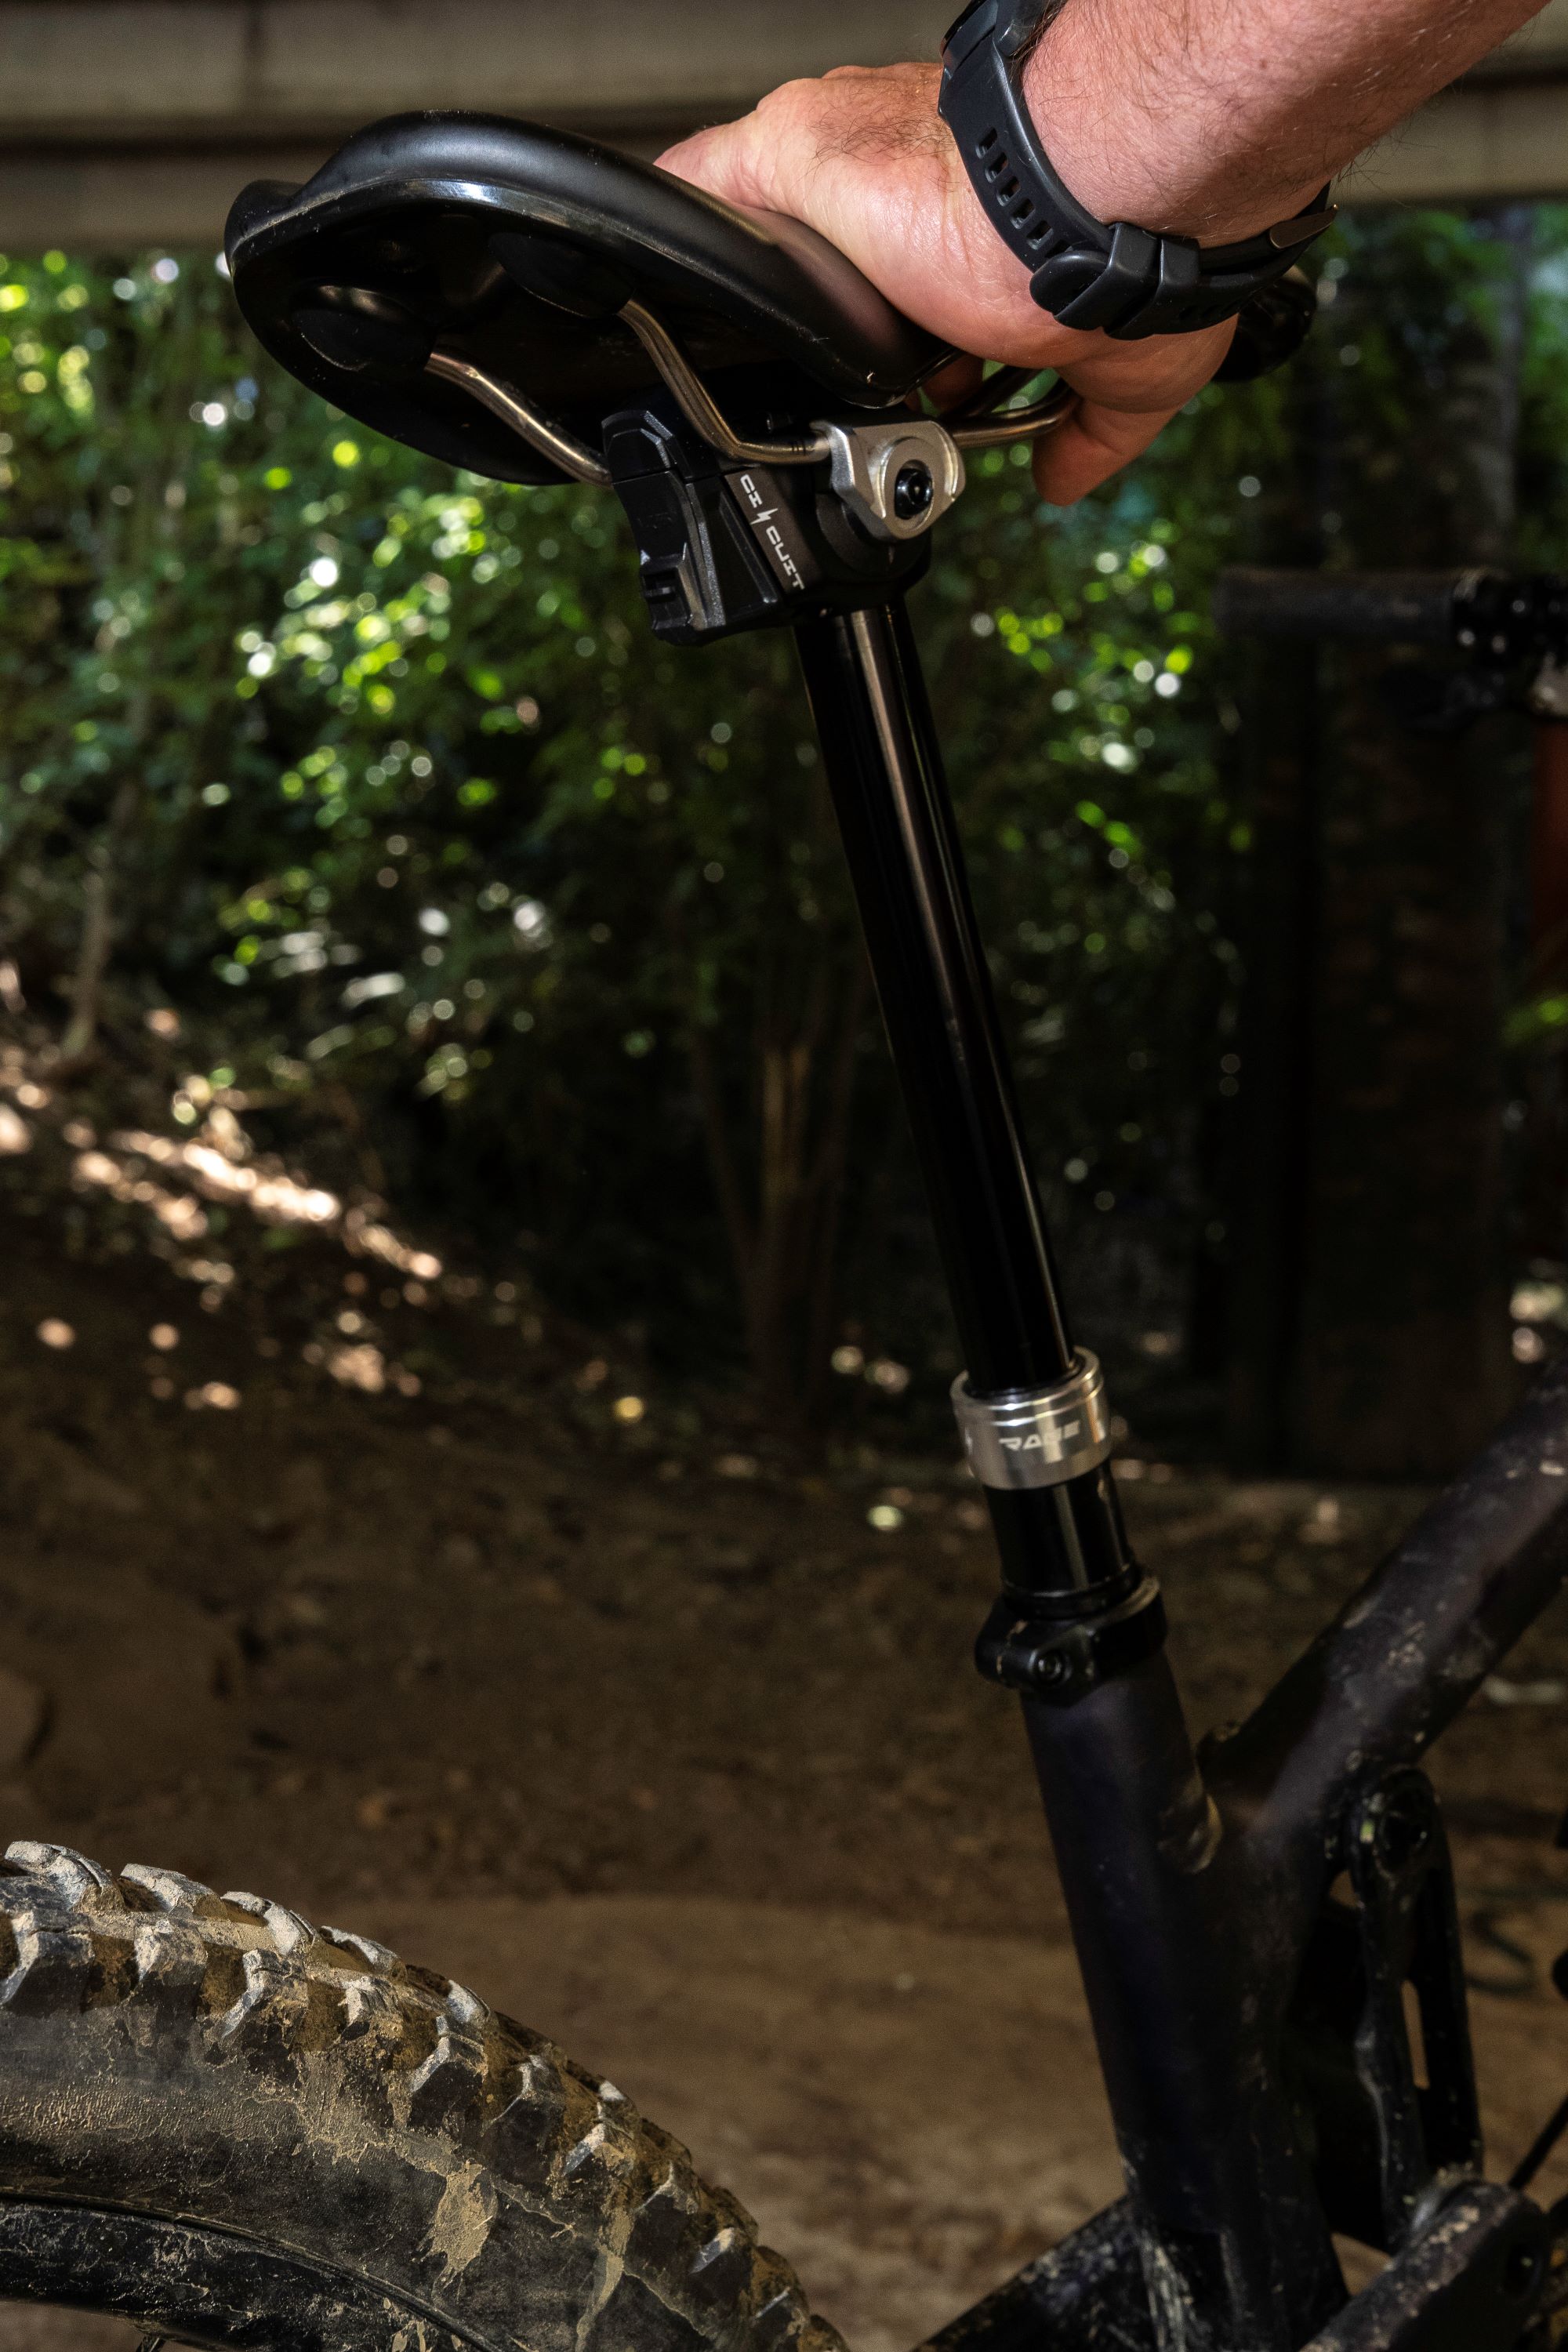
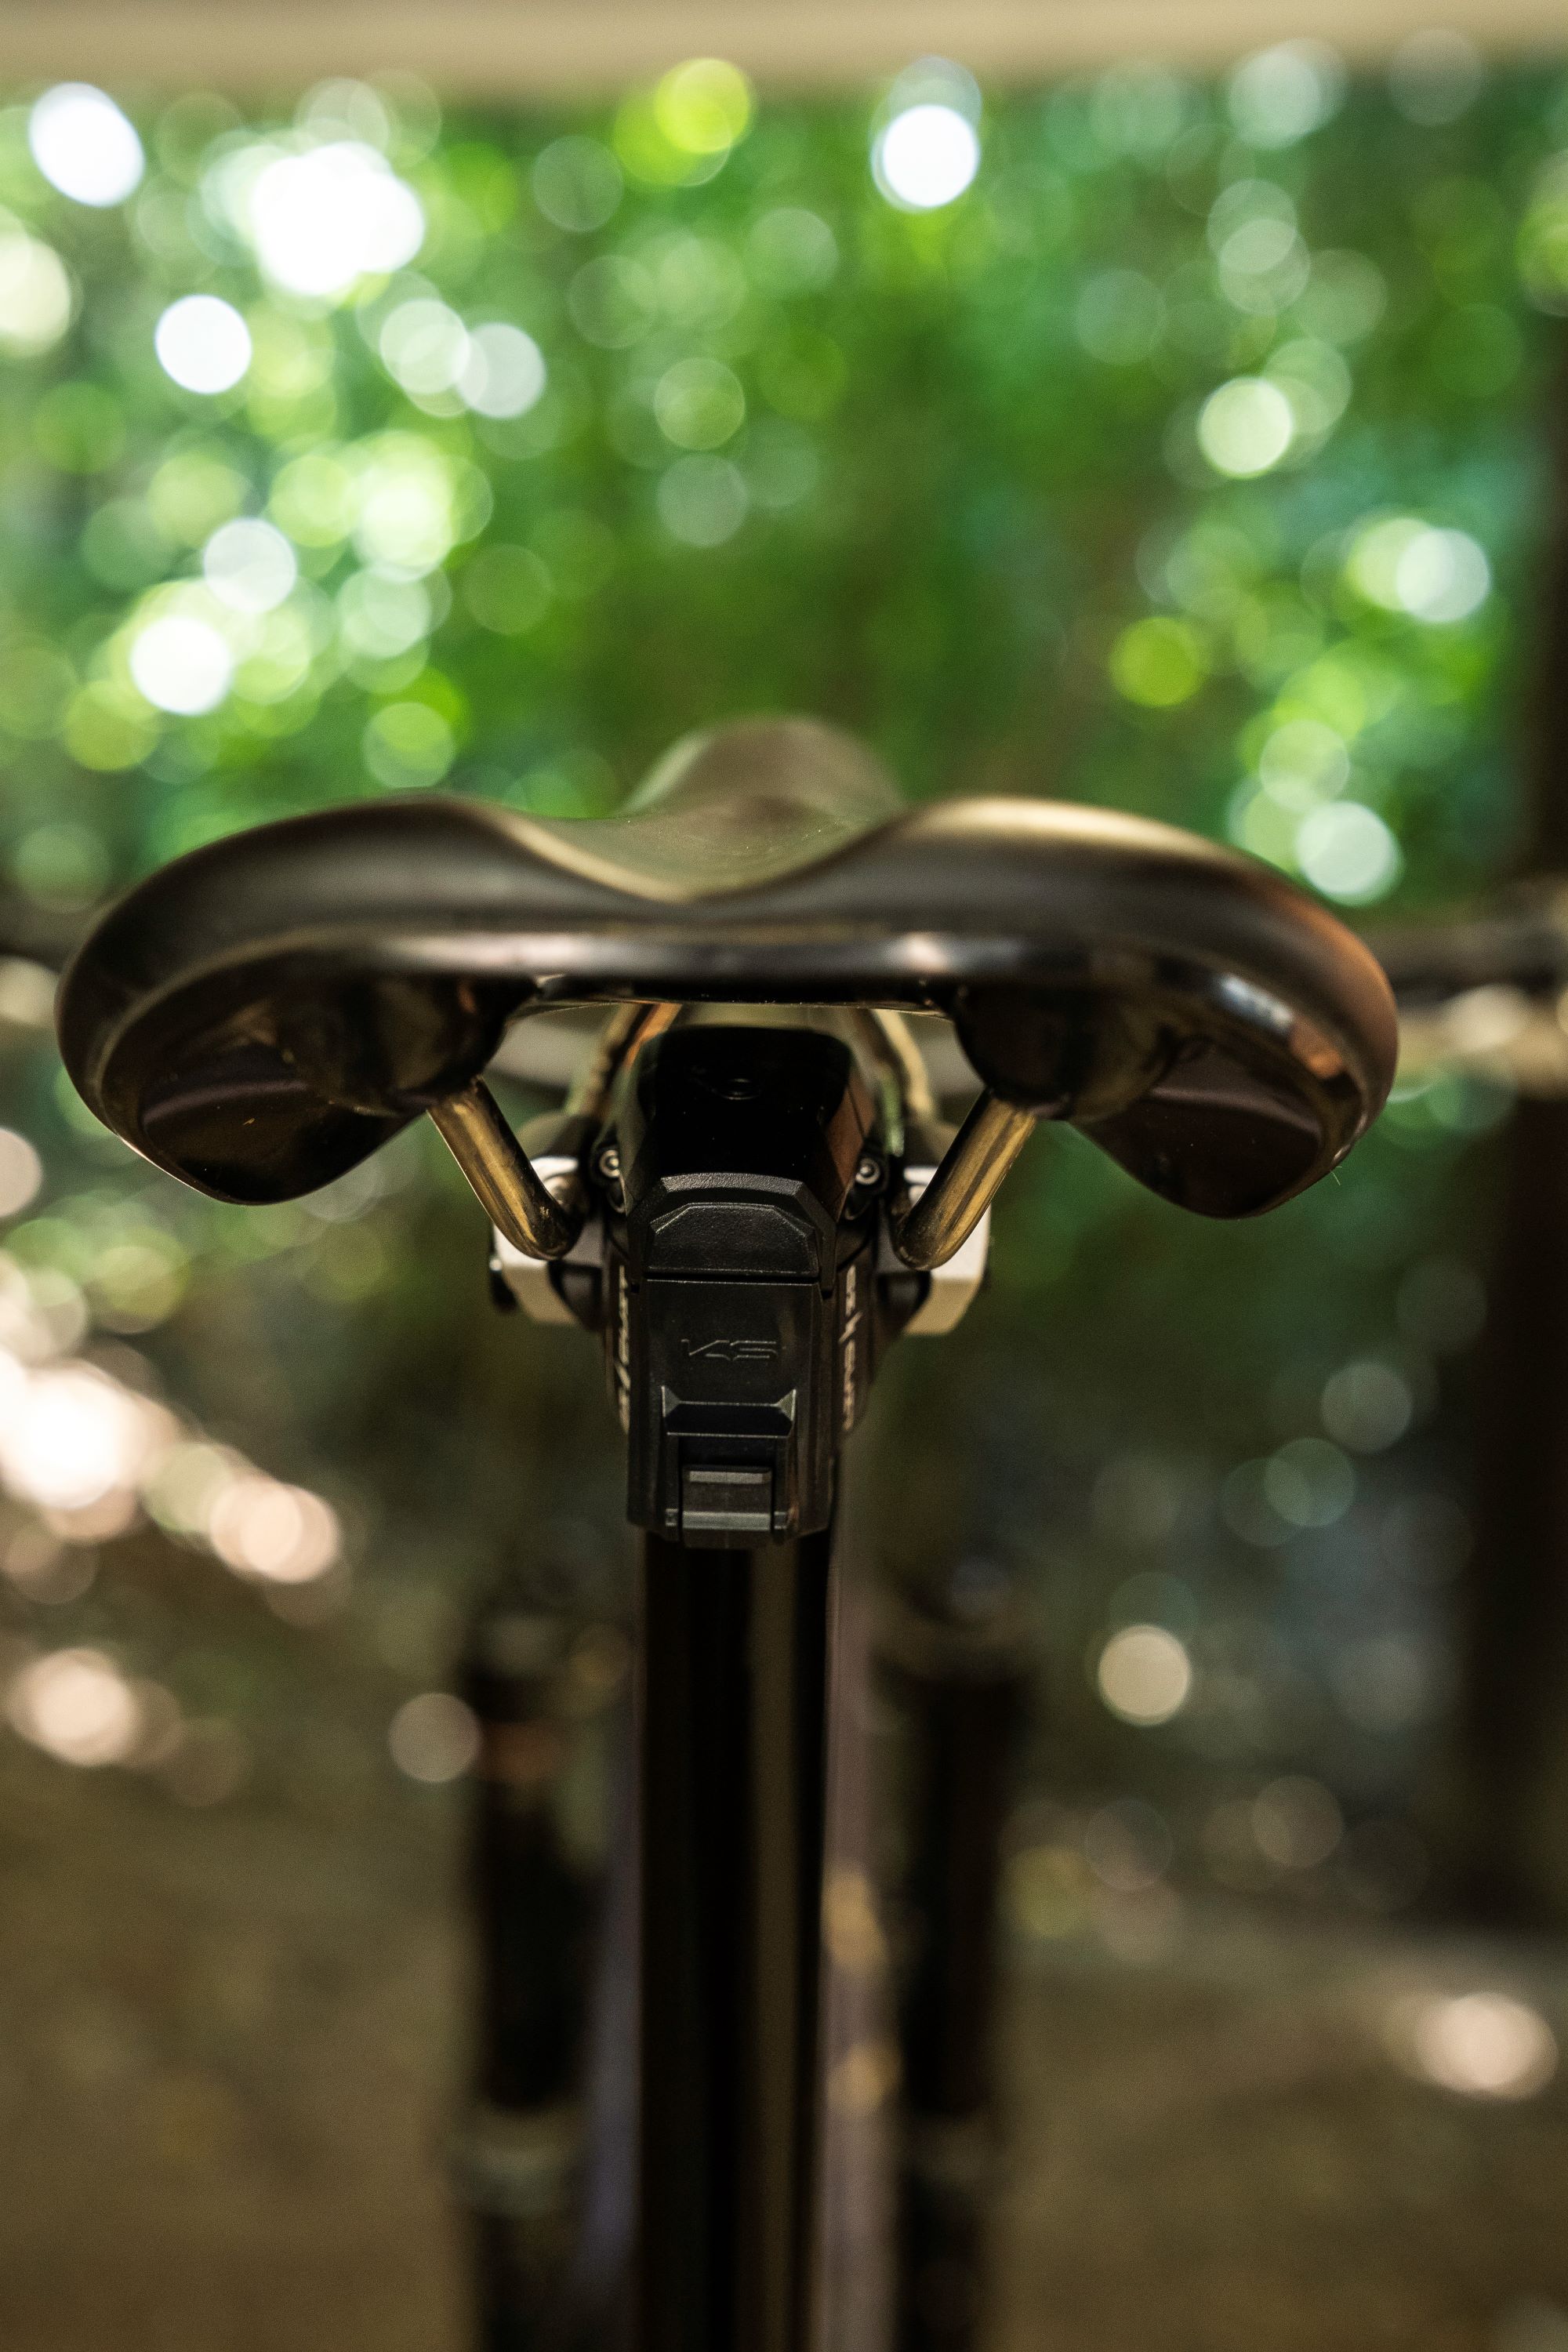
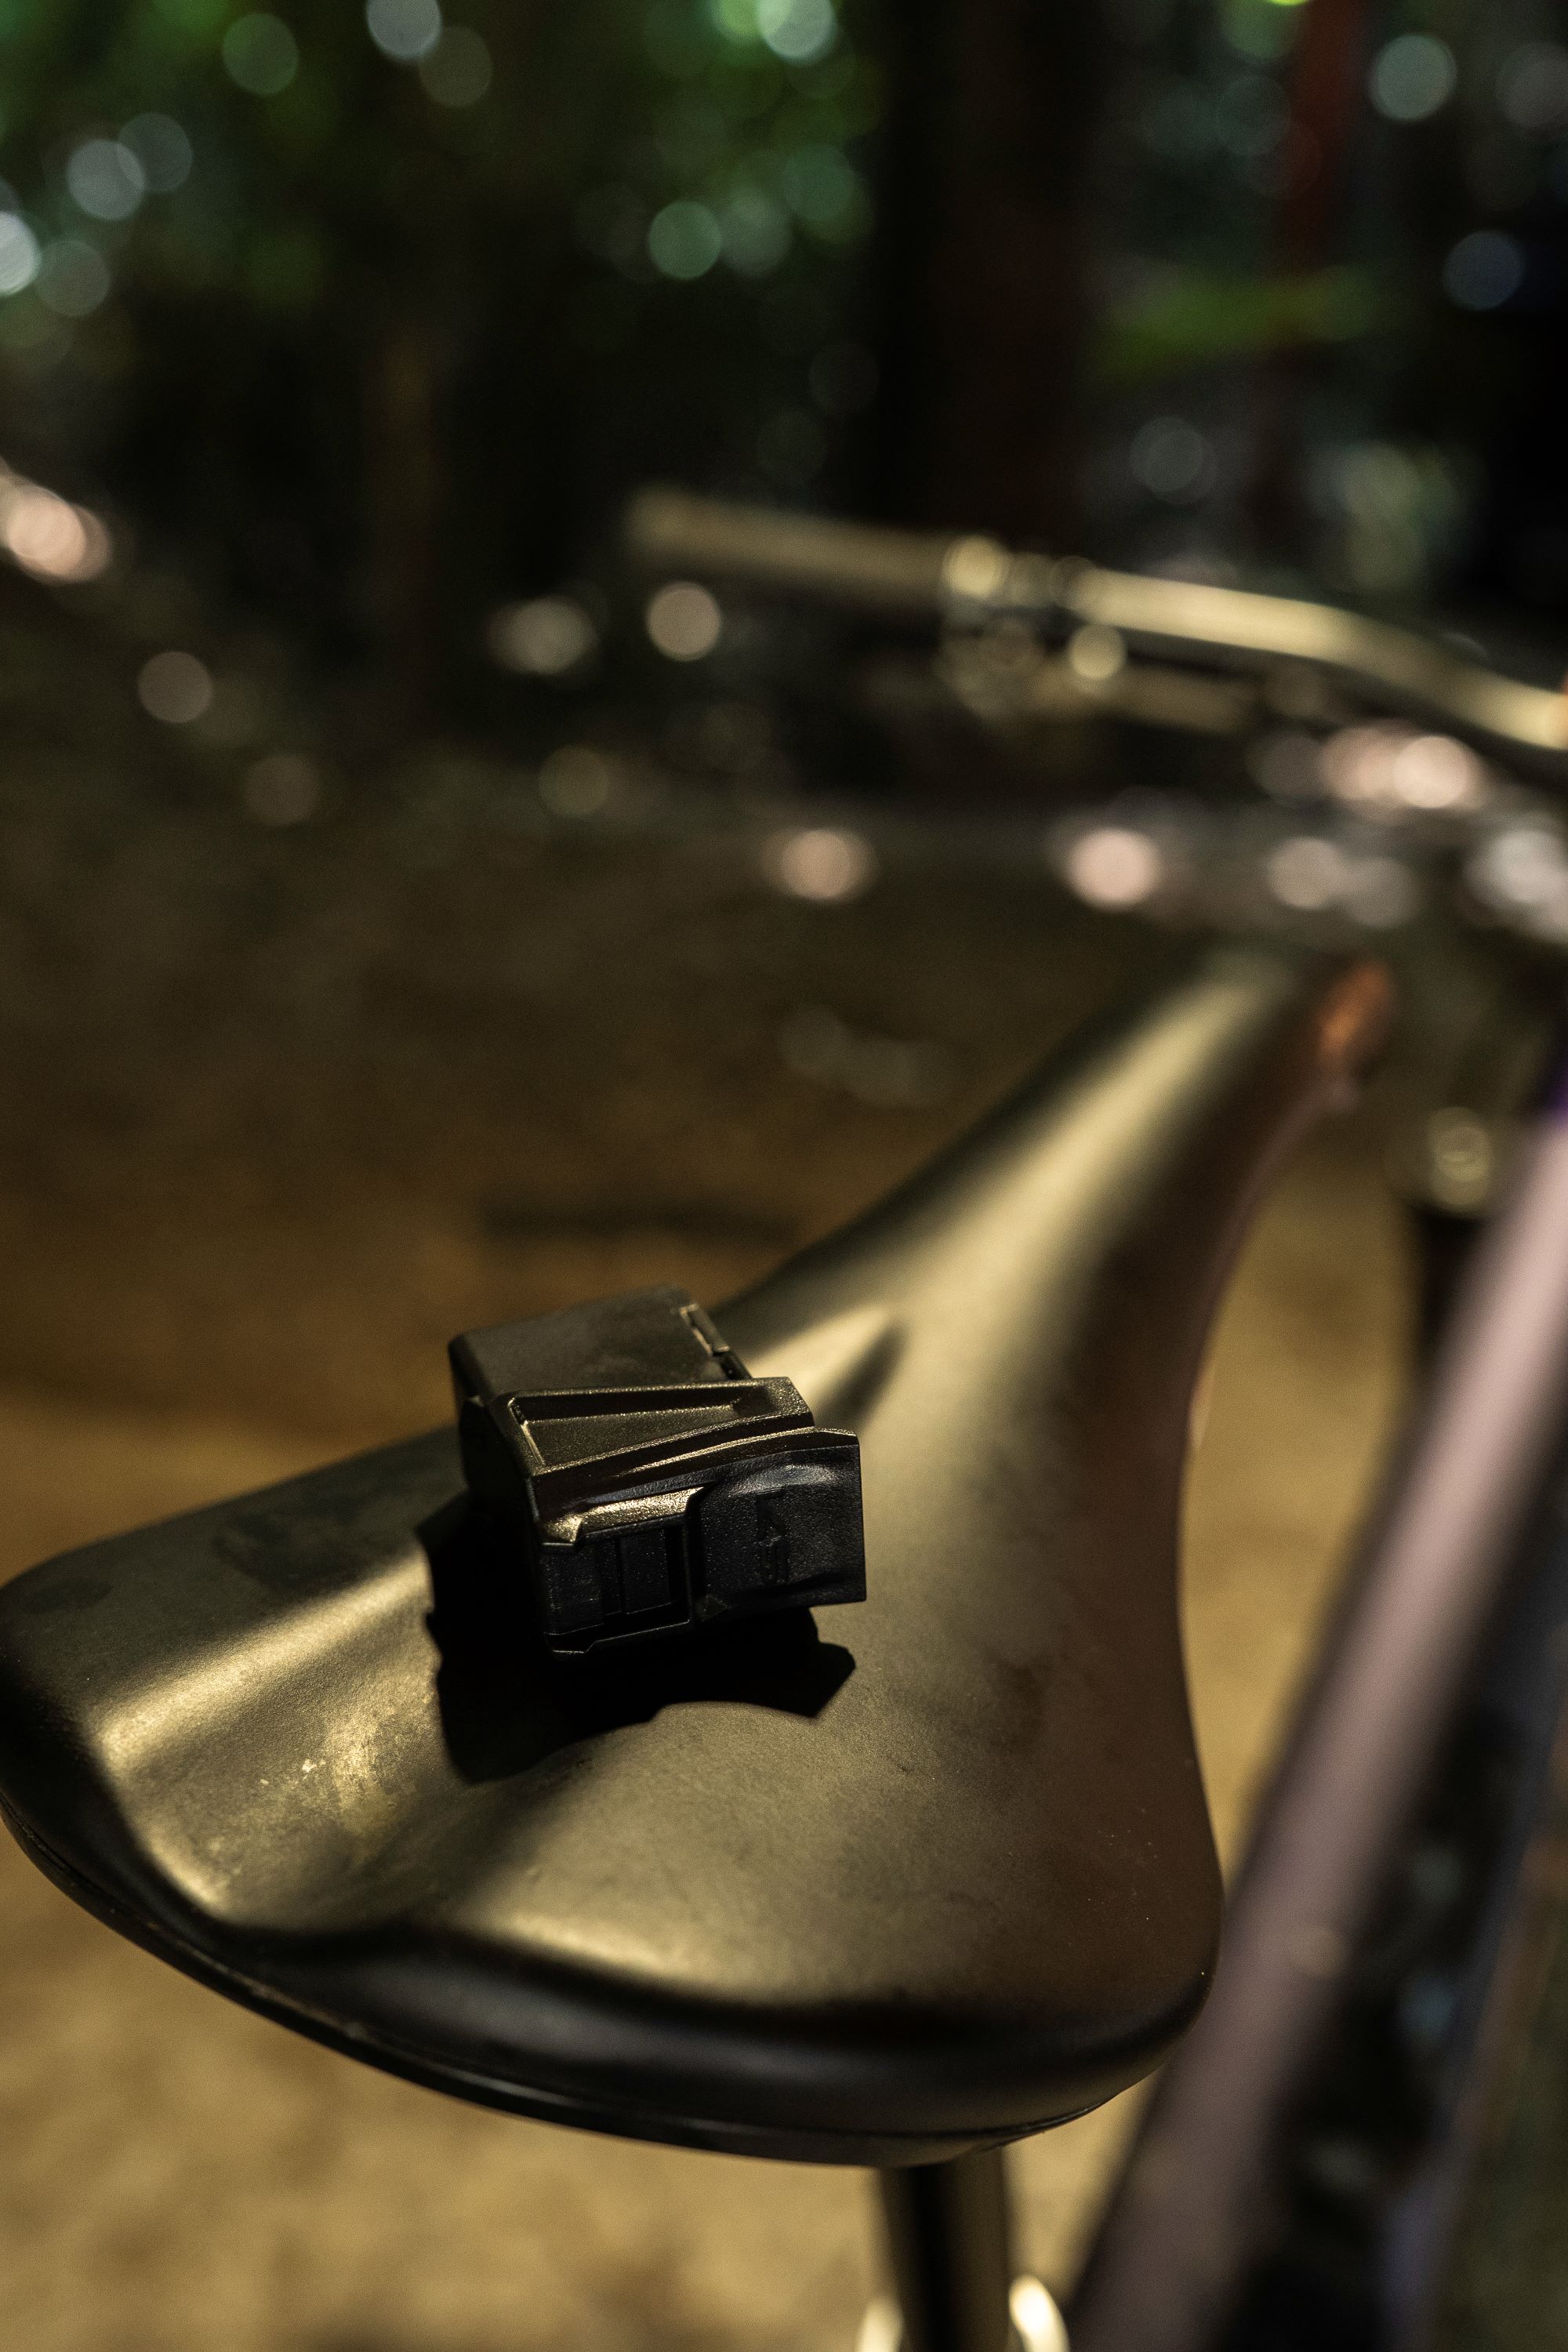
Now, let’s talk about how this post performs on the trail. The actuation is incredibly smooth and light. There’s an almost effortless sensation as the post drops when you press the remote button while weighted on the saddle. It doesn’t resist at all. I’ve been using wireless dropper posts for several years and highly recommend them.
During a recent test bike, I actually forgot about how much more I use the electronic version compared to the mechanical. Put simply, you press the button, and the post drops. It’s that straightforward, and after a few rides, you stop thinking about it entirely. The remote lever itself is large and easy to reach, with a very quick response time. The amount of force required is fairly light, and the post slides smoothly out of the way without much effort. The post is also built tough. An IP67 rating means it’s dust-tight and properly water-resistant.Precision keyways keep everything stable with virtually no play. This is something I’ve been checking for religiously, and so far, there’s been nothing to report. No slop, no wiggle, just solid performance.
The Rage Circuit has some downsides. The return speed is average, neither sluggish nor lightning-quick. When it’s time to raise the seat for a climb, hold down the remote to return it to full extension. The Circuit is a little less eager to fully extend. Of course, not everyone wants a super-speedy post, and I wouldn’t call the Rage Circuit slow at all–it’s just not the fastest out there. If you’re coming from a post that rockets back to full extension, you might notice the difference. But wouldn’t have any issues coming from a cable actuated post. It gets the job done, just not with any particular flair. The remote could be a little better. Don’t get me wrong, it’s functional and does what it’s meant to do, but the construction feels a touch flimsy. It’s not that it’s going to fall apart on you. The button action is fine, and the ergonomics are decent, but the overall build quality lacks a touch.
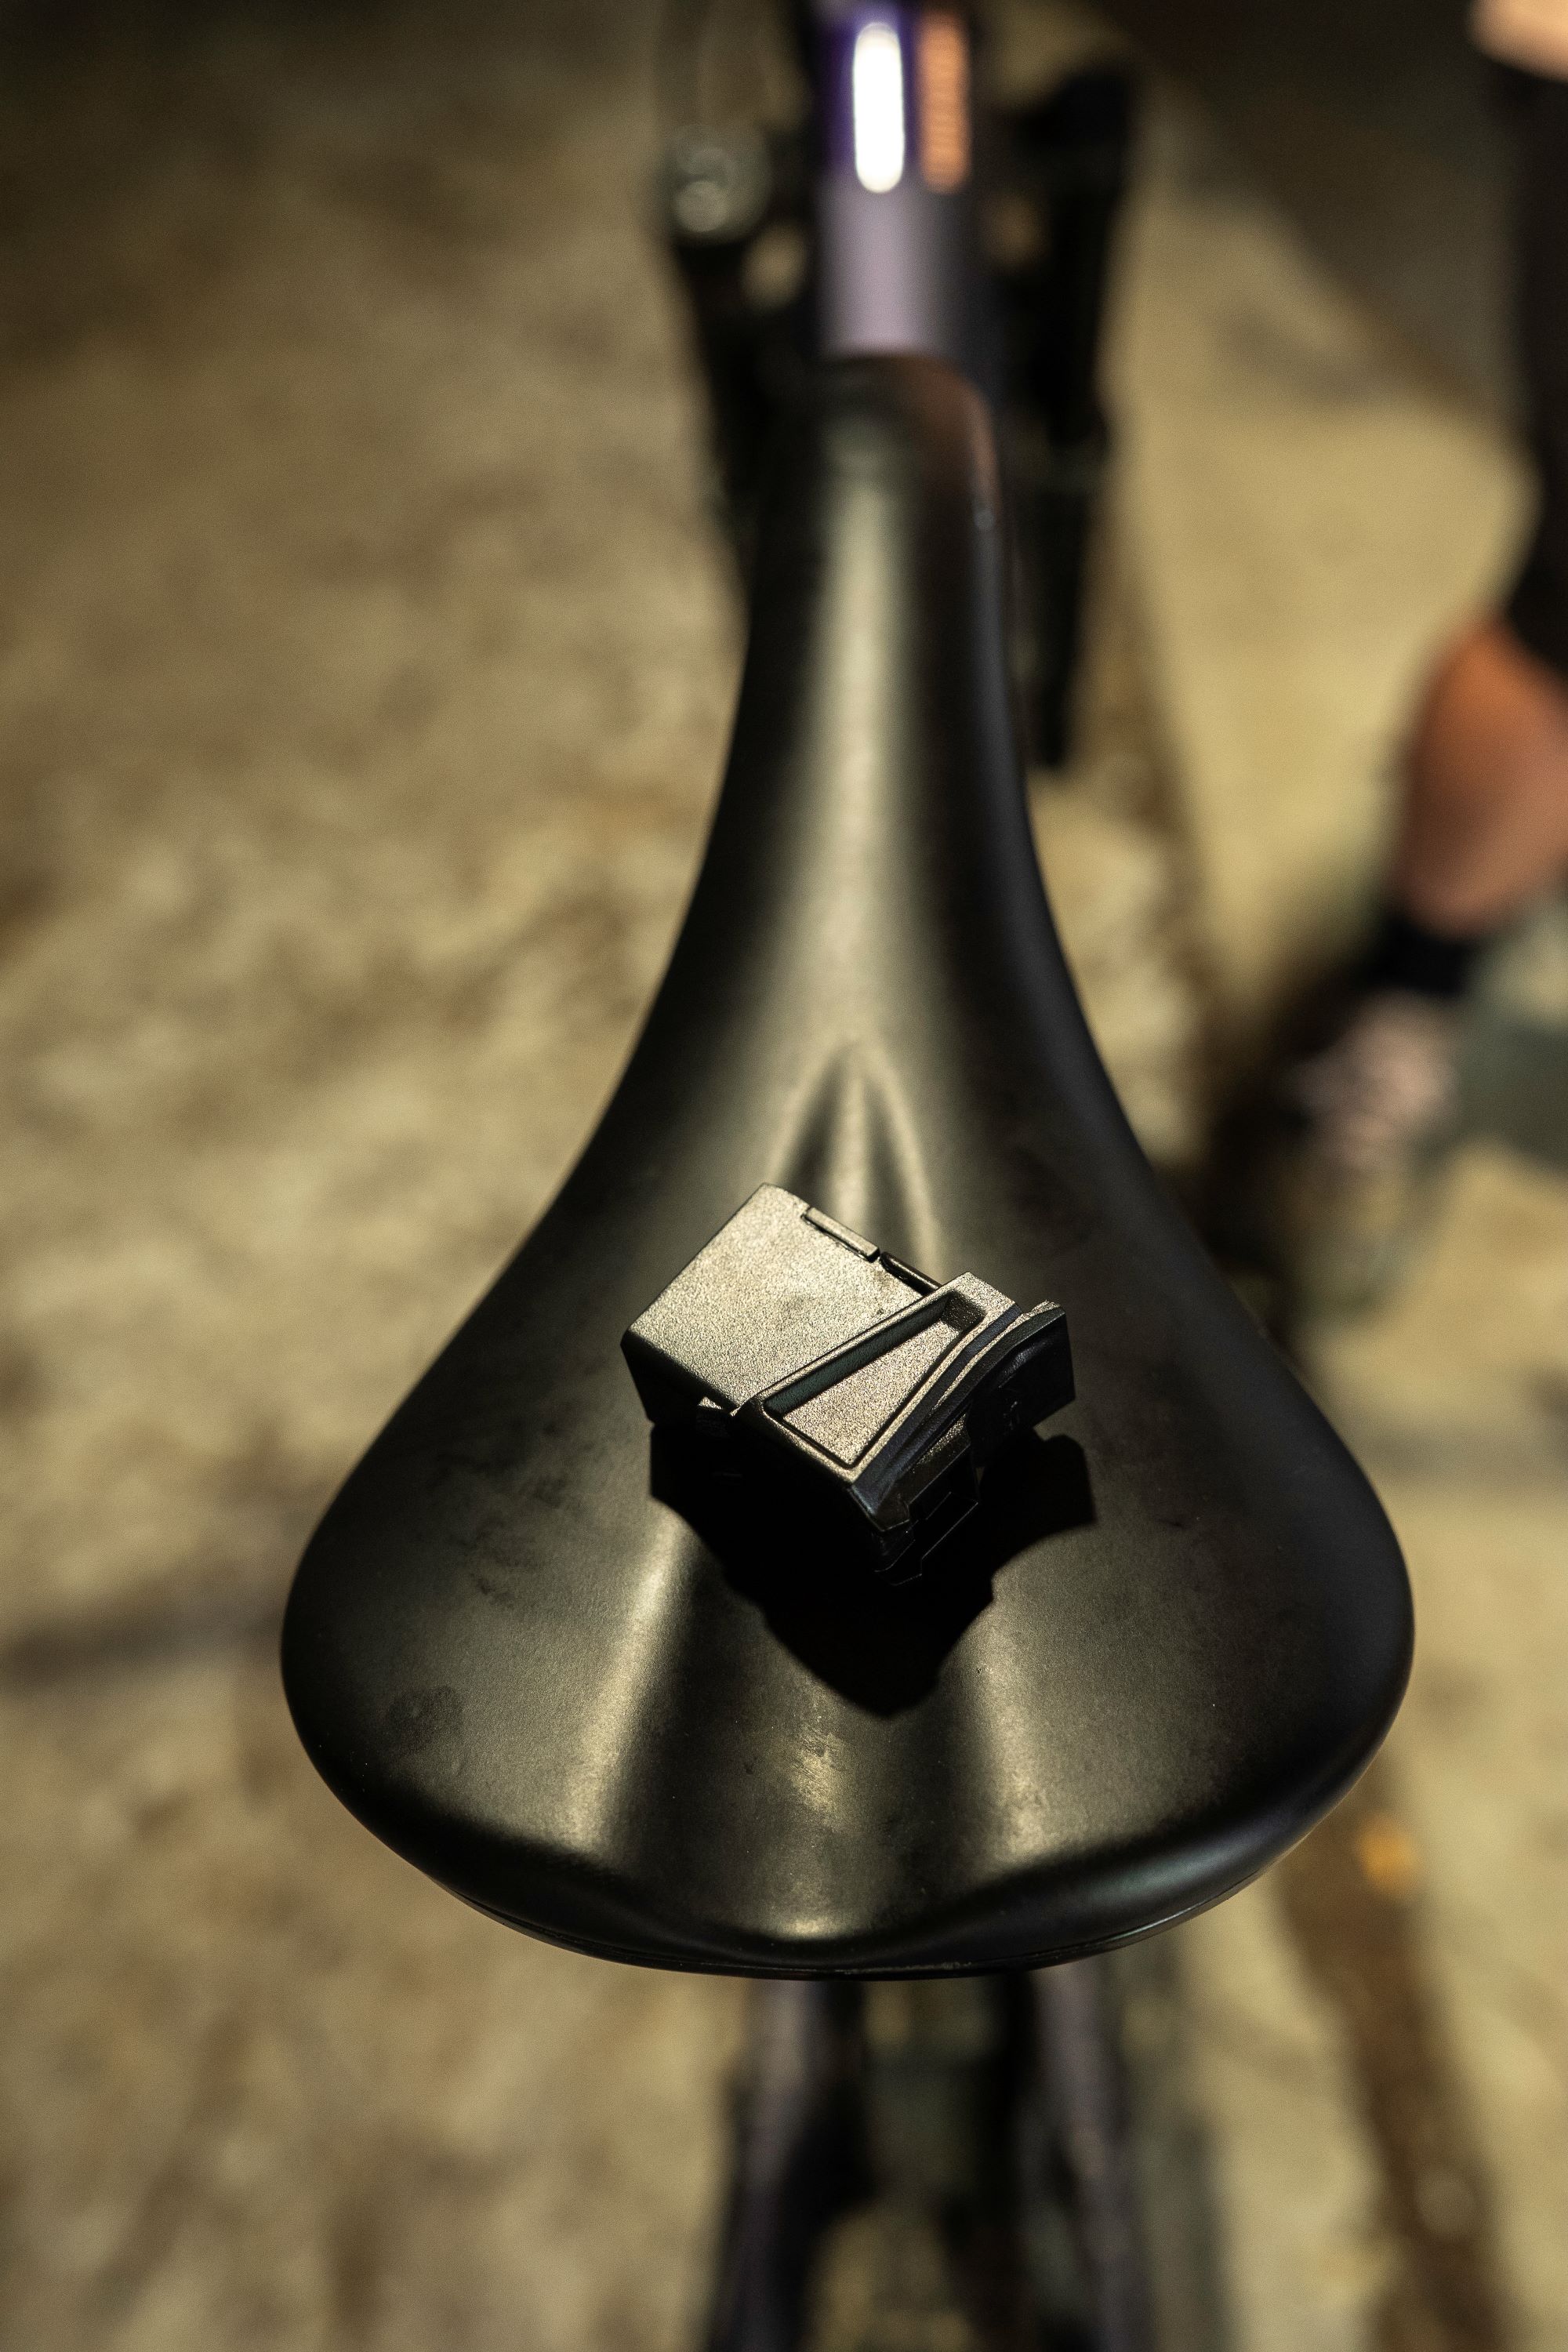
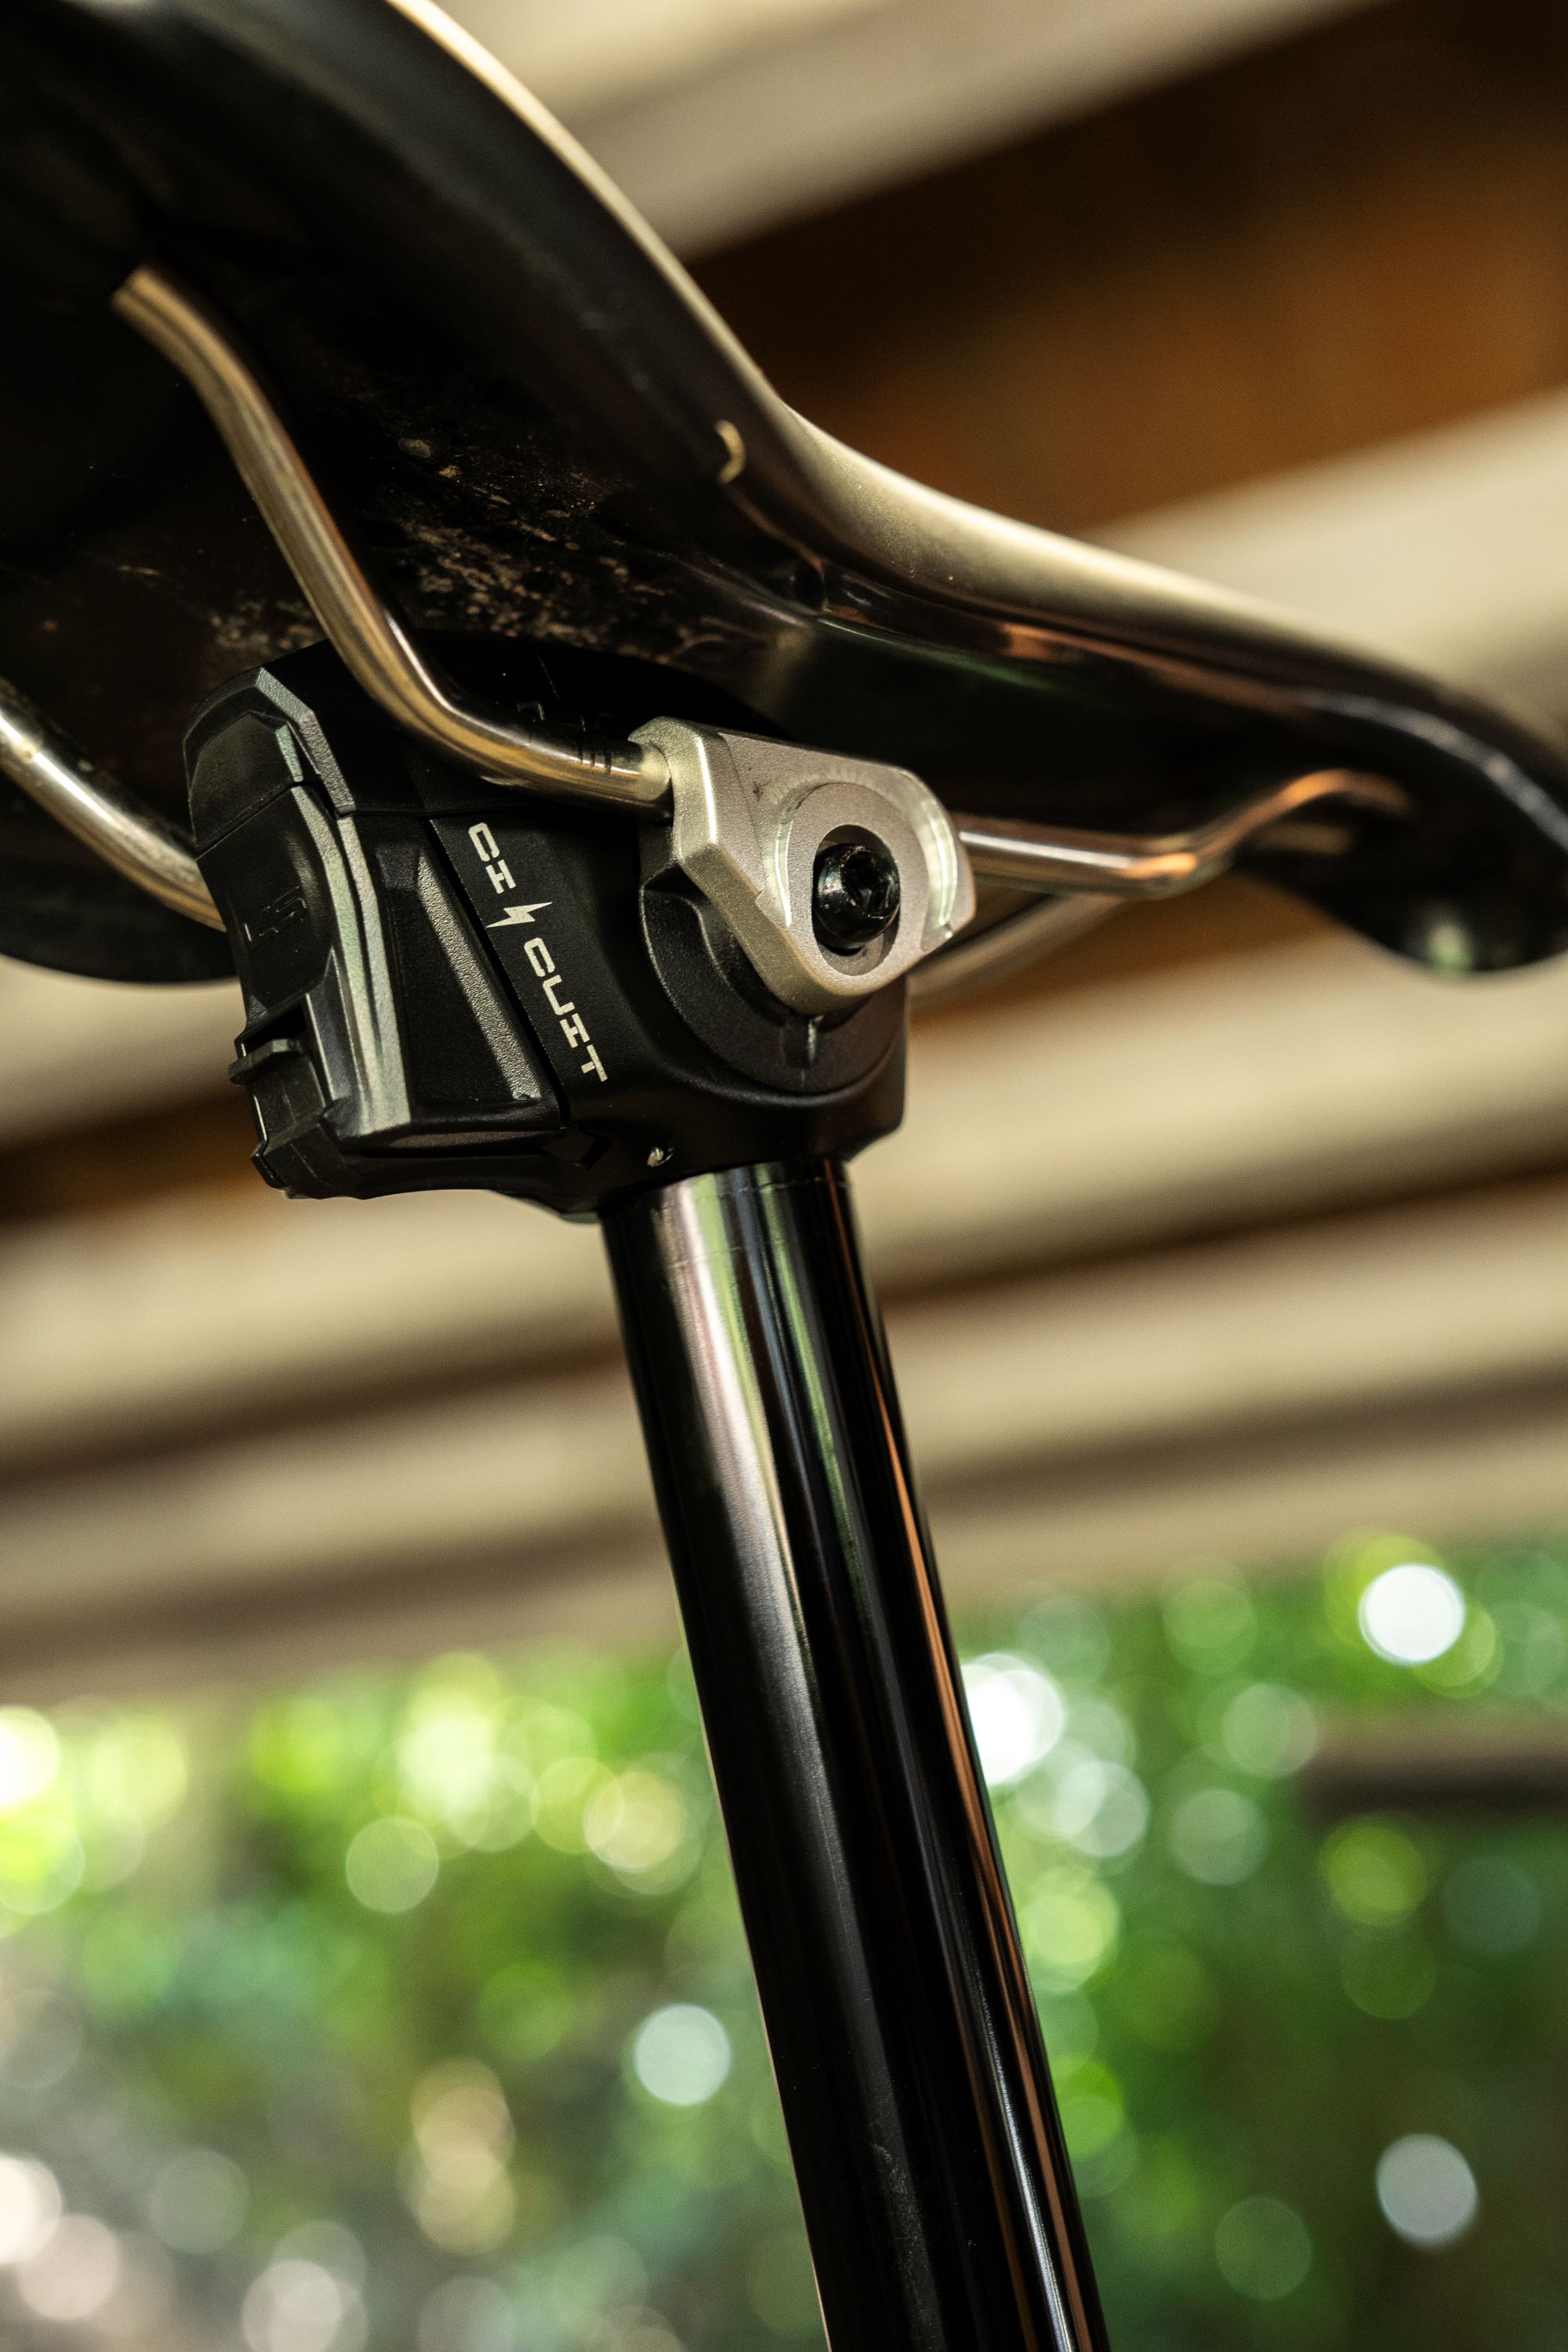
The price is bloody good value for a wireless dropper post and perhaps one of the cheapest out there. In saying that, wireless convenience does come at a cost, however. If you’re building up a new bike or already running wireless shifting, the Rage Circuit makes more sense. But if you’re thinking about replacing a perfectly good mechanical dropper, you’ll need to really value that cable-free experience. One thing worth mentioning is the serviceability. KS has a decent reputation for support. The post uses their proven hydraulic valve design, which sits at the top of the unit. The cartridge is easy to replace should the need arise. While time will tell how long-term this holds up, the company has a solid track record with products, so I would back them.
After several months of riding, the Rage Circuit has been rock solid. The connection between remote and dropper never drops signal or acts up. The actuation remains smooth and consistent, and the post hasn’t developed any play or quirks. It just works, which is exactly what you want from a dropper. KS has delivered an impressive wireless dropper here. The
smooth action alone is worth noting, and the battery life means you’re not constantly worrying about charging. Believe me, this can suck and ruin your riding experience. Installation is straightforward, and the performance has been reliable. For riders who value smooth, light actuation and don’t want to deal with cables, this post could be a good option. If you’re in the market for a wireless dropper and want something that feels effortless to use, the Rage Circuit deserves serious consideration. When you’re out on the trail, pressing that button and getting the saddle to drop away without any resistance, you’ll improve your riding experience.

Bridgedale MTB Socks
Words Lester Perry
Images Thomas Falconer
RRP $2975
Distributor Shimano NZ
Socks are often overlooked when it comes to mountain biking attire, but with our feet firmly planted in stiff riding shoes for hours, perhaps they deserve a little more attention.
Bridgedale, a company from Newtownards, Ireland, has been crafting socks for over a century. Their journey began with socks for the army during World War I. Bridgedale’s focus on creating the best outdoor activity socks ensures that they pay meticulous attention to detail.
Bridgedale’s MTB socks are engineered with advanced cushioning strategically placed in key areas. The asymmetric design utilises cushioning in specific areas for each foot, while the Vibration Damping Footbed employs a unique padding to reduce pedal chatter and trail vibrations. Padded zones around the outside of the foot, ankle, and along the Achilles provide additional warmth and impact protection. Bridgedale has even developed a new Underfoot Toe Seam for this range. By moving the toe seam to the underside of the sock, they’ve added extra padding on top of the toes and increased protection against impacts in the vulnerable area.
Bridgedale’s FusionTECH process sets them apart by blending high-quality yarns and materials with the latest knitting technology. This ensures every sock is comfortable regardless of conditions. Summer-weight models use Coolmax for cooling, while Merino wool provides a soft feel, temperature regulation, warmth and anti-bacterial properties. The underfoot toe seam eliminates the cold spot across the top of the toes, an issue with traditional over- toe sock seaming. This choice of materials, construction techniques, and the availability of two different weights, ensure there is a sock in the range to keep your feet comfortable regardless of the terrain or the conditions.
Bridgedale’s new Off-Road Bike socks offer improved performance through enhanced fit and support. Utilising Lycra Sport, they provide a supportive compression fit. A structured Y-Heel band and elasticated arch ensure a close fit, eliminating movement and friction. This additional support and precise fit enhance foot positioning, stability, and balance, leading to greater bike control.
I absolutely dig a fresh pair of socks. The plush feeling wrapping around your foot is so damn luxurious. This was certainly the case when I slipped on a pair of the Bridgedale Midweight merino socks. Initially, they felt great, providing a tangible feeling of support, especially around the footbed. On the bike, the socks offered ample support and stayed up – slipping down is one of my pet hates! After several rides, including a long four-hour pedal, the socks performed well without bunching. This was achieved via the asymmetric foot-specific design which eliminates friction from cycling shoes and provides better protection than a regular sock. The moisture management wicks any dampness away effectively, keeping feet dry in both warm and cool conditions by controlling heat and sweat.
After several washes, the socks have remained in good shape. Another pet hate of mine is how quickly new socks can get destroyed by the washing machine. It’s super annoying when you drop good money on a pair and they end up out of shape after just one or two washes. Bridgedale’s range feels durable and they completely back their products with a Lifetime Guarantee. This guarantee covers any defects in workmanship or materials, reflecting their 100 years of experience in sock-making. Knowing your sock game is dialled means you can focus on your riding experience. Don’t overlook your riding sock drawer – treat yourself to a good pair that’ll last the distance. The only downside is that these socks are quite spendy – but the quality, durability and guarantee makes them worth it. These socks are incredibly comfortable, far surpassing most others in my wardrobe. They’ve been on high rotation during house duties and on most rides – they’re that bloody good!

SRAM Motive Ultimate Brakes
Words Lester Perry
Images Thomas Falconer
RRP $1280
Distributor Worralls
In February 2024, SRAM dropped their fresh, brutally powerful, top-tier gravity brake; the Maven Ultimate. Although Maven was their second offering with Mineral fluid, the change to a Mineral brake fluid on this new flagship model hinted at a shift across SRAM’s brake offerings, and a move towards bleeding out DOT fluid systems, replacing them entirely with Mineral fluid brakes.
A year later, in March 2025, SRAM unveiled what many had suspected was coming: a simplified lineup of brakes based around a more user-friendly, and in most opinions, better-performing Mineral fluid.
I’ve been running a set of Mavens on one of my bikes for about a year and when I saw the Motive launch, I was keen to get on a set. Realistically, they’re squarely targeted at most of the riding I do and would suit another of my bikes perfectly.
This range revision plans to reduce the SRAM lineup from 27 models down to just ten, in a move to simplify and consolidate. The range is now split into three distinct streams: Maven targeting gravity, Motive targeting XC and Trail, and the DB series targeting power at a reduced price, thanks to fewer features and added weight.
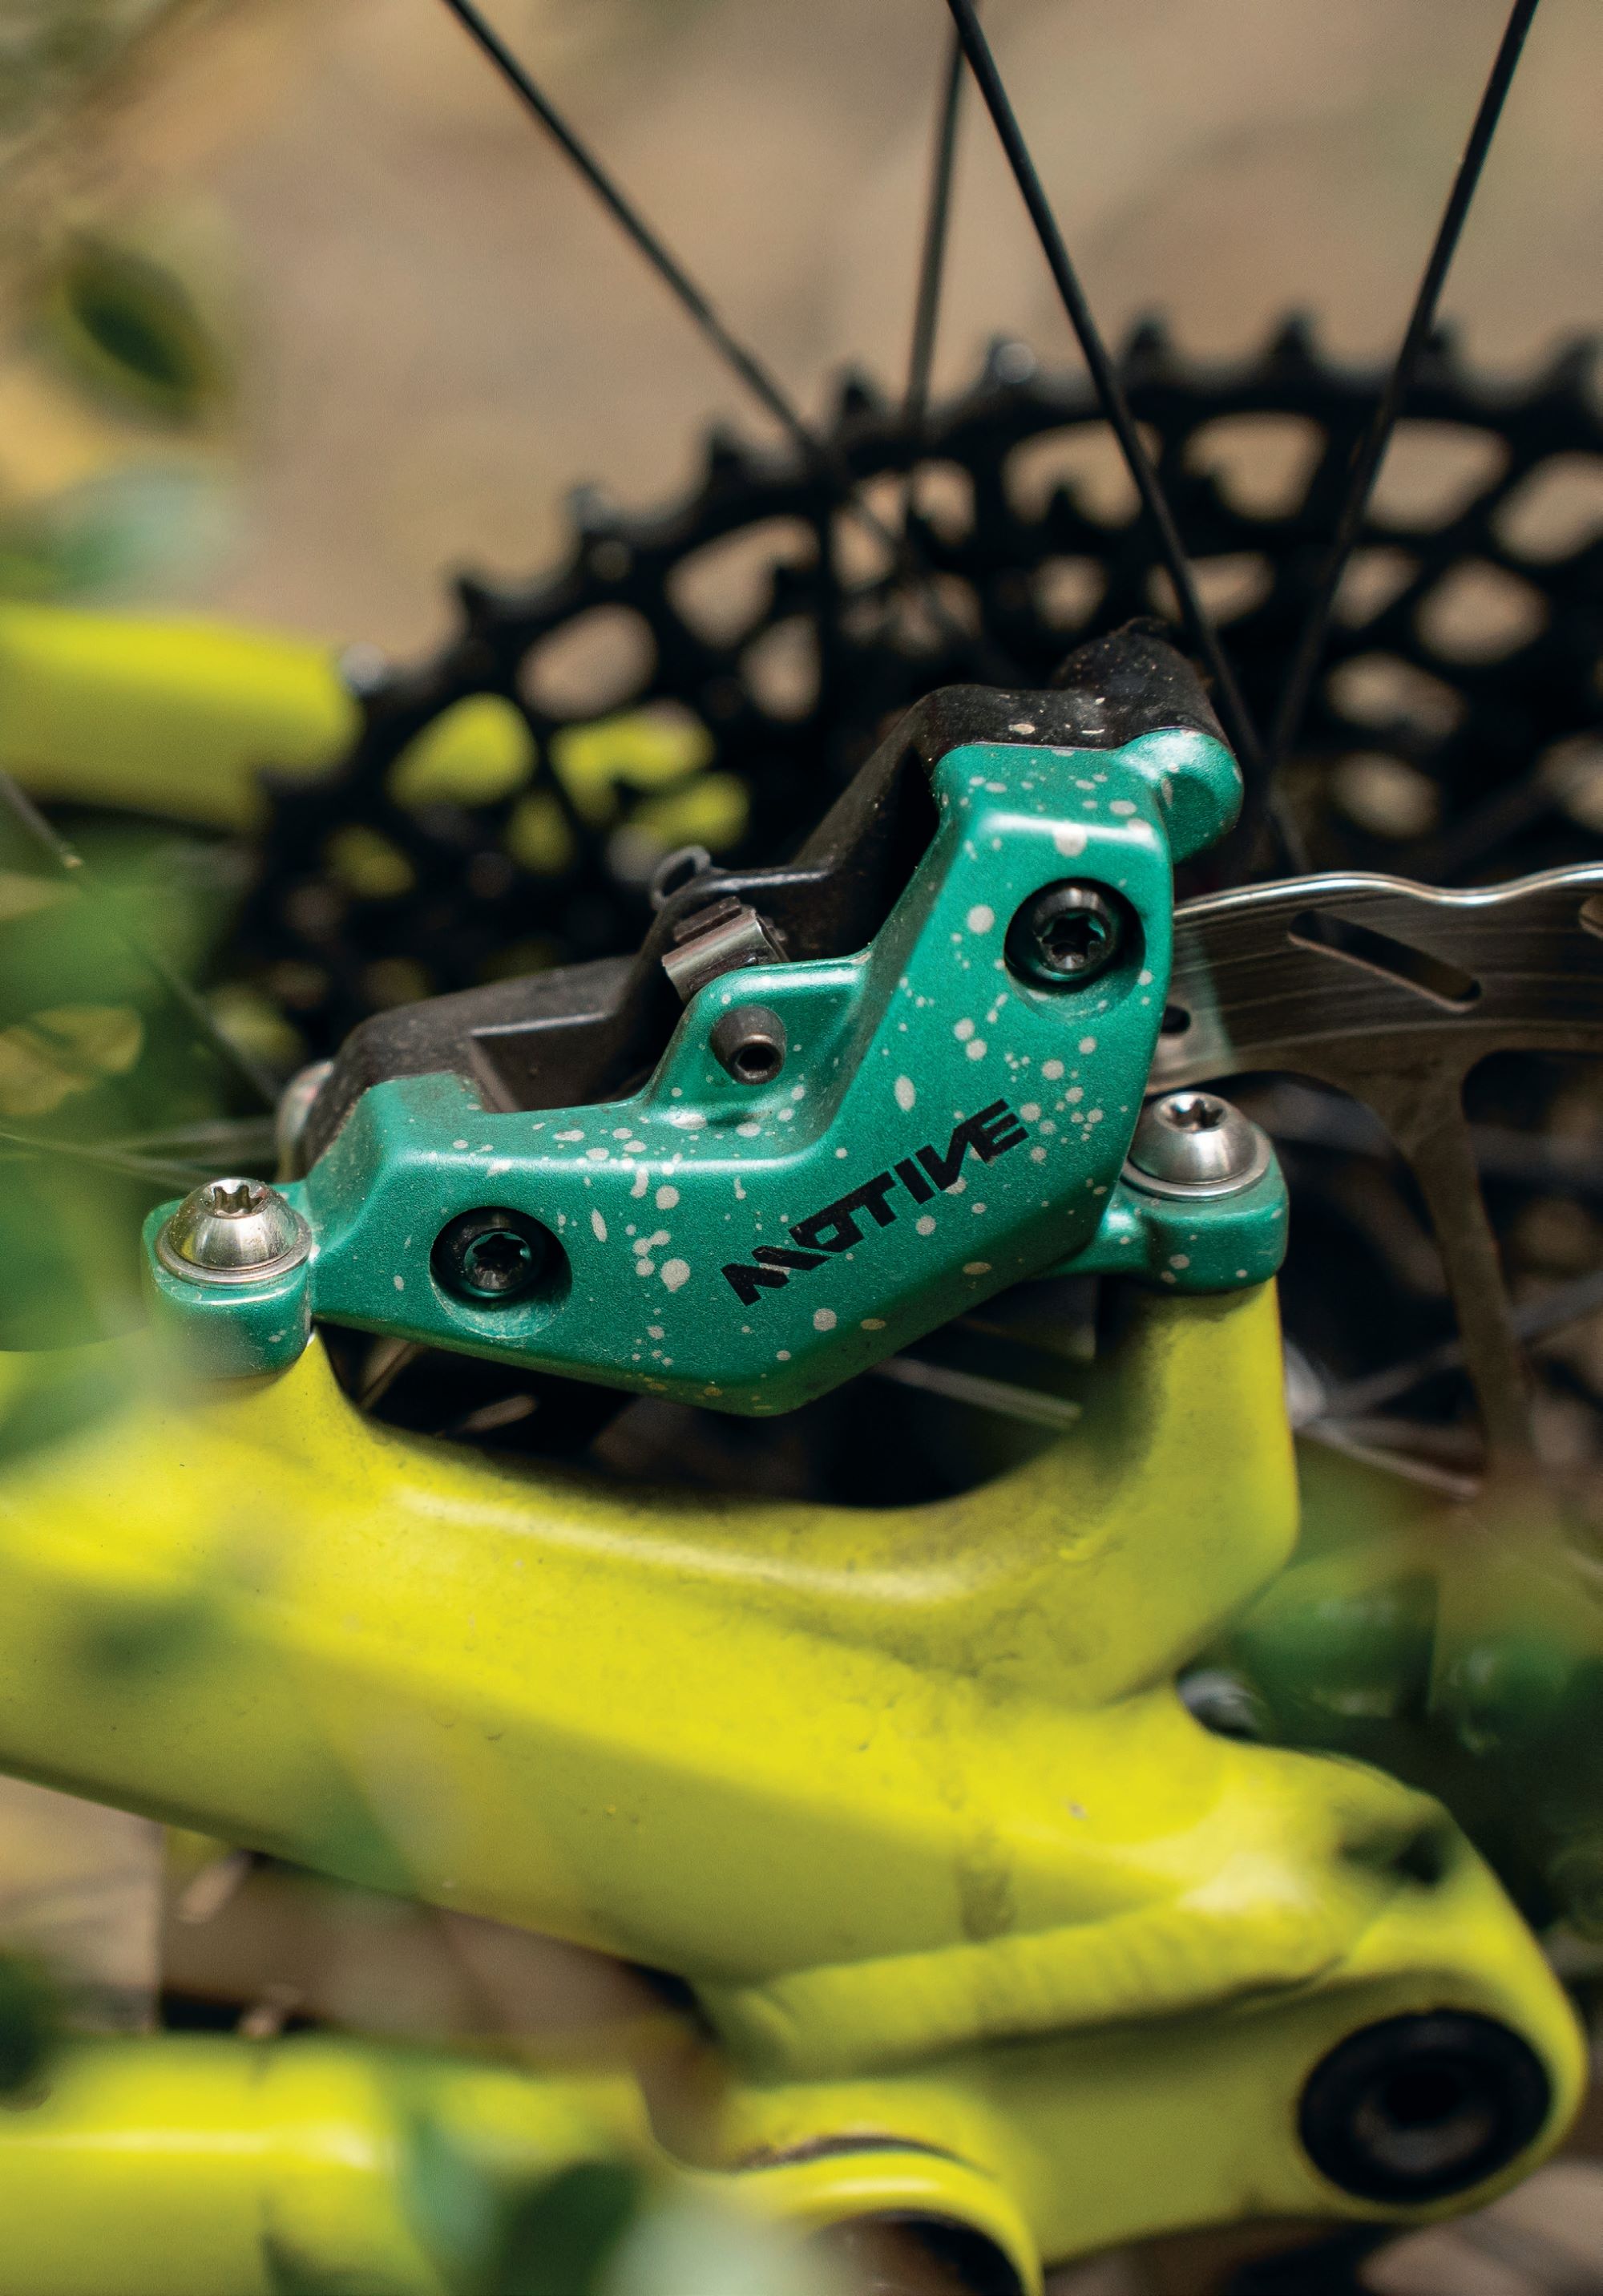
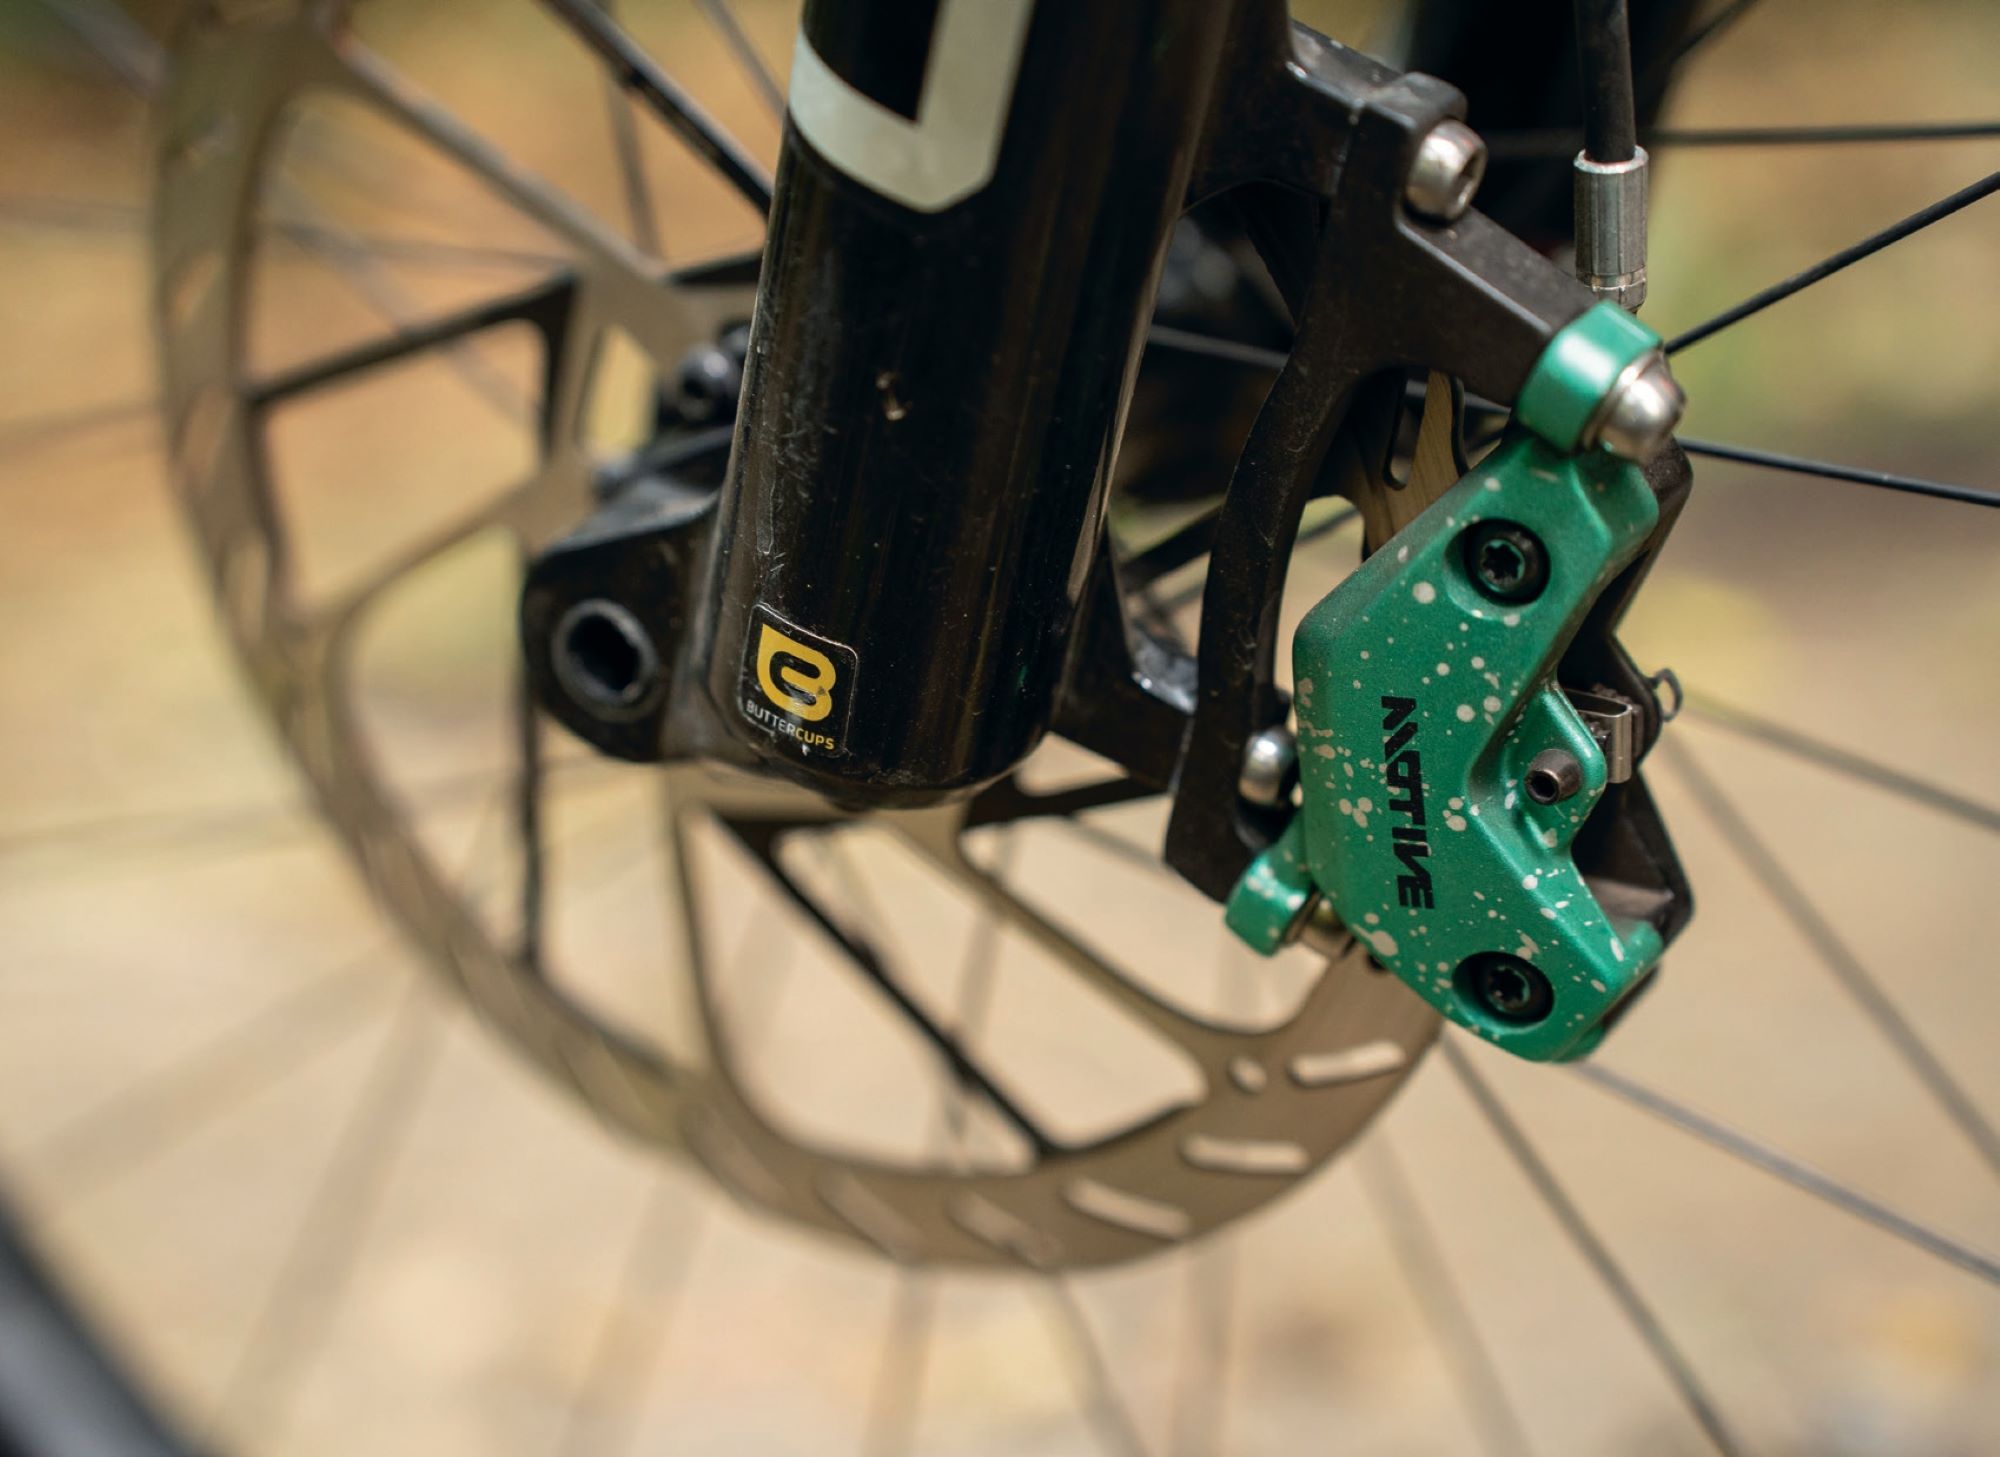
The Motive series replaces two previous brake series from the SRAM range. The Motive brings almost the equivalent power as the now-discontinued Code, at a weight only slightly above the also-discontinued two-piston Level series, but in a Code-esque four-piston package. The Motive calliper is slightly squarer, and more boxy, than the sculpted Code, but houses the same size pistons so there are obvious similarities, although with new fluid comes new seals throughout the system.
The Motive is available in three tiers: Ultimate, Silver, and Bronze, like other SRAM brakes. All share more or less the same performance, with only minor tweaks distinguishing each level. The Ultimate has a crisp anodised finish, a swanky carbon lever with bearing pivot, and premium titanium hardware. Silver level goes to an alloy lever blade, with more basic stainless steel hardware, and less swanky finishing. The Bronze level is a little more no-frills with its bushing lever pivot, basic hardware and less premium finishing. The calliper has a fixed line fitting instead of the swivel banjo of the upper tiers. Differences in weight between the levels are subtle: Ultimate 265g, Silver 273g and Bronze 279g (rear brake, 1800mm hose, ready to ride but sans mounting hardware).
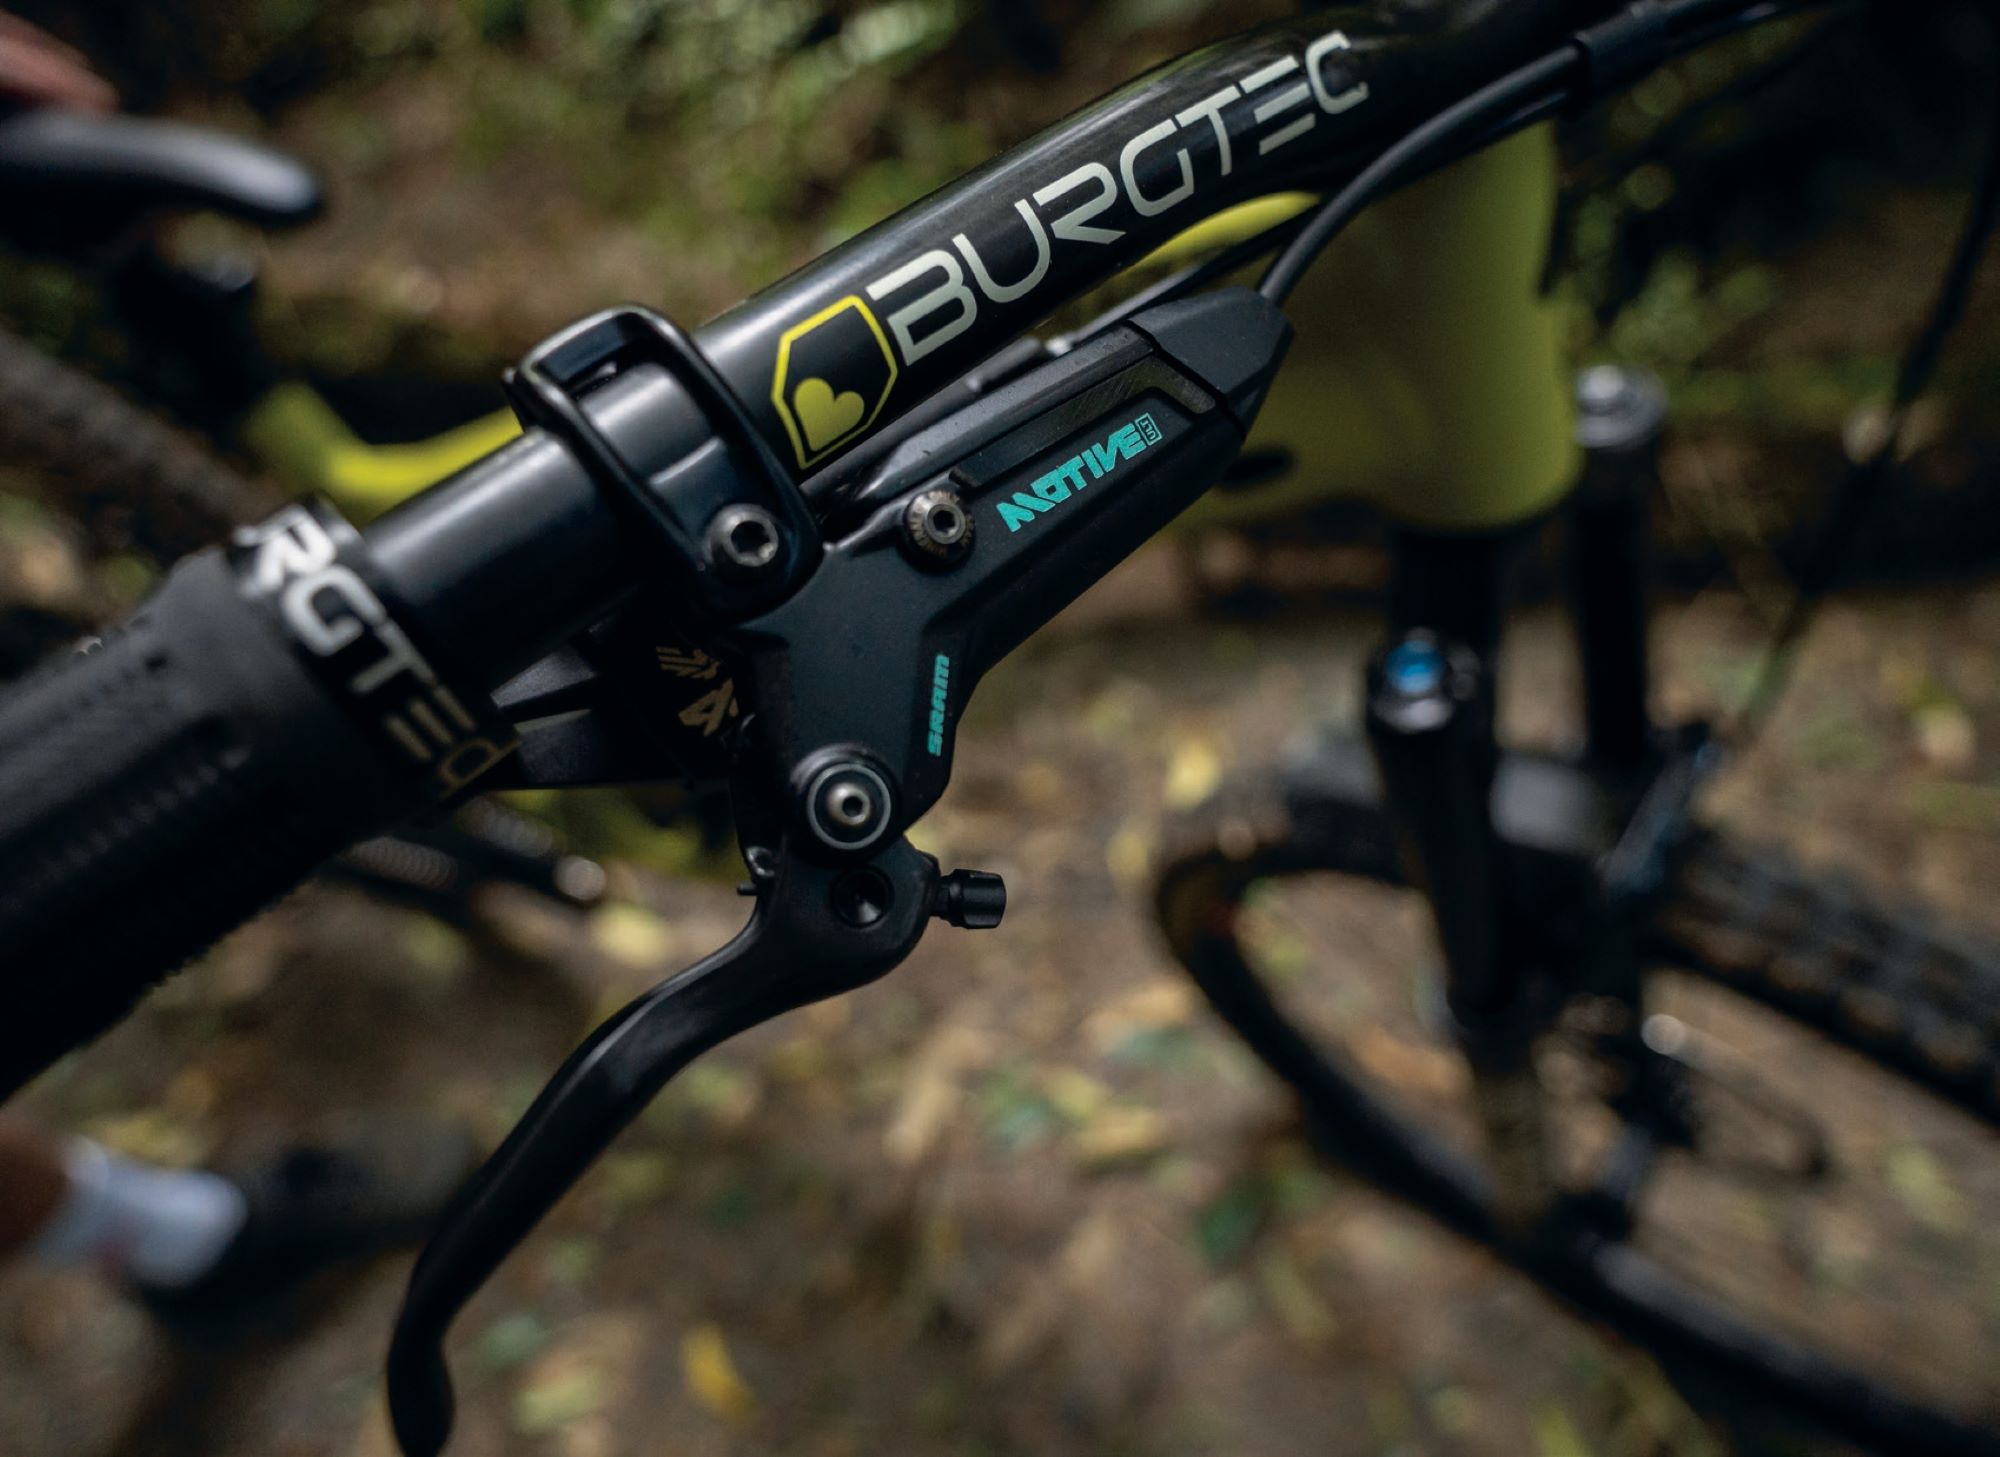
The Motive lever stays in line with the new ‘stealth’ styling, keeping the master cylinder and brake hose almost parallel to the handlebar. Thanks to the DirectLink lever, the feel is lighter than the Maven, right from the start, and has a more ‘normal’ SRAM feel of “what you put in is what you get out”; whereas the Maven’s SwingLink style lever has a cam that effectively multiplies your input power as you pull the lever, giving a different feel more suited to the demands of heavy braking over long periods. There’s no pad adjustment, which keeps things simple and lightweight, although basic reach adjust remains.
Expert Kit
The Expert Kit is a great way to purchase the Ultimate brakes. The kit includes everything you need to set up the brakes and maximise their performance over the long term. A pair of brakes, two pairs of sintered and two pairs of organic brake pads, 2x 160mm and 2x 180mm rotors, as well as all associated mounting hardware and mounts, and a multitool, complete bleed kit and oil. Essentially a one-buy solution to complete a top-tier Motive set up for XC or lighter trail use, that’s customised to the user’s specific needs.
The Ride
In my case, I threw the 180mm rotors on immediately with sintered pads. With it being the end of summer, and fitted to a 140mm travel trail bike, I opted to start with what I deemed the most powerful setup from the get-go and, if required, switch to a smaller rotor or organic pads from there. Needless to say, I haven’t changed anything.
It’s not normal for me to run a 180mm rotor up front unless I’m on a cross-country bike but, not having the option to go larger (at least out of the box), I was stuck with it. I’ve been surprised at how powerful the brakes are, even with the smaller front rotor.
The modulation is excellent, and lever feel is consistent throughout a descent. The ‘what you put in is what you get out’ feeling is certainly there and they feel like you can just squeeze harder and get more bite, however, there have been times I’ve noted I’m pulling quite hard when needing to haul anchor and stop quickly… like when one of your mates’ crashes right in front of you!
These brakes excel in the realms they’ve been designed for; cross country and trail. I wouldn’t think twice about putting these on a full-on XC race machine (in fact mine will likely end up on one) and in cases where weight is still relevant, i.e. on many ‘trail’ bikes, these would be ideal, possibly with a 200mm rotor up front, particularly if you’re heading toward the 90kg mark. For any enduro bike or rider purely focused on descending, where pedalling is just a means to an end, and where raw braking power is paramount, something less weight-focused like a Maven, or a new Shimano XT would be much more suited, particularly when trails get steep.
I think it’s worth noting here that bigger, or in this case, gruntier and more powerful, is not always better. Many people (myself included) are over-braked, choosing the most power possible rather than what’s actually best for them, often blinded by the power and large rotor sizes. The Motives have opened my eyes to some of the subtleties that make for better braking, not just having maximum power, but modulation, consistency and even the changes in using different pad compounds or rotor sizes, which help make it optimal for where, and how, I ride.
Leatt Enduro 3.0 Pant
Words Lester Perry
Images Thomas Falconer
RRP $199
Distributor BikeCorp
Launching in the moto world in 2015, Leatt first began to dabble in MTB gear with a range of helmets. By 2020, they had expanded their line to not only include helmets but pads, neck braces, shoes and apparel as well, offering a complete head-to-toe solution.
Now in its 20th year, and with numerous design awards under its belt, Leatt continues to go from strength to strength. In mid-2025, the brand announced its second quarter revenue was up 61%, its fourth consecutive quarter of growth, bucking the current industry trends in a big way.
They must be doing something right.
Through early 2025, on rides when I was reaching for long pants, a pair of Leatt Enduro 3.0 have been my preferred option. Particularly through autumn and winter, long pants win out over shorts for me. The increased protection they offer is nice, but it’s the ability to finish a filthy ride and just drop dacks and drive when I get back at the car—plus the minimal clean up required—that makes these a winner for me.
Although the name of these pants has ‘enduro’ in it, they’re far more than just an enduro pant. If there’s any time you’d wear long pants, these would do the trick, with one possible exception, which I’ll get to below.
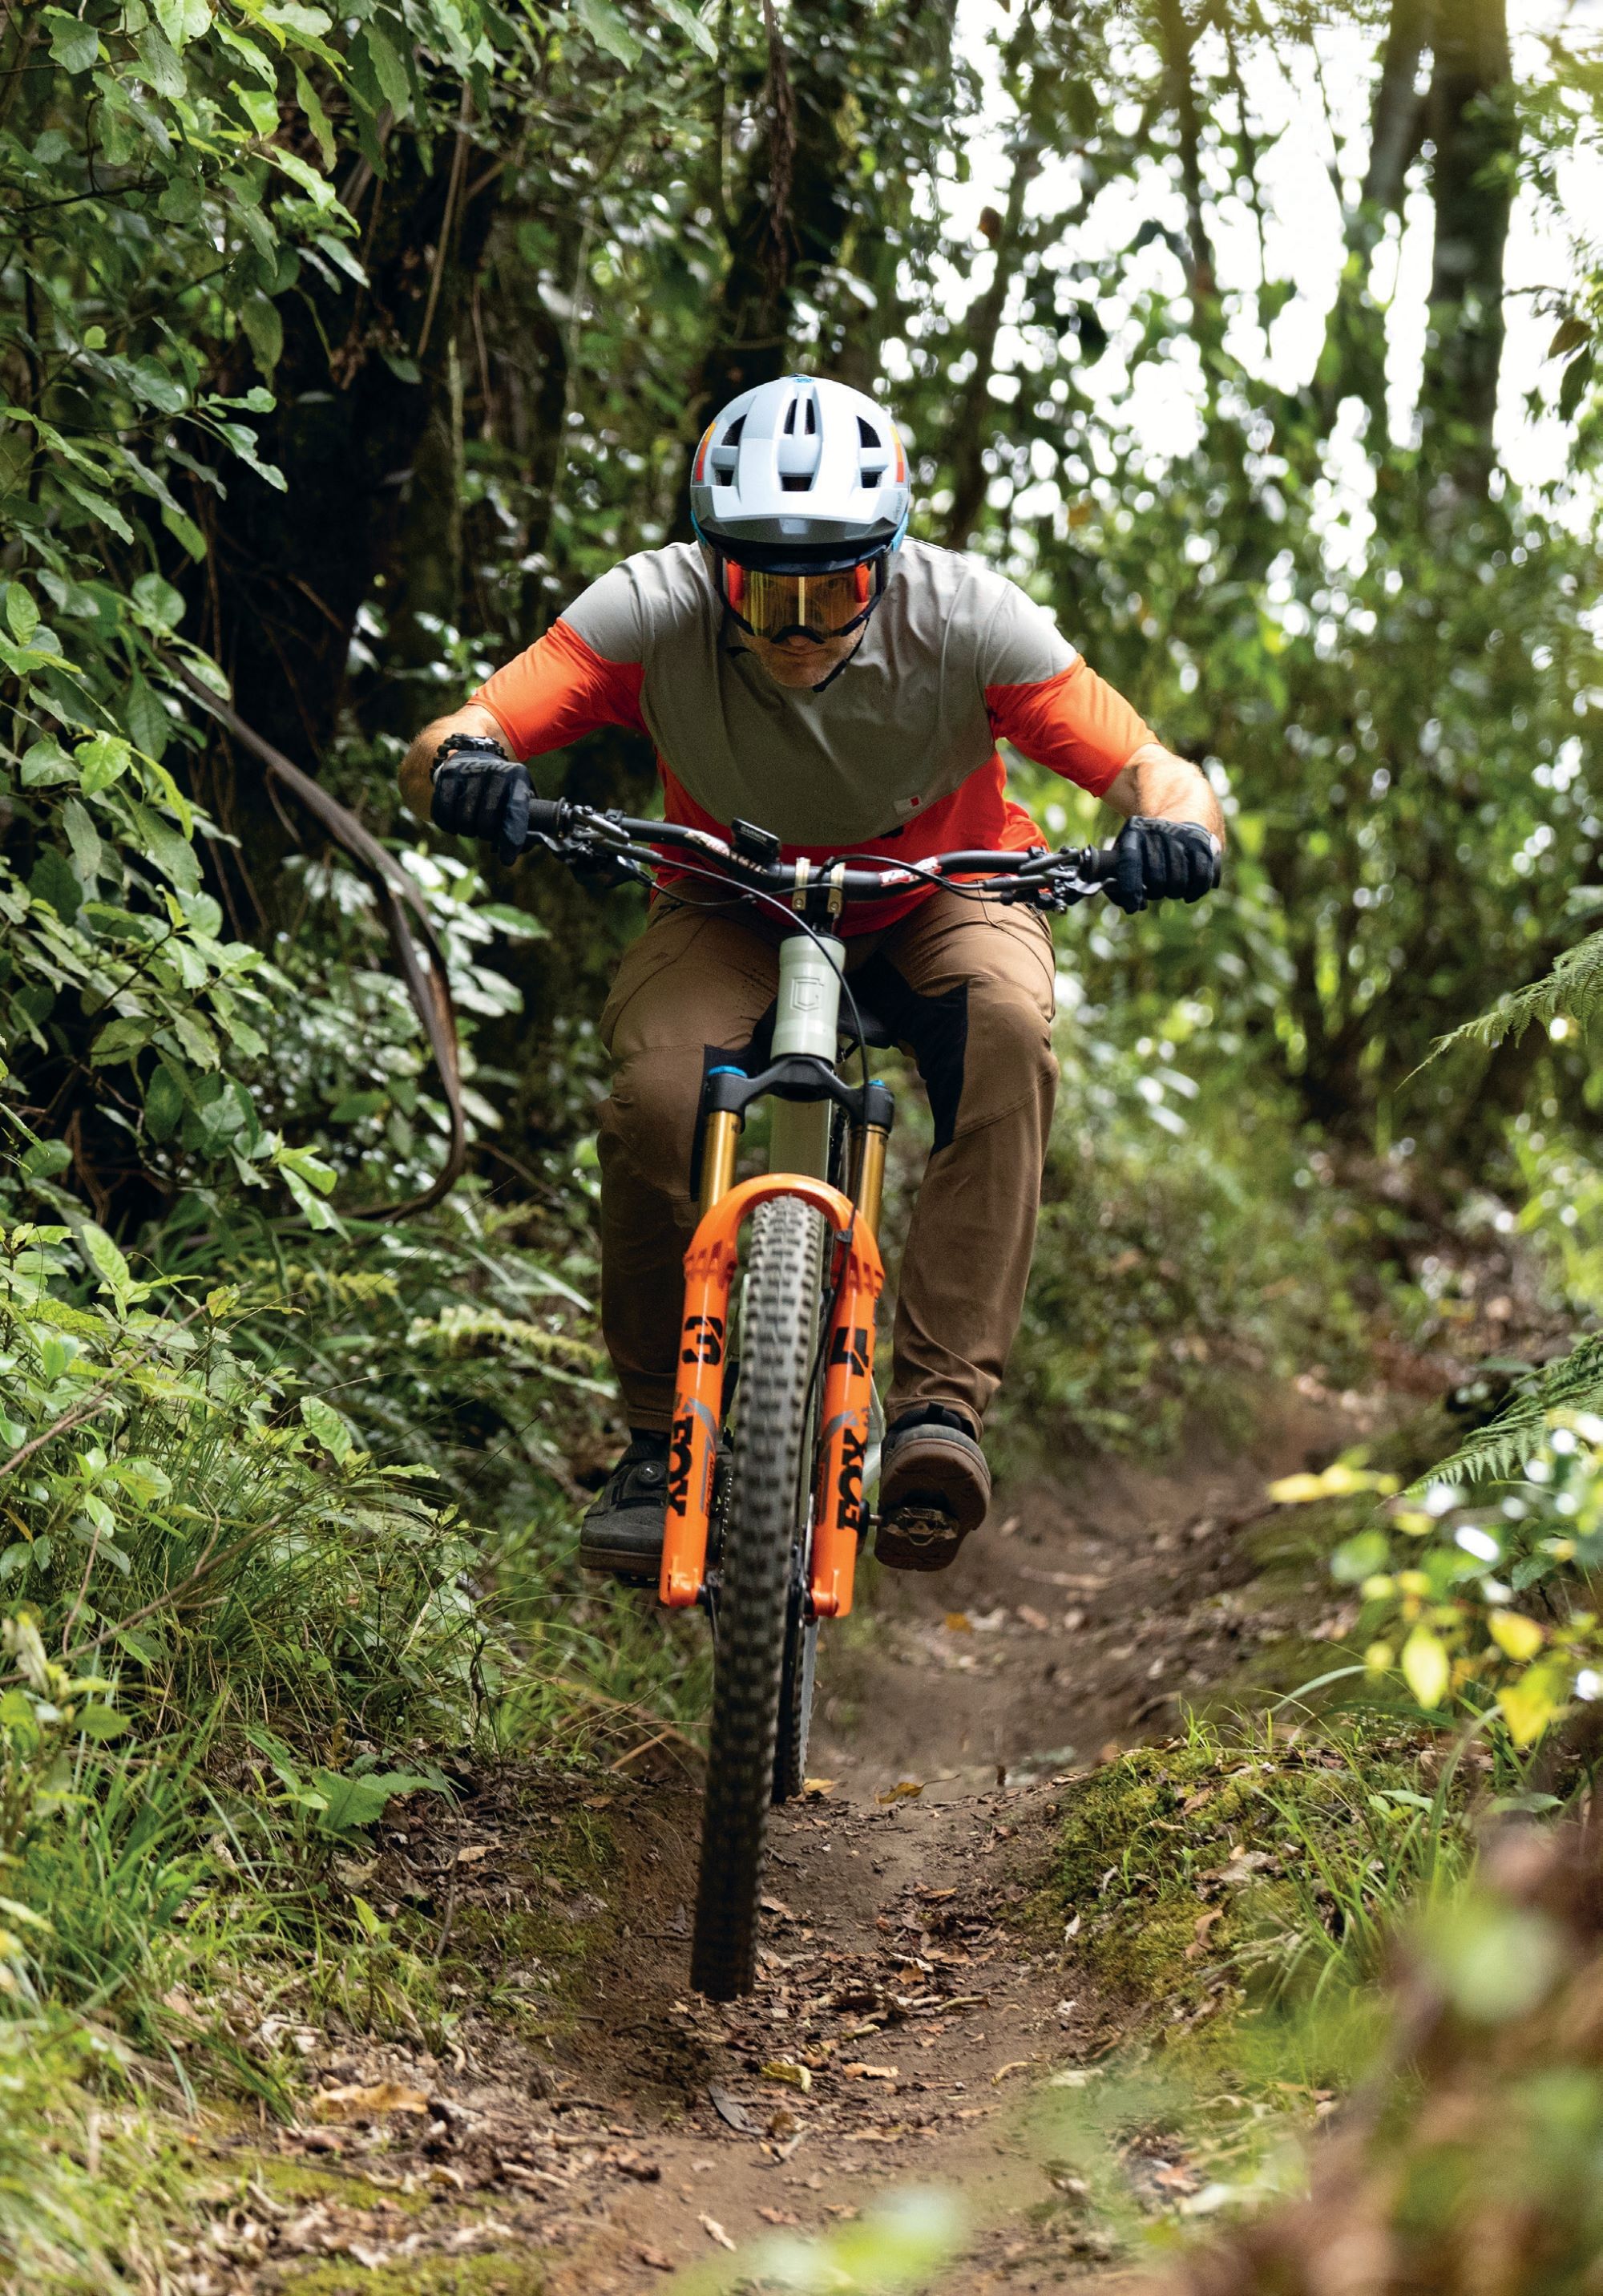
With its regular, pre-curved fit, the pants are comfy on the bike, and there’s plenty of room for pads underneath without them being overly baggy. Long pants followed a trend of becoming slimmer and slimmer for a moment there but, thankfully, these are a bit more roomy. A Velcro waist adjuster on each side helps get the fit just right, and the medium size is in line with most 32” pants I wear, although if I were any larger, I’d likely need to step up to the large size, as I have the adjusters maxxed out as it is. The leg length is a fraction longer than ideal for me at 176cm tall, sitting partway down my ankle; my preference would be a little higher. Reality is, my legs are probably shorter than average for my height, so I’d imagine they’re optimal for most people, and the length isn’t enough to put me off.
The main fabric is lightweight and breathable, with a soft backing. Key areas are perforated to increase breathability. Around the inside of the thighs and across the seat is a three-layer, waterproof, breathable fabric. Helping keep you somewhat dry from ground water spraying up, while the pants remain breathable overall.
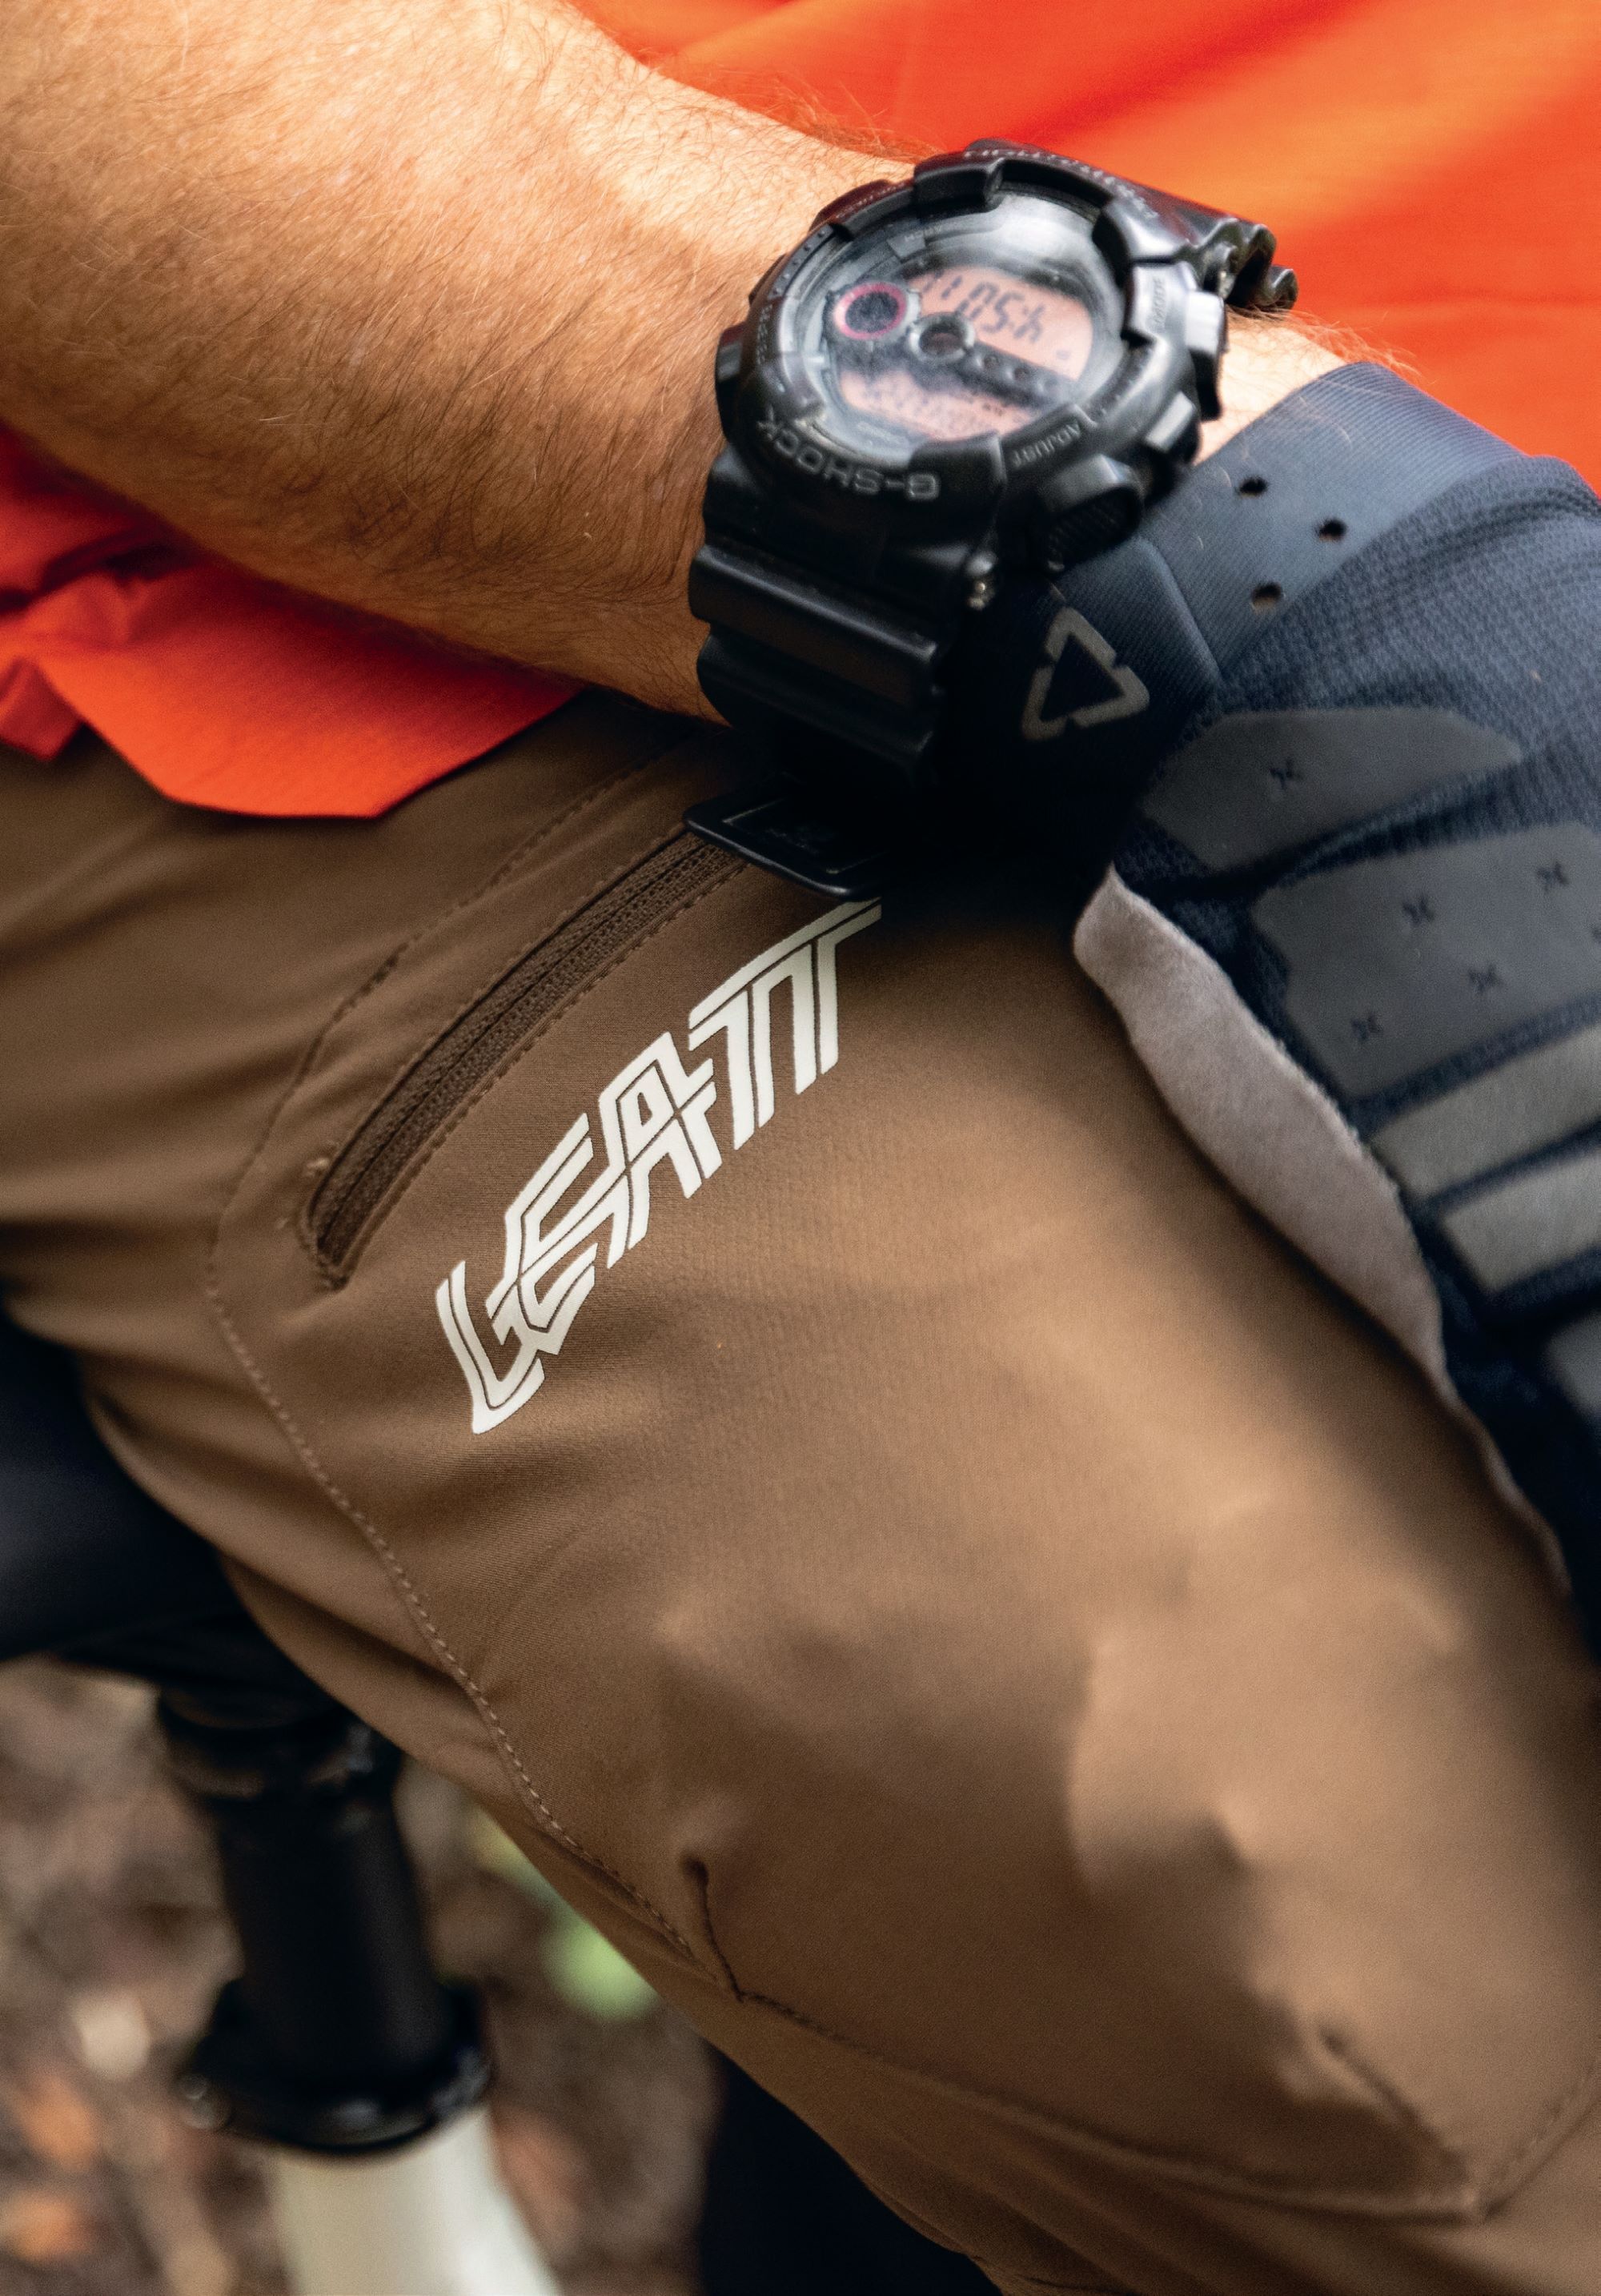
The Enduro 3.0 pant has pockets aplenty, ideal for big days out pedalling or lapping the bike park. Zipped thigh pockets feature on each leg and are large enough for a fair amount of cargo—they’re about the same size as a pack of jelly snakes. Each side also has more traditional, zipped, hip pockets; with an elastic key loop on the left side. The fifth pocket, located on the back of the waistband, is large enough to hold most cell phones—or some more snacks.
Out on the trail, the pants perform well and there’s nothing that stands out as a negative with the fit or function. The cut is perfect while seated and is fine for pedalling for long periods without excessive bunching. The fabric is a tad heavier than super lightweight trail pants, but this makes them harder wearing. The downside is that the overall weight of the pants is slightly higher, in part thanks to the fabric involved in the pockets. It’s not noticeable on the trail, but it’s worth noting these aren’t a super light trail pant, they’re sturdier and should last longer.
I wore these pants while in Christchurch reviewing the Specialized Levo 4, spending a day out pedalling around in what were near monsoon conditions. It was here I found a minor shortcoming of these pants: although the fabric repels water, it only does so to a certain degree. Thanks to the looped backing of the fabric, its overall weight and the pockets, when saturated, the pants retain more water than Leatt’s lighter-weight trail pants. They’re awesome for general use and on wet trails or in light rain, in part thanks to the waterproof seat area, however, when it’s absolutely pouring down, the lighter pants will retain less water.
So, who are these pants ideal for? I’d recommend these for anyone who has a focus on descending, who’s likely to need the extra protection they offer. Shuttle bunnies or eBikers, these will be right up your alley. If you’re into big, backcountry rides, the extra pockets will help you carry more and let you distribute the weight across your body. Just check the weather forecast before you leave home.
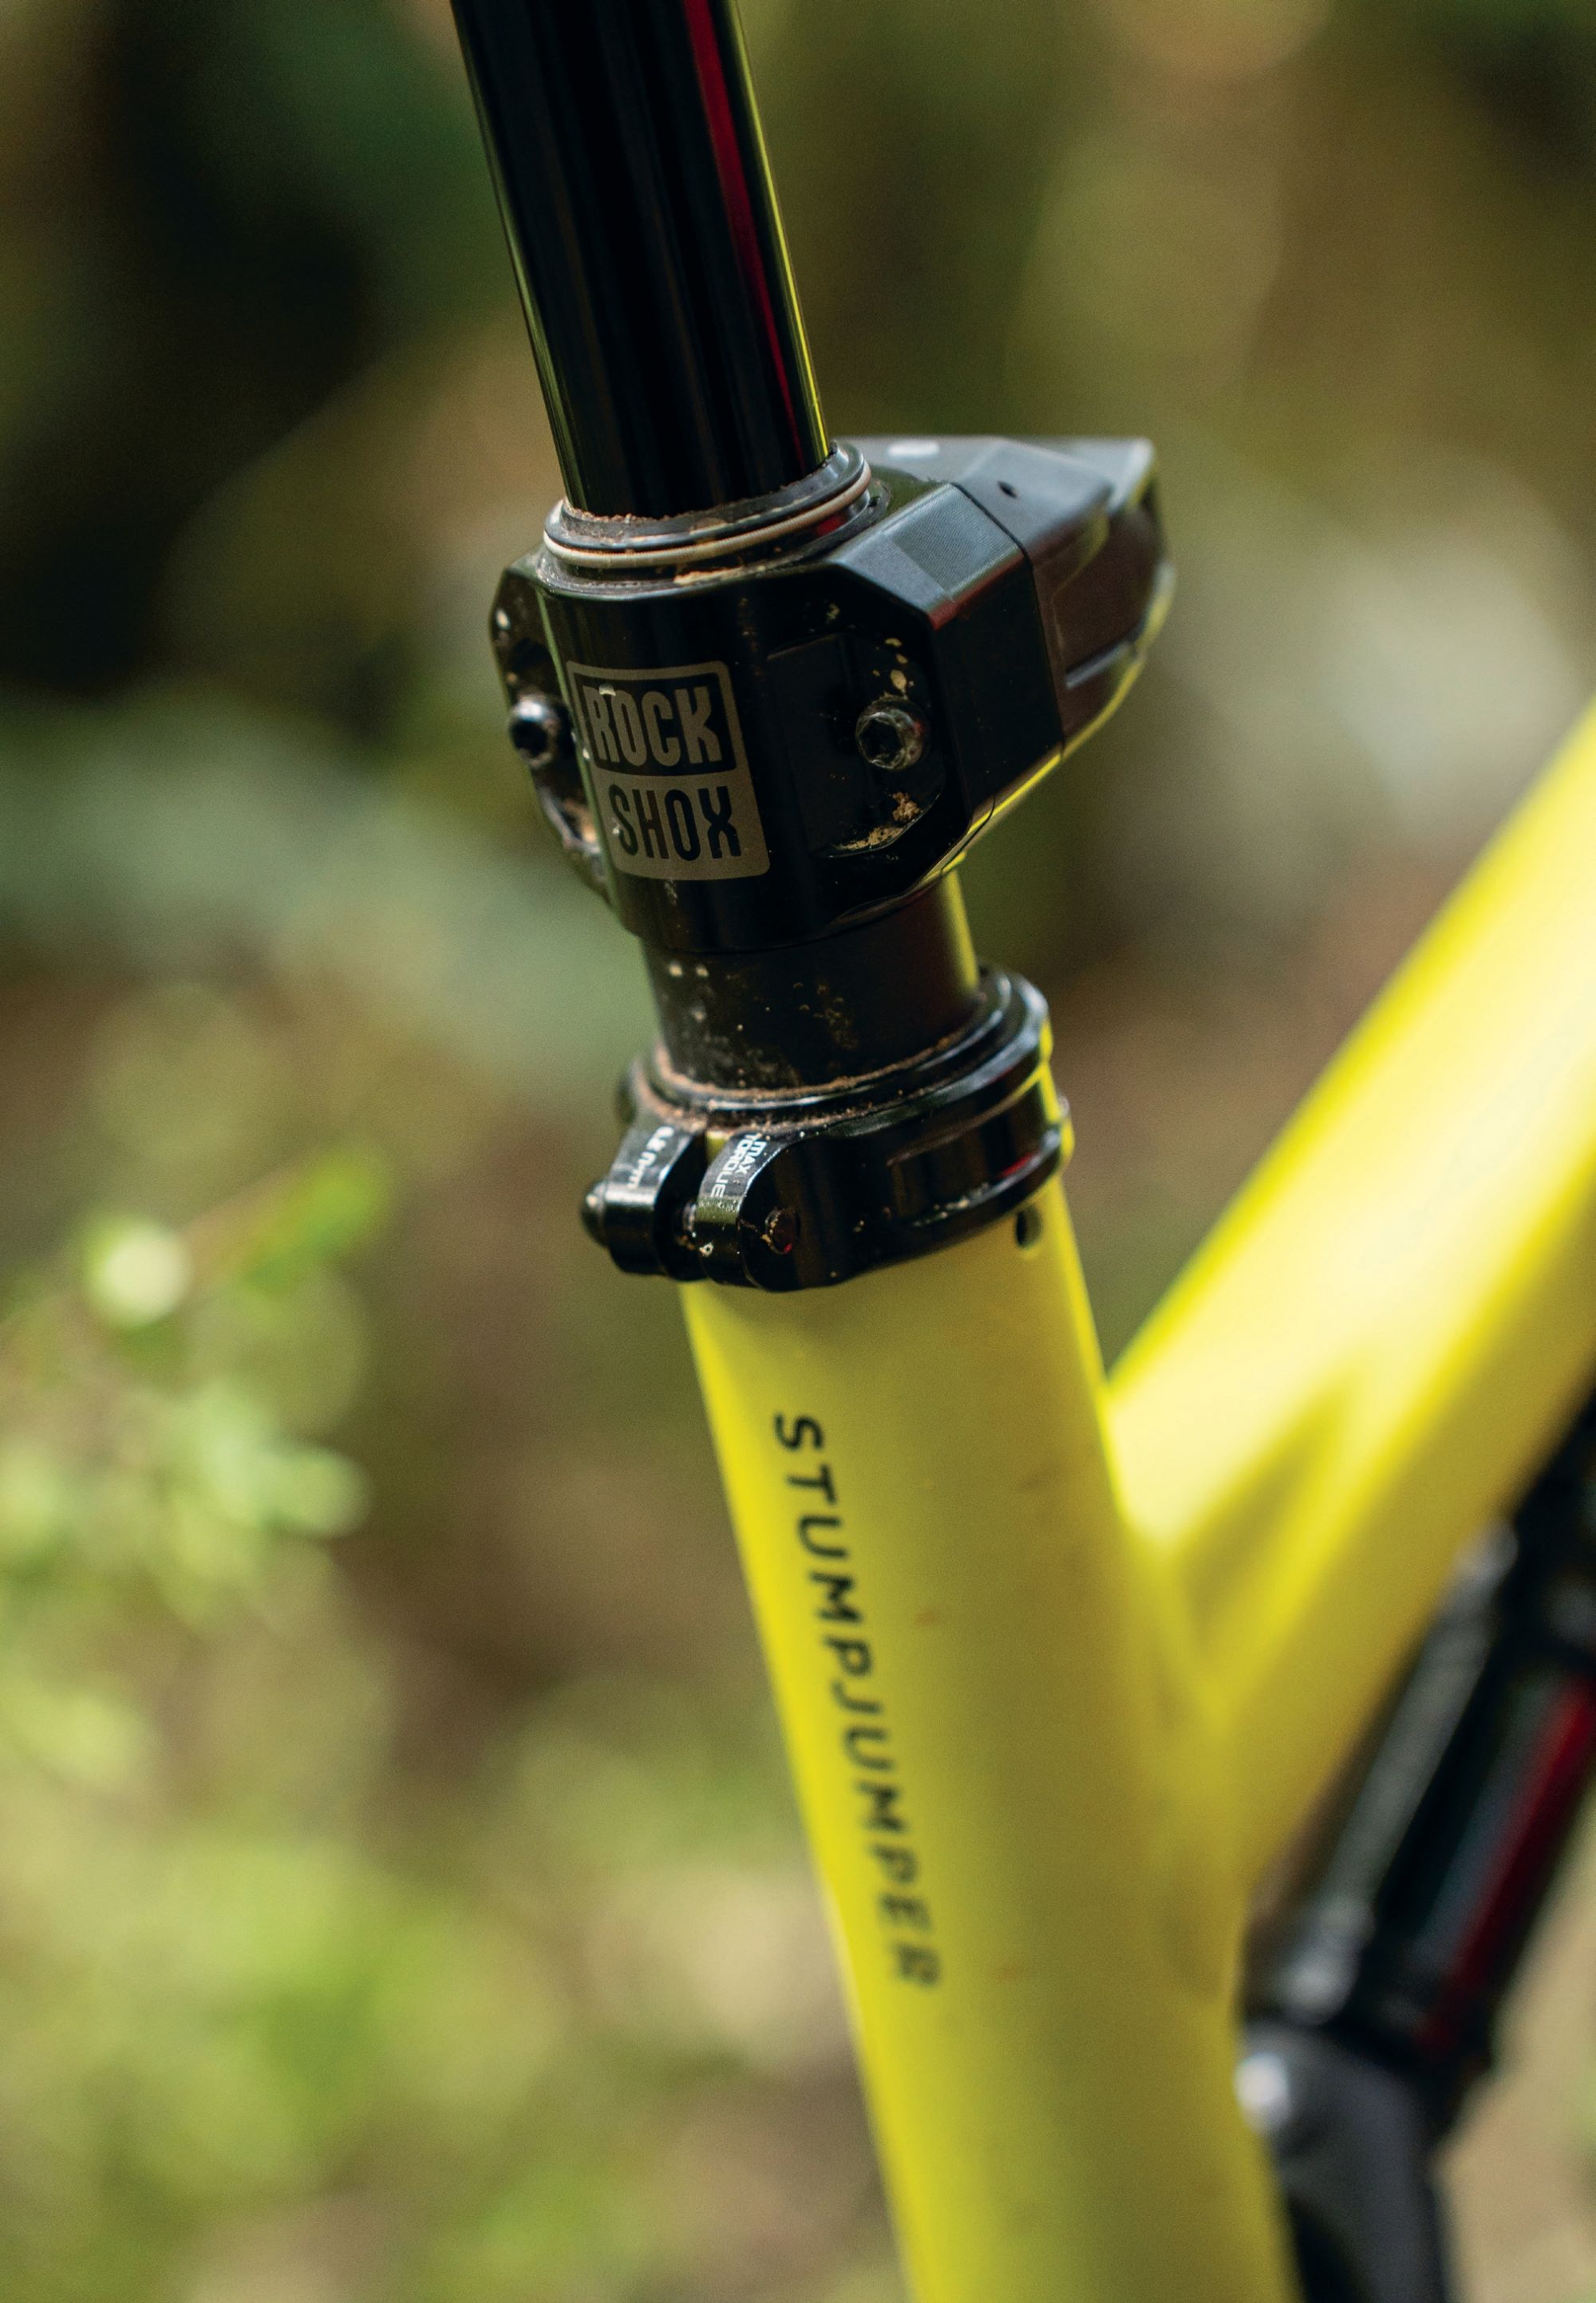
RockShox Reverb AXS B1
Words Lester Perry
Images Thomas Falconer
RRP $2975
Distributor Shimano NZ
There’s a fresh, new (and much-welcomed) dropper post in the RockShox range. The latest Reverb B1 broke cover recently, and I’ve been putting in some rides to get familiar with it. Here’s the lowdown after a month or so.
Firstly, somehow, unlike almost everything in life at the moment, the price of this new Reverb is actually less than the previous. Given its comparable simplicity, it’s also likely to save you money in the long run over that model, too. Go figure.
As with the Previous Reverb AXS post, there are no cables or wires involved. The Reverb B1 seamlessly slots into the AXS ecosystem. Simply drop the post into the bike, pair it up to an AXS controller, and you’re good to go. If you’re running an AXS drive train, it’s nice to be able to fine-tune which button on your cockpit activates the post through the SRAM AXS app; there are numerous combinations, although some make more sense than others.
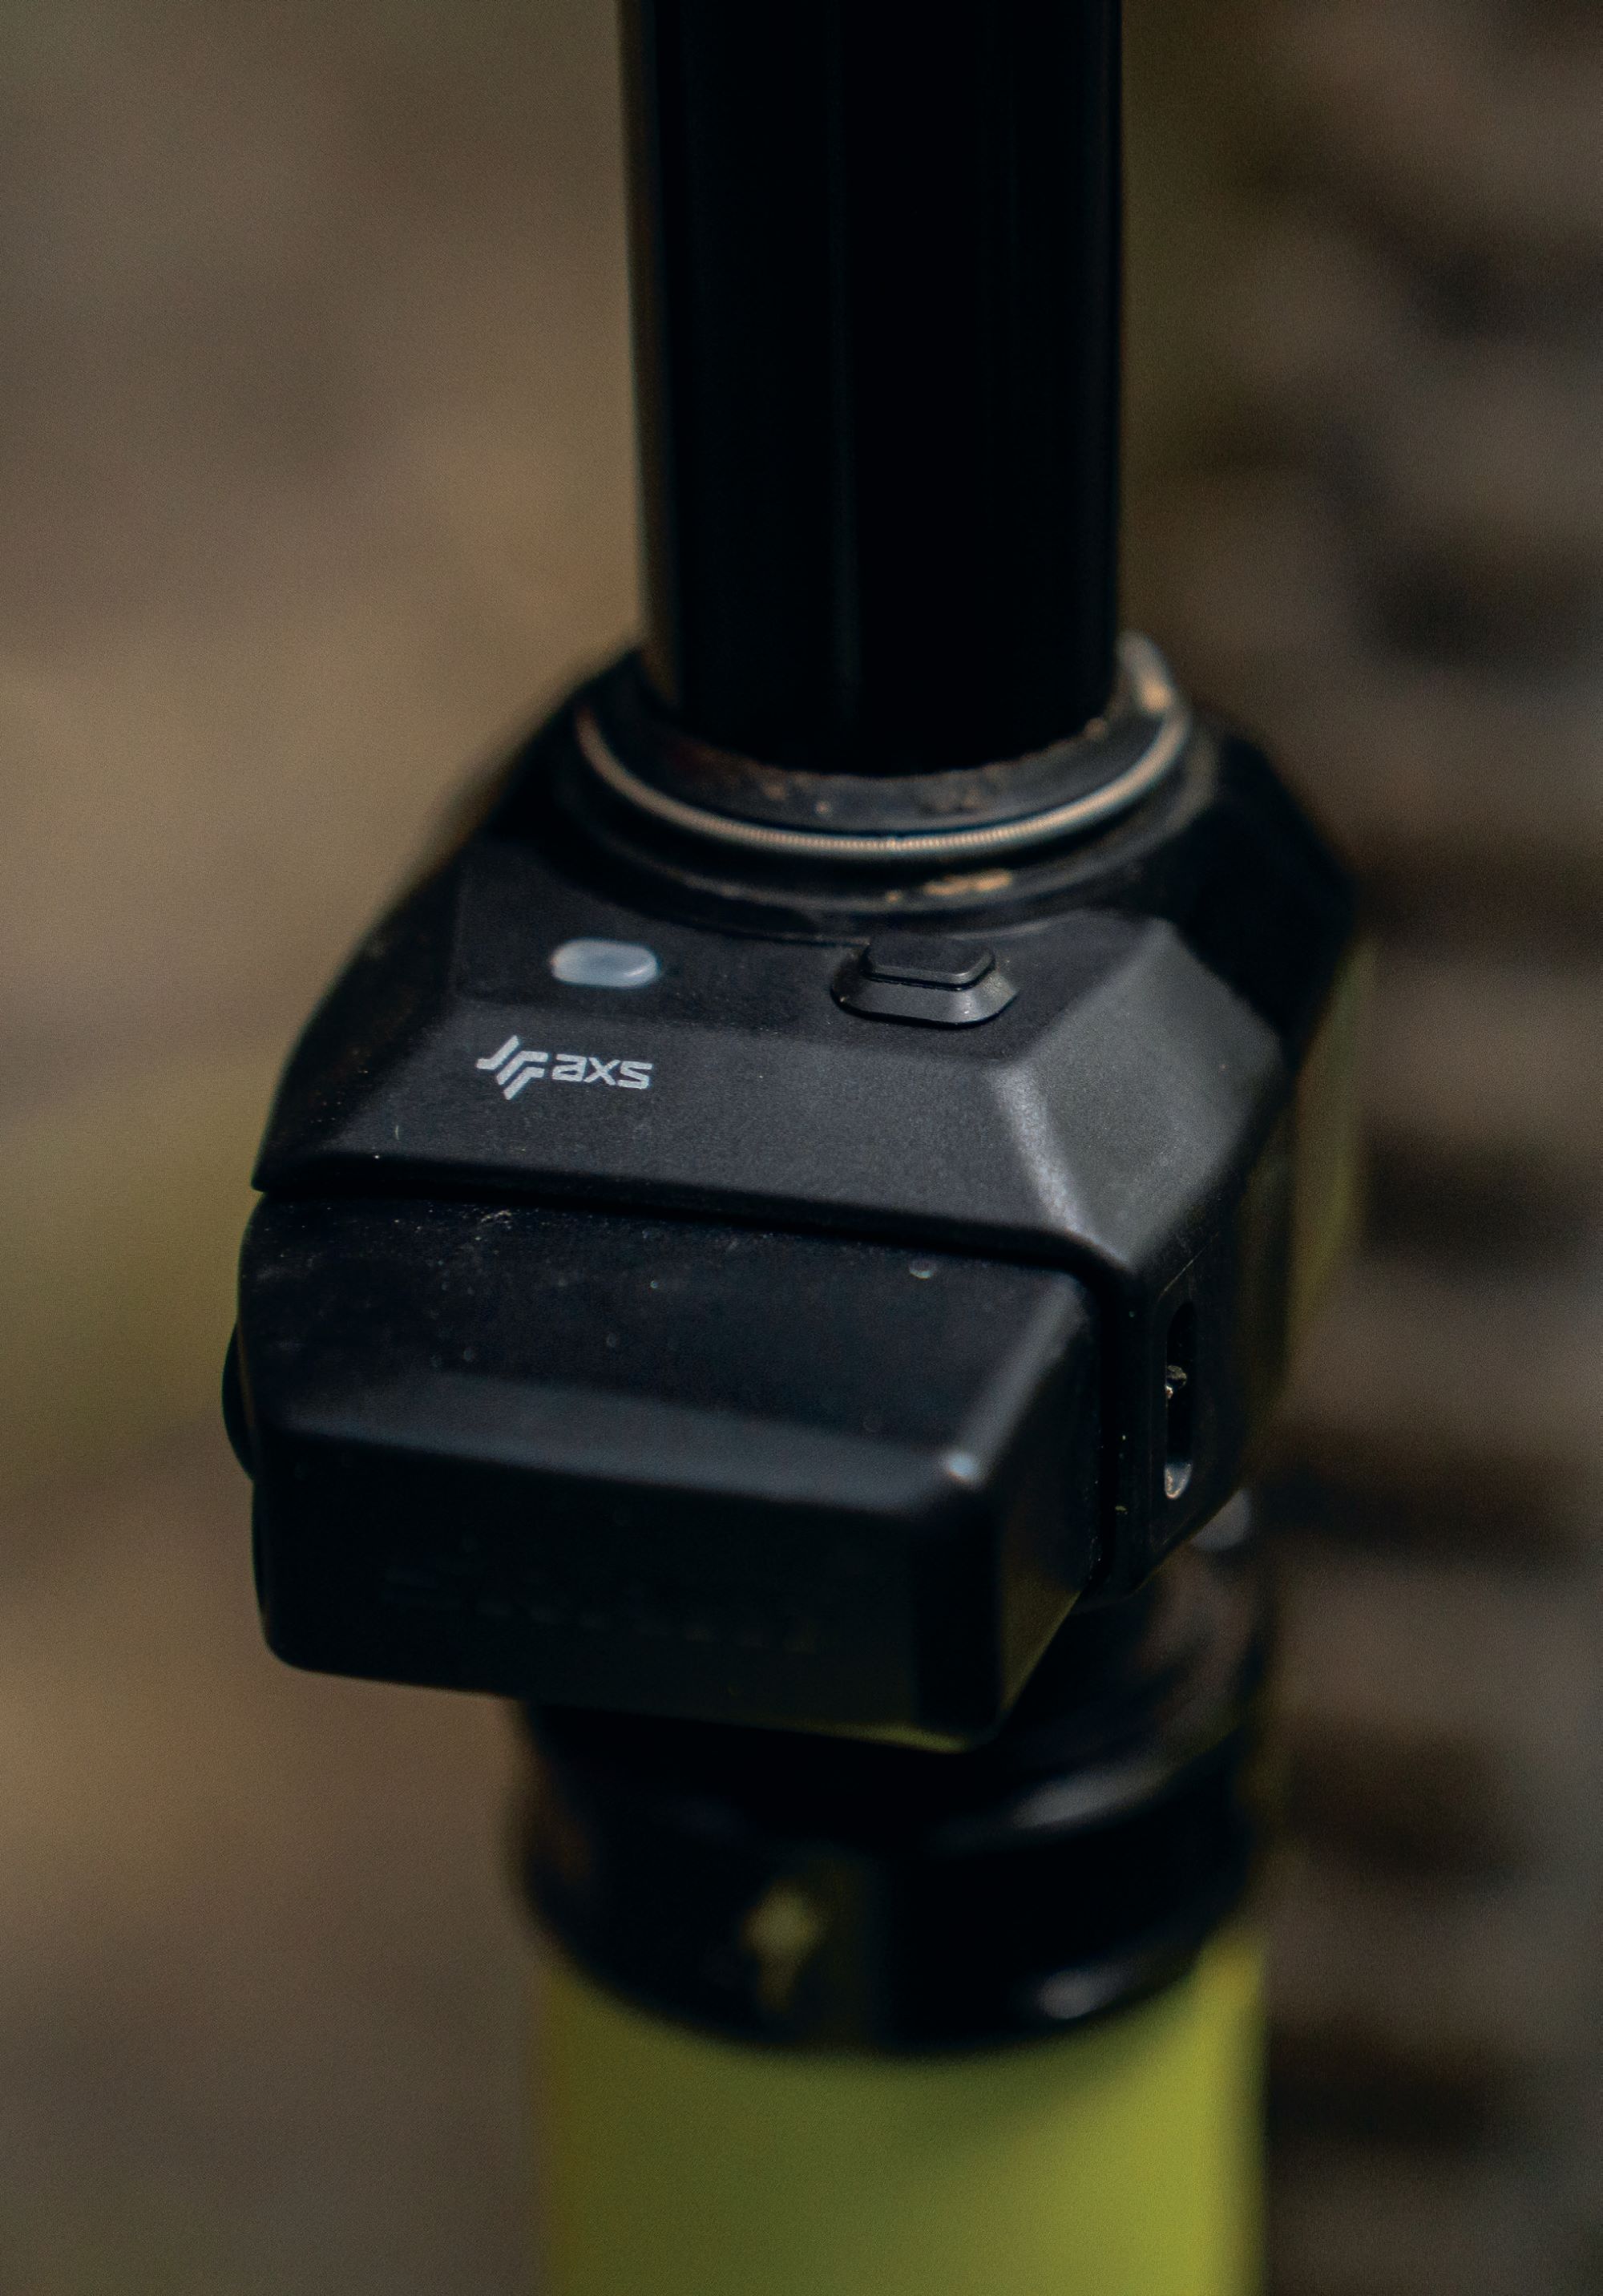
From first glance, it appears the most significant change on the post is the moving of the actuator and battery from the head of the post down to its collar. This change, combined with a redesigned seat clamp, reduces the stack height by a fraction from the previous post. Most importantly, it brings the weight more centrally on the bike. The stack height is still above the market-leading One Up V3 post, although that’s cable-actuated, so not an accurate apples-to-apples comparison. Can’t have it all, I guess. The overall length of the post is shorter than previous Reverbs, though, bringing it closer to the competition so riders can now have more drop on smaller bikes.
There are seven drops available, ranging from 100mm to a gargantuan 250mm, stepping up in 25mm increments. From what I can find, 250mm is the largest in the market by 10mm. Previously, some head scratching, measuring, and diagram drawing (true story) would ensue as I tried to figure out what the longest drop I could fit on my bike would be in relation to my preferred saddle height; thankfully, RockShox has a handy calculator on their website to help determine the best option for any frame.
With the noticeable external changes, it would be easy to miss the other significant change in the post. A new ‘air over air’ design ditches the previous hydraulics in favour of positive and negative air springs. The two air springs balance pressure against each other as the post drops, effectively supporting rider weight on the positive air spring rather than relying on the hydraulics of the past. It’s no secret that RockShox’s previous posts had issues when their air and oil mixed, leaving a flaccid, squishy post in need of an expensive service. Long term, it remains to be seen, but if this system lives up to the hype, the days of unintended squish appear to be over.
The new air-over-air spring enabled a new feature, ActiveRide, which provides a small amount of vertical movement. At full extension, the amount of pressure in the post indicates the amount of travel available when fully extended. At the maximum pressure of 600psi (425psi on the 34.9mm post), it’s rock solid at the top of the stroke; the deeper into its stroke, the more travel or squish is available. It’s not a lot, but it’s there, and it increases if you drop the pressure in the post. Why build what is effectively suspension travel in the post? RockShox theory suggests that at full height, it enables a rider to stay fully weighted on the saddle over rougher terrain, which is particularly beneficial while climbing, as the rider can continue to apply consistent power without needing to disrupt their rhythm by unweighting. When tackling a particularly technical climb with steps or moves where dropping the saddle slightly is advantageous, the travel in the post again allows some damping against the terrain, helping you stay seated for longer. The conspiracist in me thinks that maybe, just maybe, RockShox couldn’t get the post to be rock solid when partially compressed with this new air spring, so they embraced the squish and gave it a name. Whatever the case, it seems to do what they claim, although I’m not so sure there’s a performance advantage on anything other than a hardtail.
The AXS button is now easier to reach while in the saddle, located at the top of the actuator (by the battery). It’s used to sync the post with its controller or as a manual actuator should a controller go offline. The post works with any actuator in the AXS ecosystem, including older paddle-style controllers and the now- common double-button pod controller.
With a claimed 60 hours of use from a full charge, or over 20 weeks for most of us regular folks, the battery will last a long time, but it’s easy to forget about it, too. If you’re running other AXS components, you’ll likely have the same battery elsewhere, so swapping a derailleur battery to a post, or vice versa, could be a saviour. I’ve seen this swap done on more than one race start line when a rider realised their derailleur was nearing flat.
Servicing on previous Reverbs was a total headache, and if an issue resulted in a complete rebuild, it was often cheaper to just replace the post with one other than a Reverb. This simpler design, combined with some forethought from the product team, means the B1 is completely user-serviceable. A simple ‘clean and grease’ 1-year service can be completed in literally minutes and requires only a few standard tools. No seal kits or oil faff required. The 2-year (600-hour) service is a bit more involved and requires some more specialist tools, but is still achievable for a competent home mechanic, thanks in part to SRAM’s in-depth online service manuals and YouTube tutorials.
Riding the new Reverb is not unlike the old version: push the button while you’re sitting on the saddle, and the post drops. Stand up, press the button, and the post shoots back to full extension. I’ve found myself reaching down at times to feel if the ActiveRide is doing anything, and sure enough, it’s going up and down slightly as I ride over bumps, although it’s hard to say if it’s offering any sort of advantage. There’s no rotational slop at all in the post and, so far, no sign of forward and backward movement either.
It’s nice to see RockShox are not resting on their laurels with their previous post, but recognising there were some shortcomings and developing something new in the form of the B1. They should get extra points for a complete revision rather than just minor updates. While it would be nice to see some fine-tuning of the drop available, like many mechanical posts, I guess that leaves something for RockShox to strive for in their next release. Maybe?
Given how simple the post is to install, and its price tag, it’s likely the post could be passed from bike to bike as its owner updates or changes their frame. However, with how new the post is to the market, it’s only fair to mention that no one’s 100% sure of its lifespan.
Bosch Performance Line CX Upgrade & Kiox 400C
Words Lester Perry
Images Thomas Falconer
RRP $2975
Distributor Shimano NZ
The electric mountain bike landscape moves at breakneck speed—literally. Often, it’s hard to keep track of the near constant changes but, as riders, we’re the ones who benefit from these shifts. Recently, Bosch eBike Systems has delivered significant performance upgrades. The German engineering giant has not only listened, but delivered exactly what riders want from modern eMTBs.
Performance Line CX Upgrade
The Performance Line CX’s (BDU384Y) upgrade to 100 Newton metres (Nm) of torque, represents a substantial leap from the 85Nm standard. The upgraded system now delivers up to 750 watts of peak power while maintaining support levels of up to 400 percent of pedal input. This power enhancement becomes available through a software update for the latest Generation 5 motors—excellent news for current Bosch Performance Line CX Gen5 owners, as it essentially future-proofs your eMTB investment.
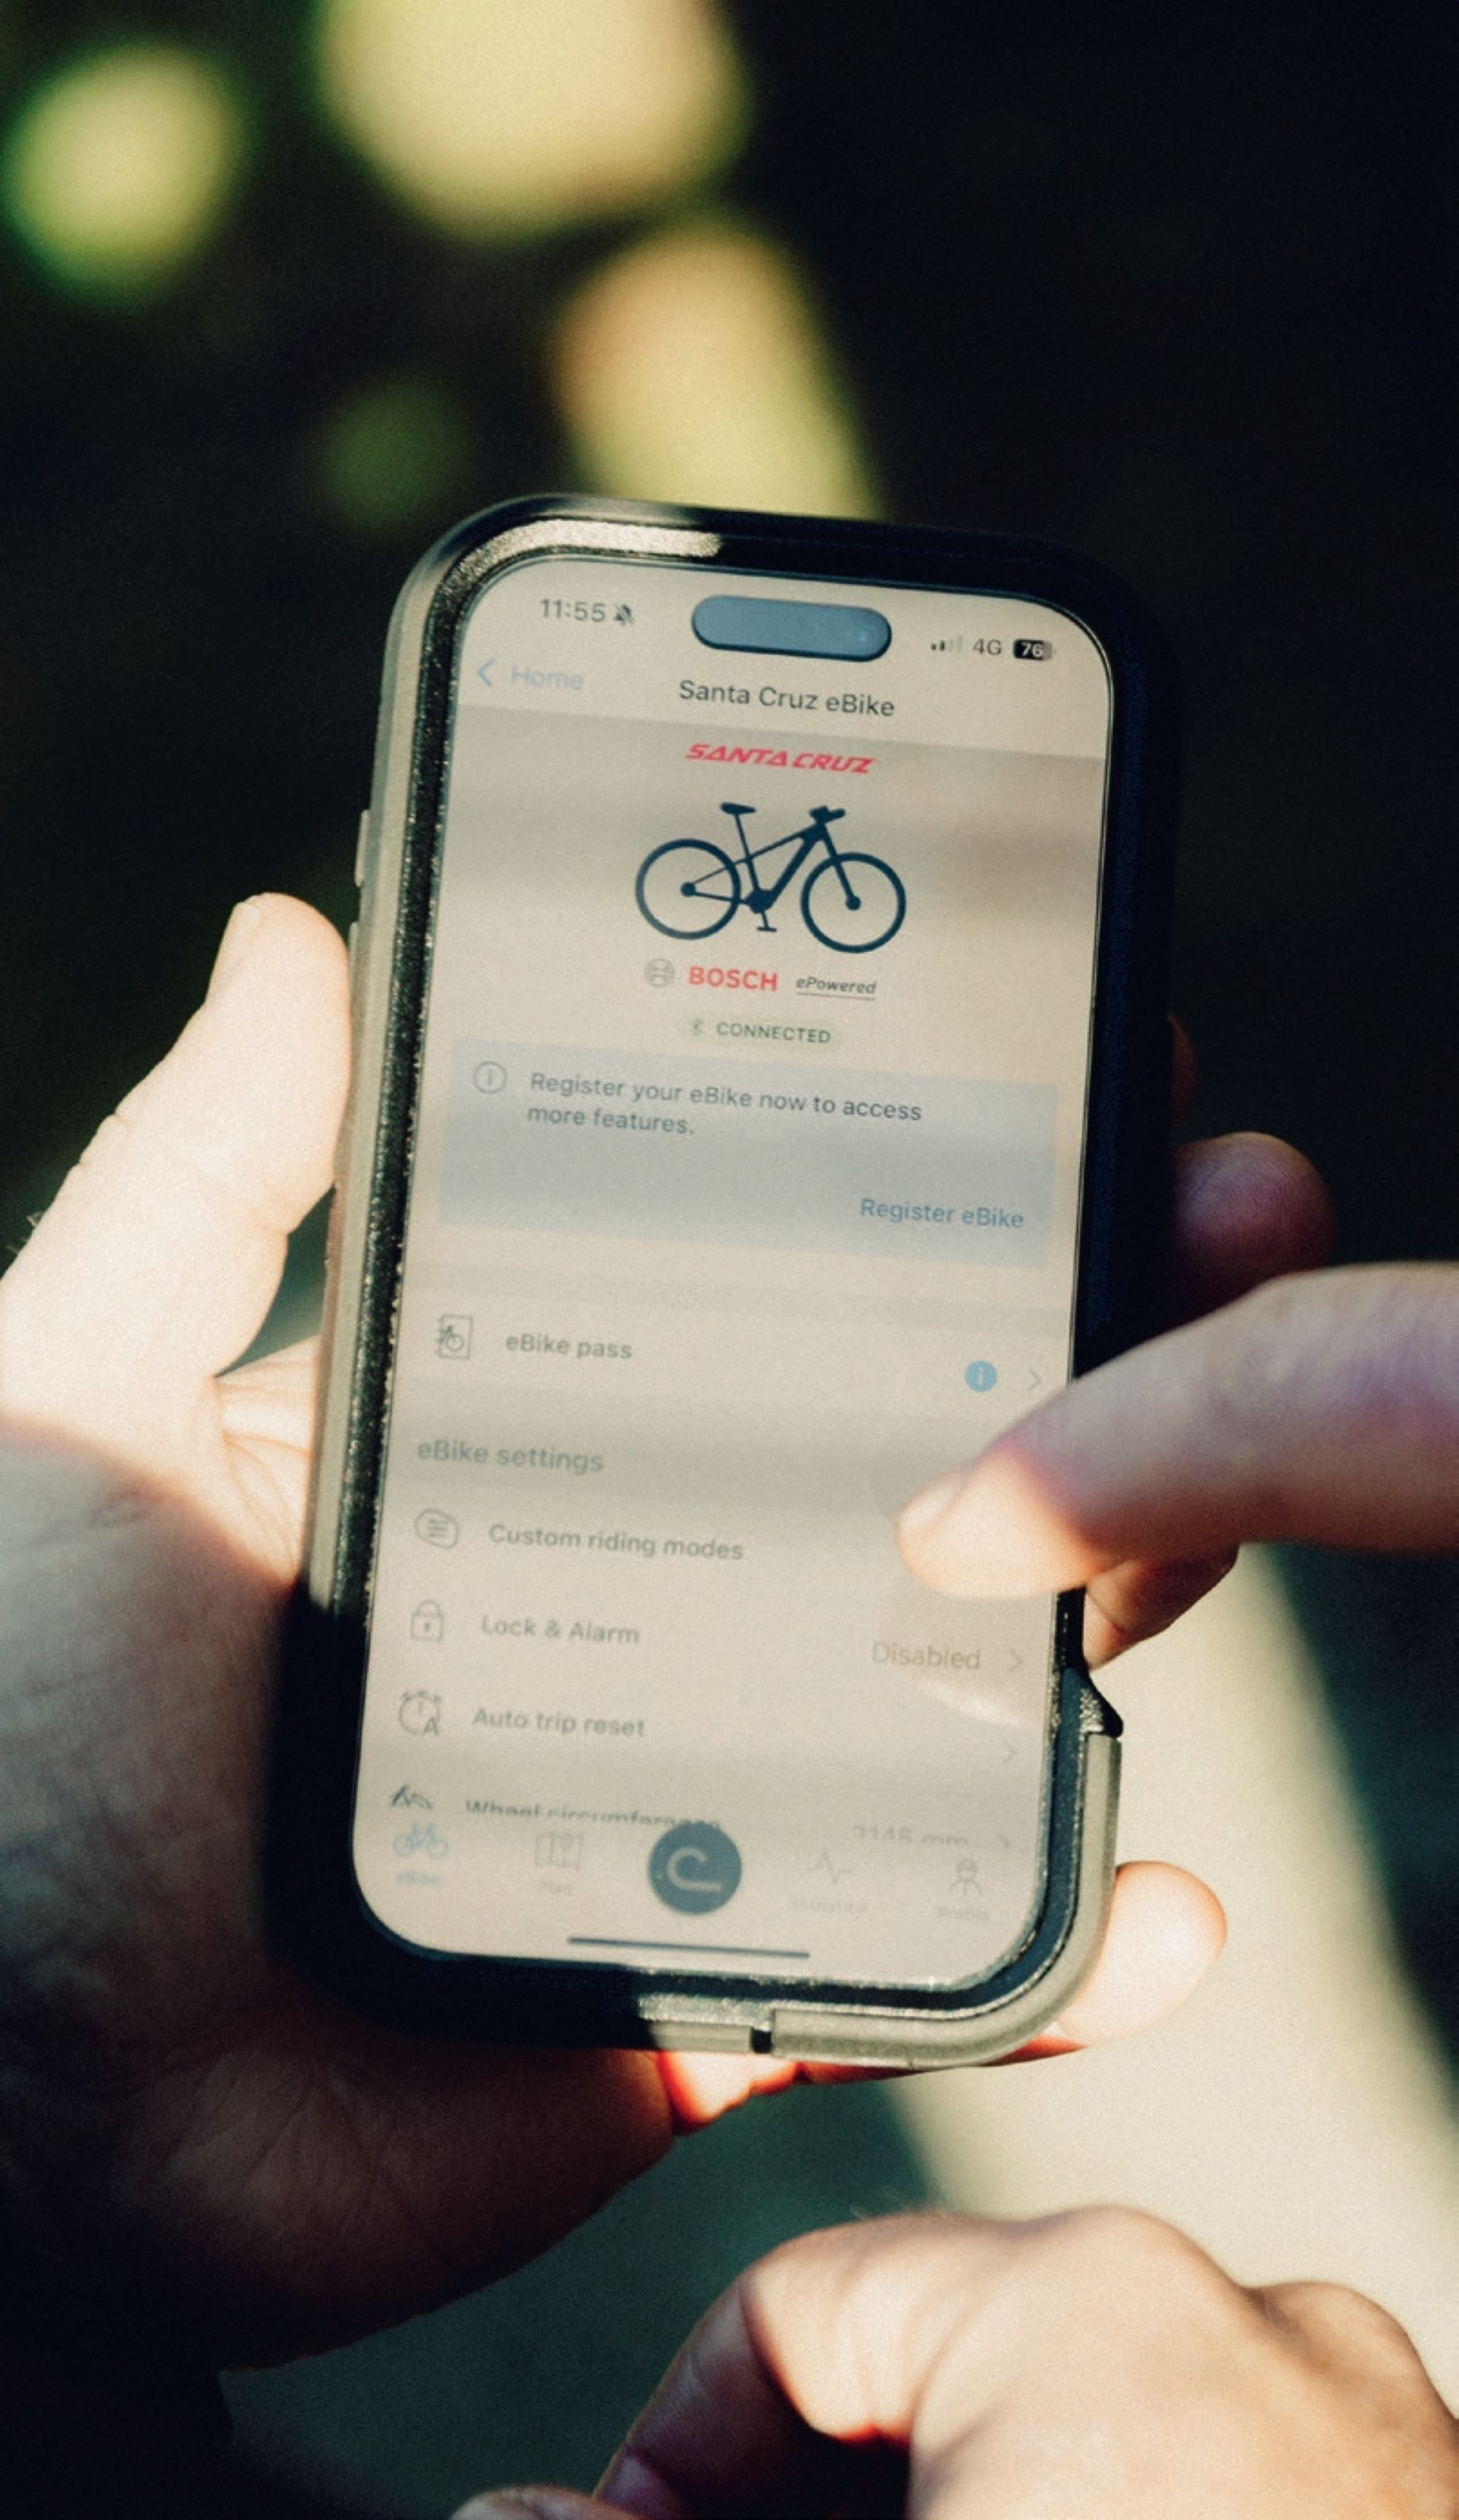
The best part? This upgrade can be done seamlessly via the Flow app, where you can customise power delivery characteristics to match your riding style and terrain preferences. Another key element of this upgrade is the introduction of the new eMTB+ mode, which leverages advanced algorithms to deliver power with what Bosch describes as “sensitive precision exactly when the rider needs it”. This represents a significant shift from simply providing more power, to providing smarter power distribution.
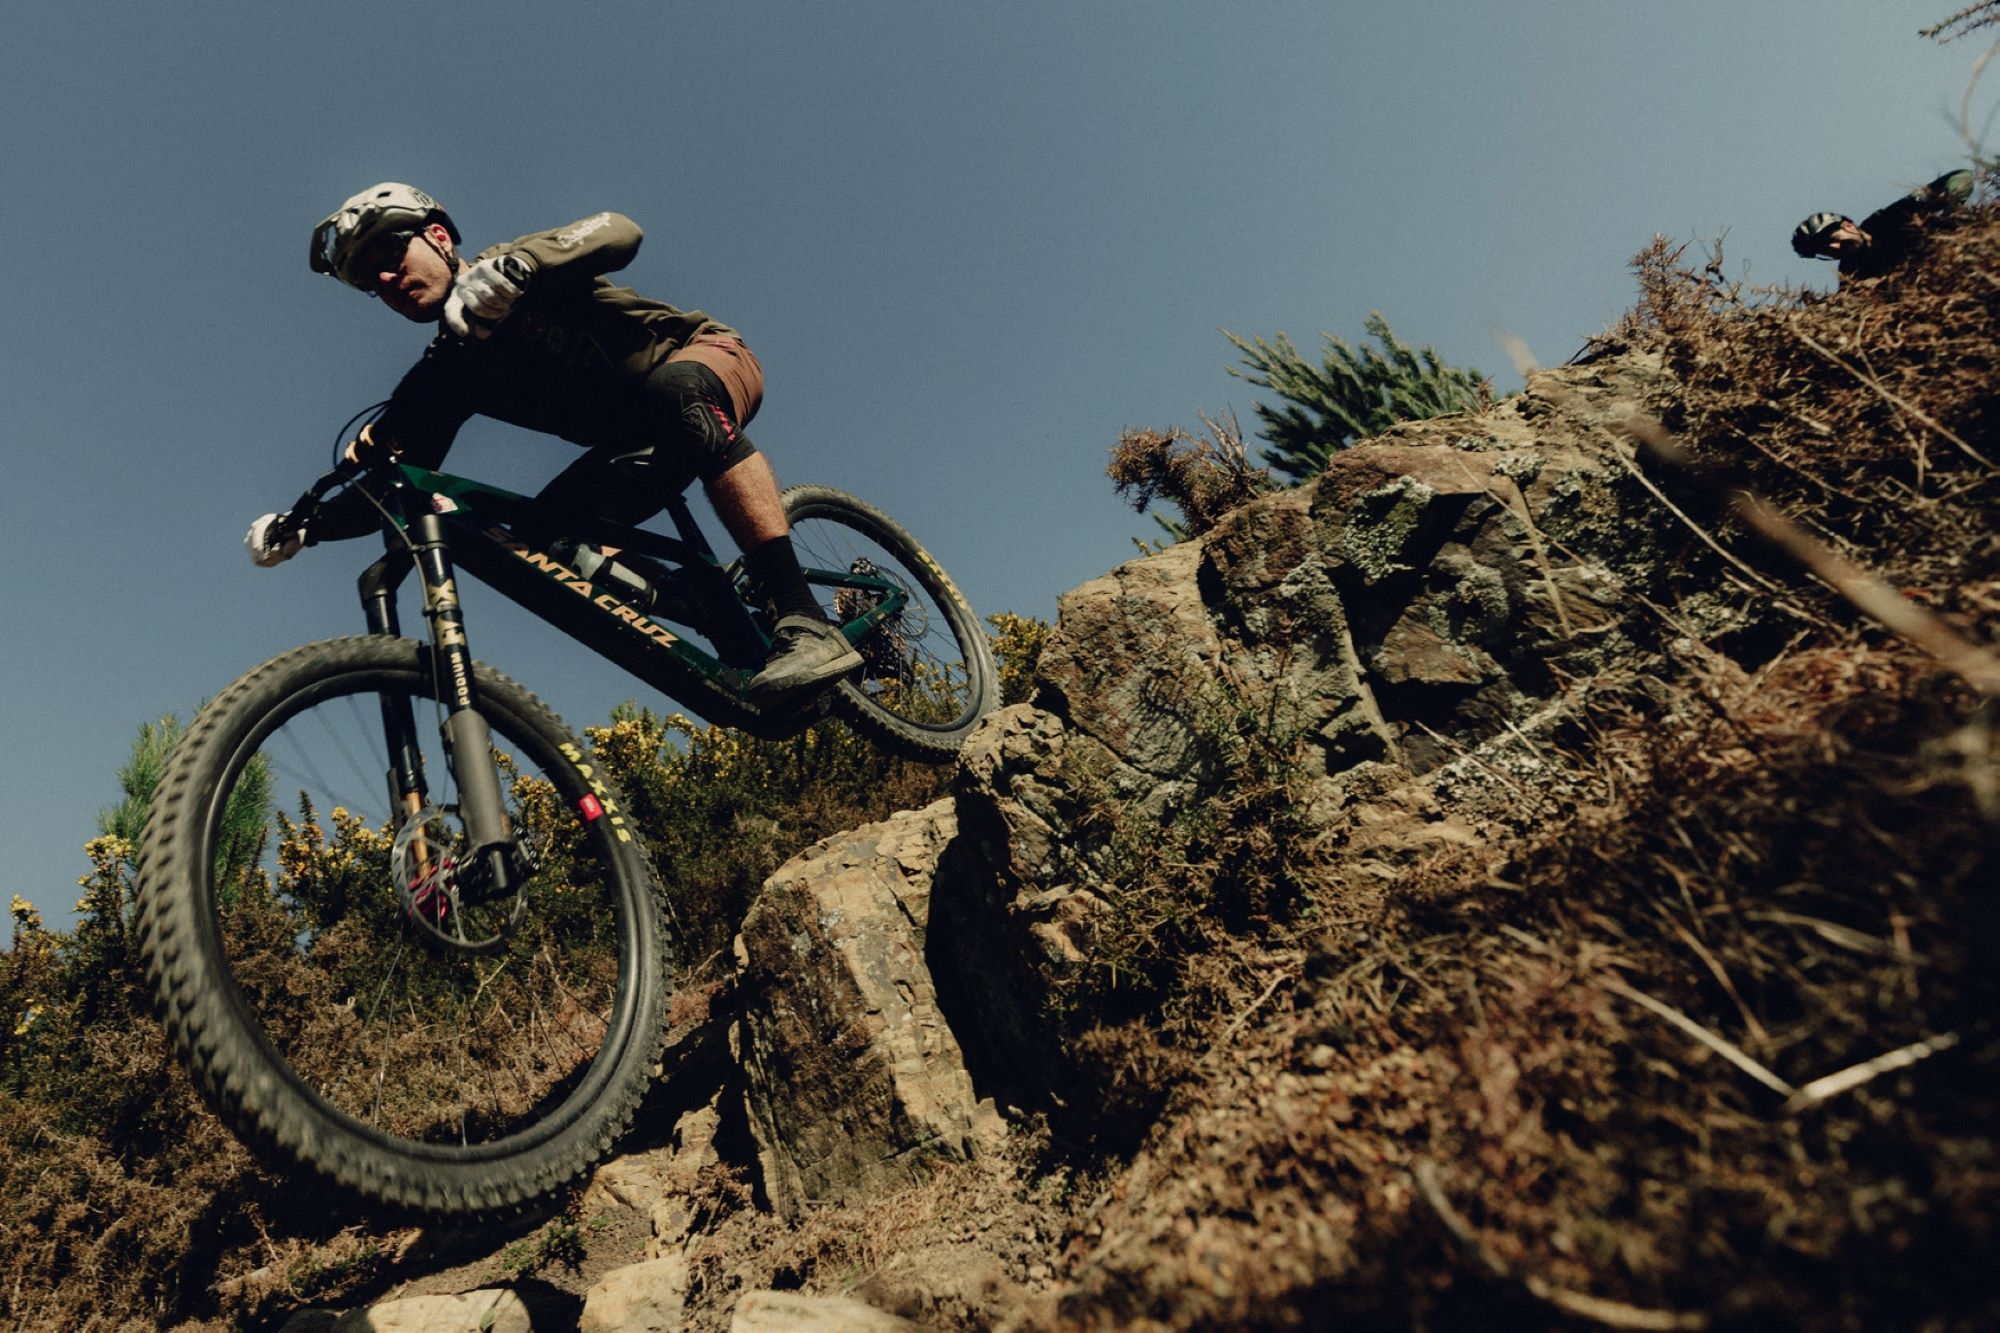
I tested this upgrade on a Santa Cruz Vala during a trip to Silvan Forest MTB Park (featured in this issue). First, the update was simple via the Flow app, and what immediately impressed me was its intuitive nature—neither under- nor over-compensating, just enhancing my riding. It adapted to my cadence and provided a boost when needed over tricky obstacles. Some other eMTB systems I’ve ridden rely heavily on higher cadence, especially with lightweight models, but that’s not the case here.
The clear standout for me was the new eMTB+ mode. I didn’t need to toggle between any other modes at all. The technical difference between eMTB and eMTB+ is 15Nm of torque and a maximum power output difference of 150W. This difference is definitely noticeable, though as a heavier rider the benefits might be more pronounced for me. Riding in eMTB+ mode, the power delivery felt intuitive, and I appreciated that extra assistance and traction when hitting steep inclines.
This isn’t simply about raw numbers—it’s about the intelligent delivery of power that adapts to the rider’s demands with superior sensitivity.
Kiox 400C
The Kiox 400C represents Bosch’s vision for the next generation of eBike displays, moving beyond basic readouts to become the command centre for modern eMTBs.
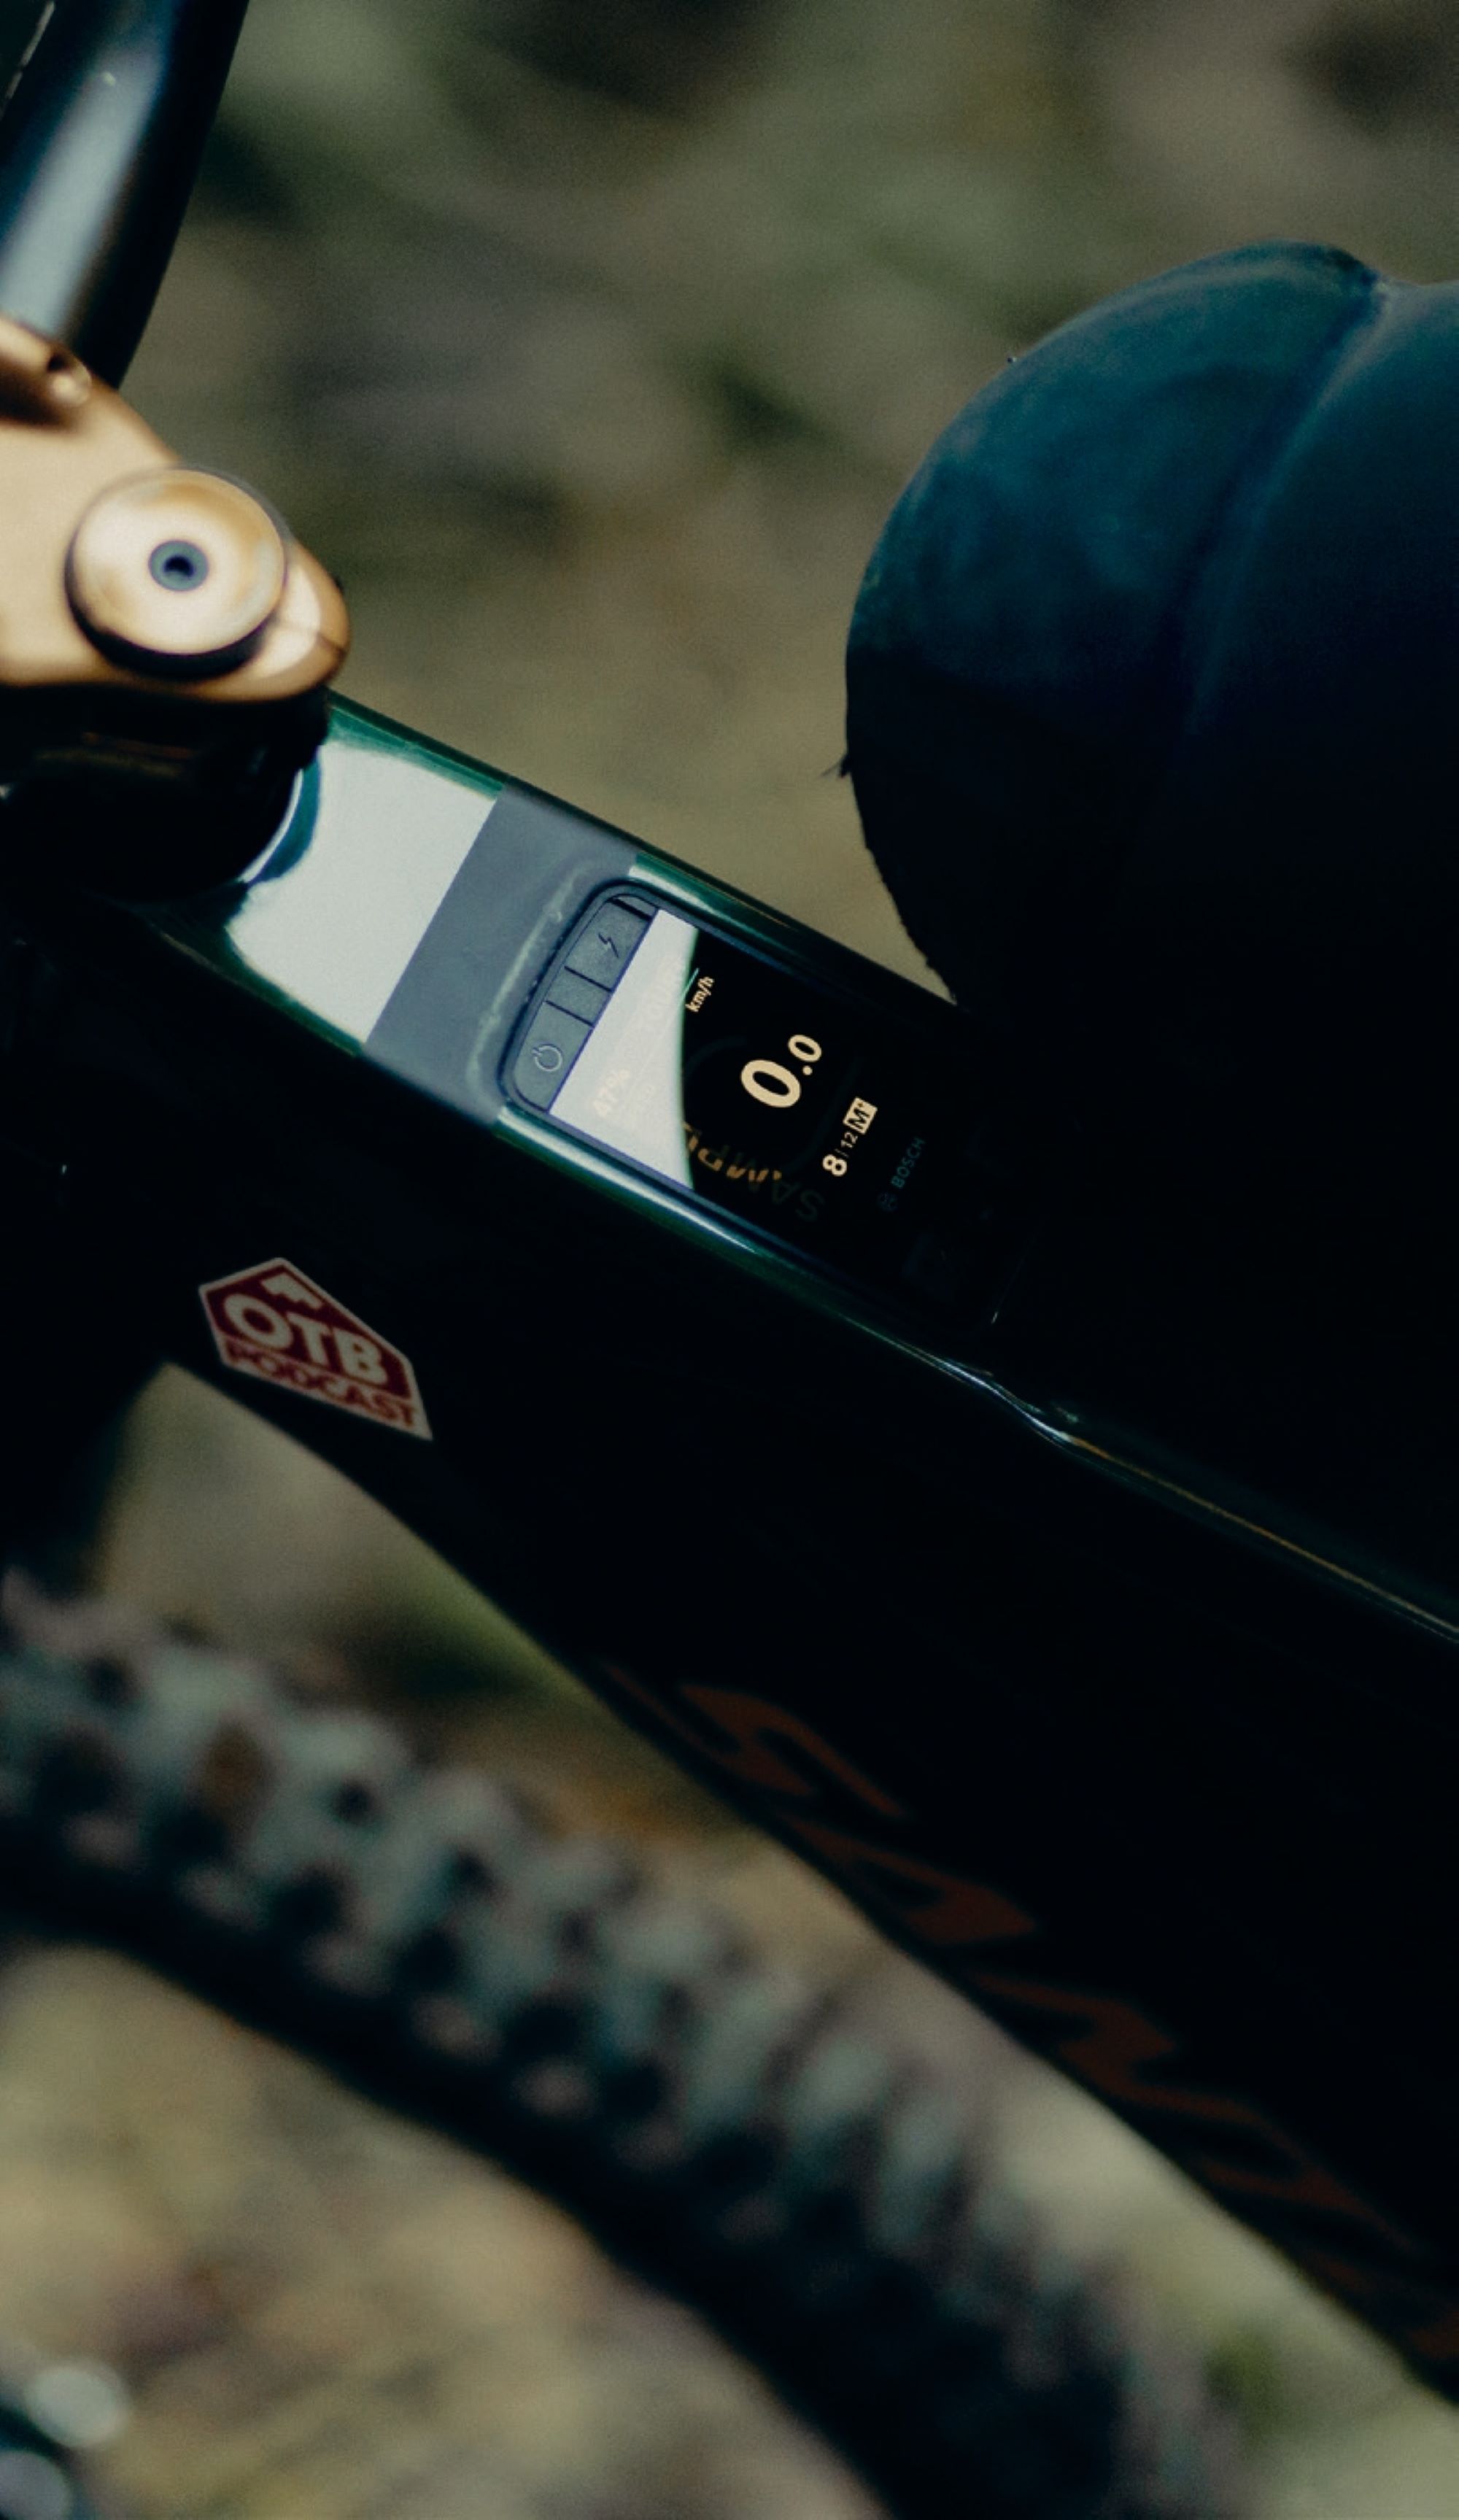
Designed for integration into the top tube rather than handlebar mounting, the Kiox 400C offers a cleaner cockpit aesthetic while maintaining full functionality. The display features customisable settings and automatic brightness adjustment, addressing one of the persistent complaints about previous generation displays that struggled in varying light conditions. Tactile buttons provide direct control, while the optional bar-mounted Mini Remote ensures riders can maintain proper hand positioning during technical sections.
Perhaps most significantly, the Kiox 400C includes an integrated USB-C port, finally addressing the evolving needs of modern riders who rely on multiple devices during extended rides. The system also supports navigation functions, transforming the display from a simple readout into a genuine trail companion.
On the trails, the Kiox 400C remained perfectly readable in all light conditions, and perhaps its best feature was the dynamic screen cycling. Essentially, various Bosch Smart System algorithms detect what you’re doing—like tackling a climb – and automatically display the most relevant screen for that situation. I appreciated the simplicity of having the display show only the most pertinent data, which helped me stay focused on the ride itself.
The sleek display’s integration into the top tube creates a much tidier cockpit, which is certainly appealing from both aesthetic and functional perspectives. And having the Kiox 400C’s ability to charge USB-C devices like my iPhone during a ride proved super handy—no more dead phone anxiety on longer adventures.
The Bigger Picture
Bosch has taken a measured approach to rolling out these innovations. The Performance Line CX software upgrades are available now, accessible through both dealer updates and the Flow app for end users. This dual-path approach ensures accessibility while maintaining professional oversight for riders who prefer dealer support. The Kiox 400C, while designed for 2026 model bikes, offers retrofit compatibility with select 2025 models from participating manufacturers. The backwards compatibility of both the Performance Line CX upgrade and Kiox 400C is a solid addition—especially valuable if you’ve recently purchased a Bosch-powered eMTB.
The timing is particularly significant as the eMTB market continues its rapid expansion, with riders increasingly demanding sophisticated performance. These developments signal a new maturity in motor technology, where software updates can deliver meaningful performance improvements and where display technology finally matches the premium level of the power systems they control.
Patagonia Kit
Words Lester Perry
Images Thomas Falconer & Jamie Fox
RRP $229 Men’s Dirt Roamer Bike Shorts 12″ | $349 Dirt Roamer Liner Bike Bibs
Distributor Patagonia NZ
“Don’t buy these shorts”
In 2011, the brand Patagonia made headlines with their “Don’t Buy This Jacket” ad campaign in The New York Times. This was a shout out to anti- consumerism and their lifetime repair program that aims to ensure garments last forever, rather than be turfed on a rubbish heap and replaced.
Let’s rewind the clock back to the 1950s. Yvon Chouinard, a blacksmith, was producing a line of reusable Pitons (climbing anchor points) for local Californian climbers. By the early 1970s, climbing was booming and Chouinard pivoted, launching the Patagonia brand to offer climbing and outdoor soft goods with a focus on sustainability and durability, which he felt were lacking in the market at the time.
By the early 2000s, Patagonia was not only covering mountain sports but also starting to dabble in water sports, initially making some wetsuits for its staff. Then, in 2008, they launched a range of non-neoprene wetsuits, using limestone-based rubber, reducing dependency on petrochemicals and adhering to the company’s eco-friendly ethos.
In 2012, the team took another leap forward, offering an entirely plant-based rubber wetsuit range. By 2019, Patagonia was beginning to dabble in a different type of surfing: dirt surfing, AKA mountain biking, and by 2021 they had a tight but comprehensive range.
Around the same time as MTB apparel was breaking cover, Chouinard announced the transfer of Patagonia’s ownership to a trust and nonprofit to fight climate change, their $100 million+ yearly profits now going to environmental causes.
Drawing on experience and technologies from their existing ranges, they now offer quality, durable and eco-conscious shred-ready gear at a price. They’re sticking to their tried- and-true block colours and aren’t diving too hard into the latest trends—no garish “this will last a season” all-over prints here; just dependable, timeless silhouettes and colours.
There’s a reason Patagonia has been referred to as “Pata-Gucci”: their gear trends towards the premium end of the spectrum, not just in quality, but in price. If you can look past the price tag, there’s a lot on offer with Patagonia MTB gear, but you need to be prepared to take advantage of what’s on offer to really get the most from your investment. It requires a mind shift to buck the current industry trend of fast fashion. First off, if it doesn’t live up to the hype or expectation, take advantage of their “Ironclad Guarantee” for a refund, replacement or repair. Ripped a hole in a crash? Worn something out? Check out their free repair program, and you can either DIY repair with a patch kit—which they’ll send out—or send your gear in for repairs.
Patagonia’s strong environmental and social stance steers each decision made during garment production. Beginning with the goal to create better gear that lasts longer, meaning consumers buy less of it. With a key business goal being “cause no unnecessary harm”, their efforts to reduce environmental impact sometimes seem counterintuitive, but I guess this proves they’re walking the talk. Prioritising recycled, organic and plant-based materials, over 80% of Patagonia’s range is Fair Trade Certified, and their factories ensure staff receive a fair, legal wage and working conditions. Each part of their supply chain is optimised to ensure minimum environmental and social impact, while publicly available data ensures transparency, keeping them accountable.
Back to the MTB range. Split into two streams, the “Dirt Roamer” is lightweight, breathable and designed for big backcountry days in the saddle, while the “Dirt Craft” collection puts more focus on durability and less on lightweight, lending itself more to heavy-trail and bike park use.
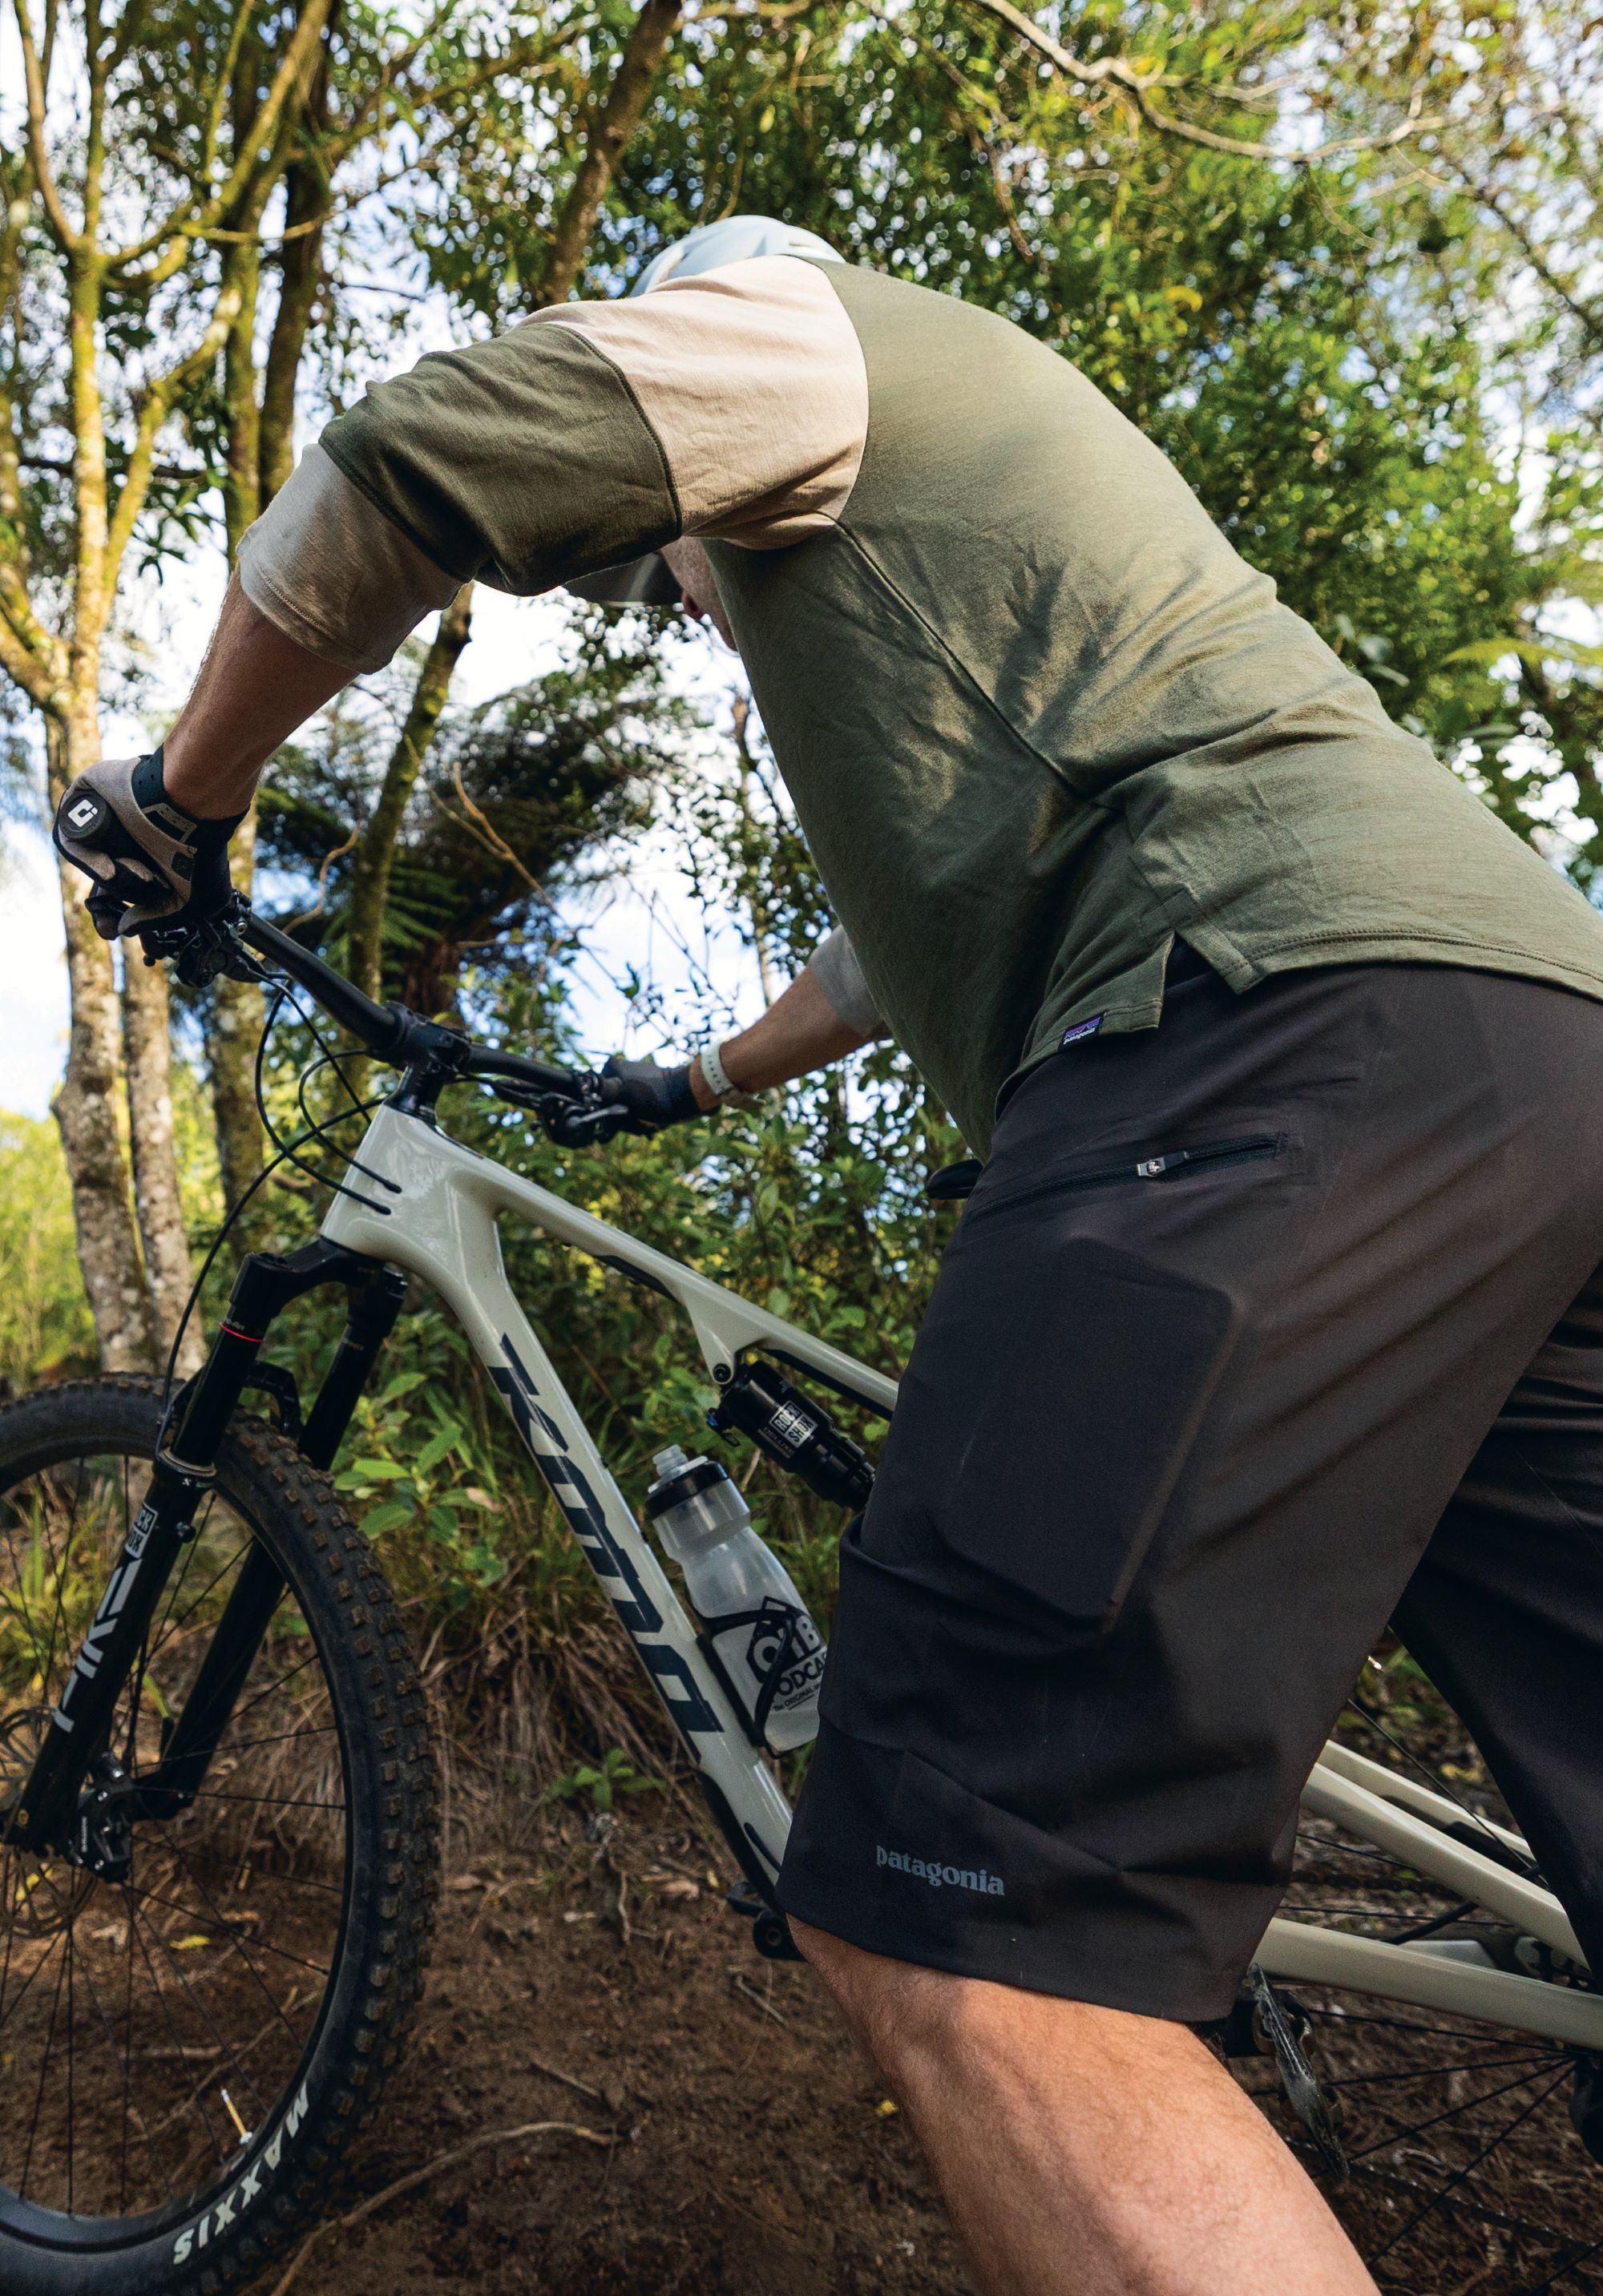
Men’s Dirt Roamer Bike Shorts – 12″
Slicing open the package, if I didn’t know better, I’d swear I’d been sent a pair of board shorts. Fortunately, I do know better, and what was in the package was in fact a pair of Patagonia Dirt Roamer 12” bike shorts. My first impressions were about the short’s weight, or lack of it, and their construction. Similar to their boardshorts, the stretch fabric is seam- welded rather than sewn, keeping the weight low and comfort high with no stitched seams rubbing.
The fit is ‘regular’ and true to size. I wear 32” pants across most brands, and these 32” shorts are right on the money. There’s an adjuster to customise the waist if required. Lengthwise, these sit partway down my kneecap, an ideal length for pedalling with or without pads.
Initially, I thought the pockets were a bit odd. Rather than being a more traditional ‘hip’ pocket, these are lower down the leg on the thigh; not wrong, just different. A zipped opening keeps belongings in place, and there’s plenty of space to load them up. Internally, there’s an envelope-style flap that gives access to pockets of a liner short. Clearly intended to be used with the Dirt Roamer Liner Bibs, the opening lines up perfectly with the liner’s cargo pockets. This is something unique that I haven’t seen before, and ideal if you’d rather stow gear in the liner, with it being firmer against the leg rather than looser and able to move around in the pockets of the baggy outer shorts.
The lightweight fabric breathes well and feels soft against the skin. As they say on the tin, these are a trail short designed to pedal in, and they’re ideal for this. I’ve put in some decent 3+ hour rides in them, and at no point did I find them lacking. The fit was spot on, just baggy enough not to appear too XC-like, but slim enough so as not to snag on the saddle or flap around unnecessarily. The welded seams look like they will continue to be sturdy and secure, and as long as the fabric continues to be wear-free, I’d see these shorts lasting a long, long time.
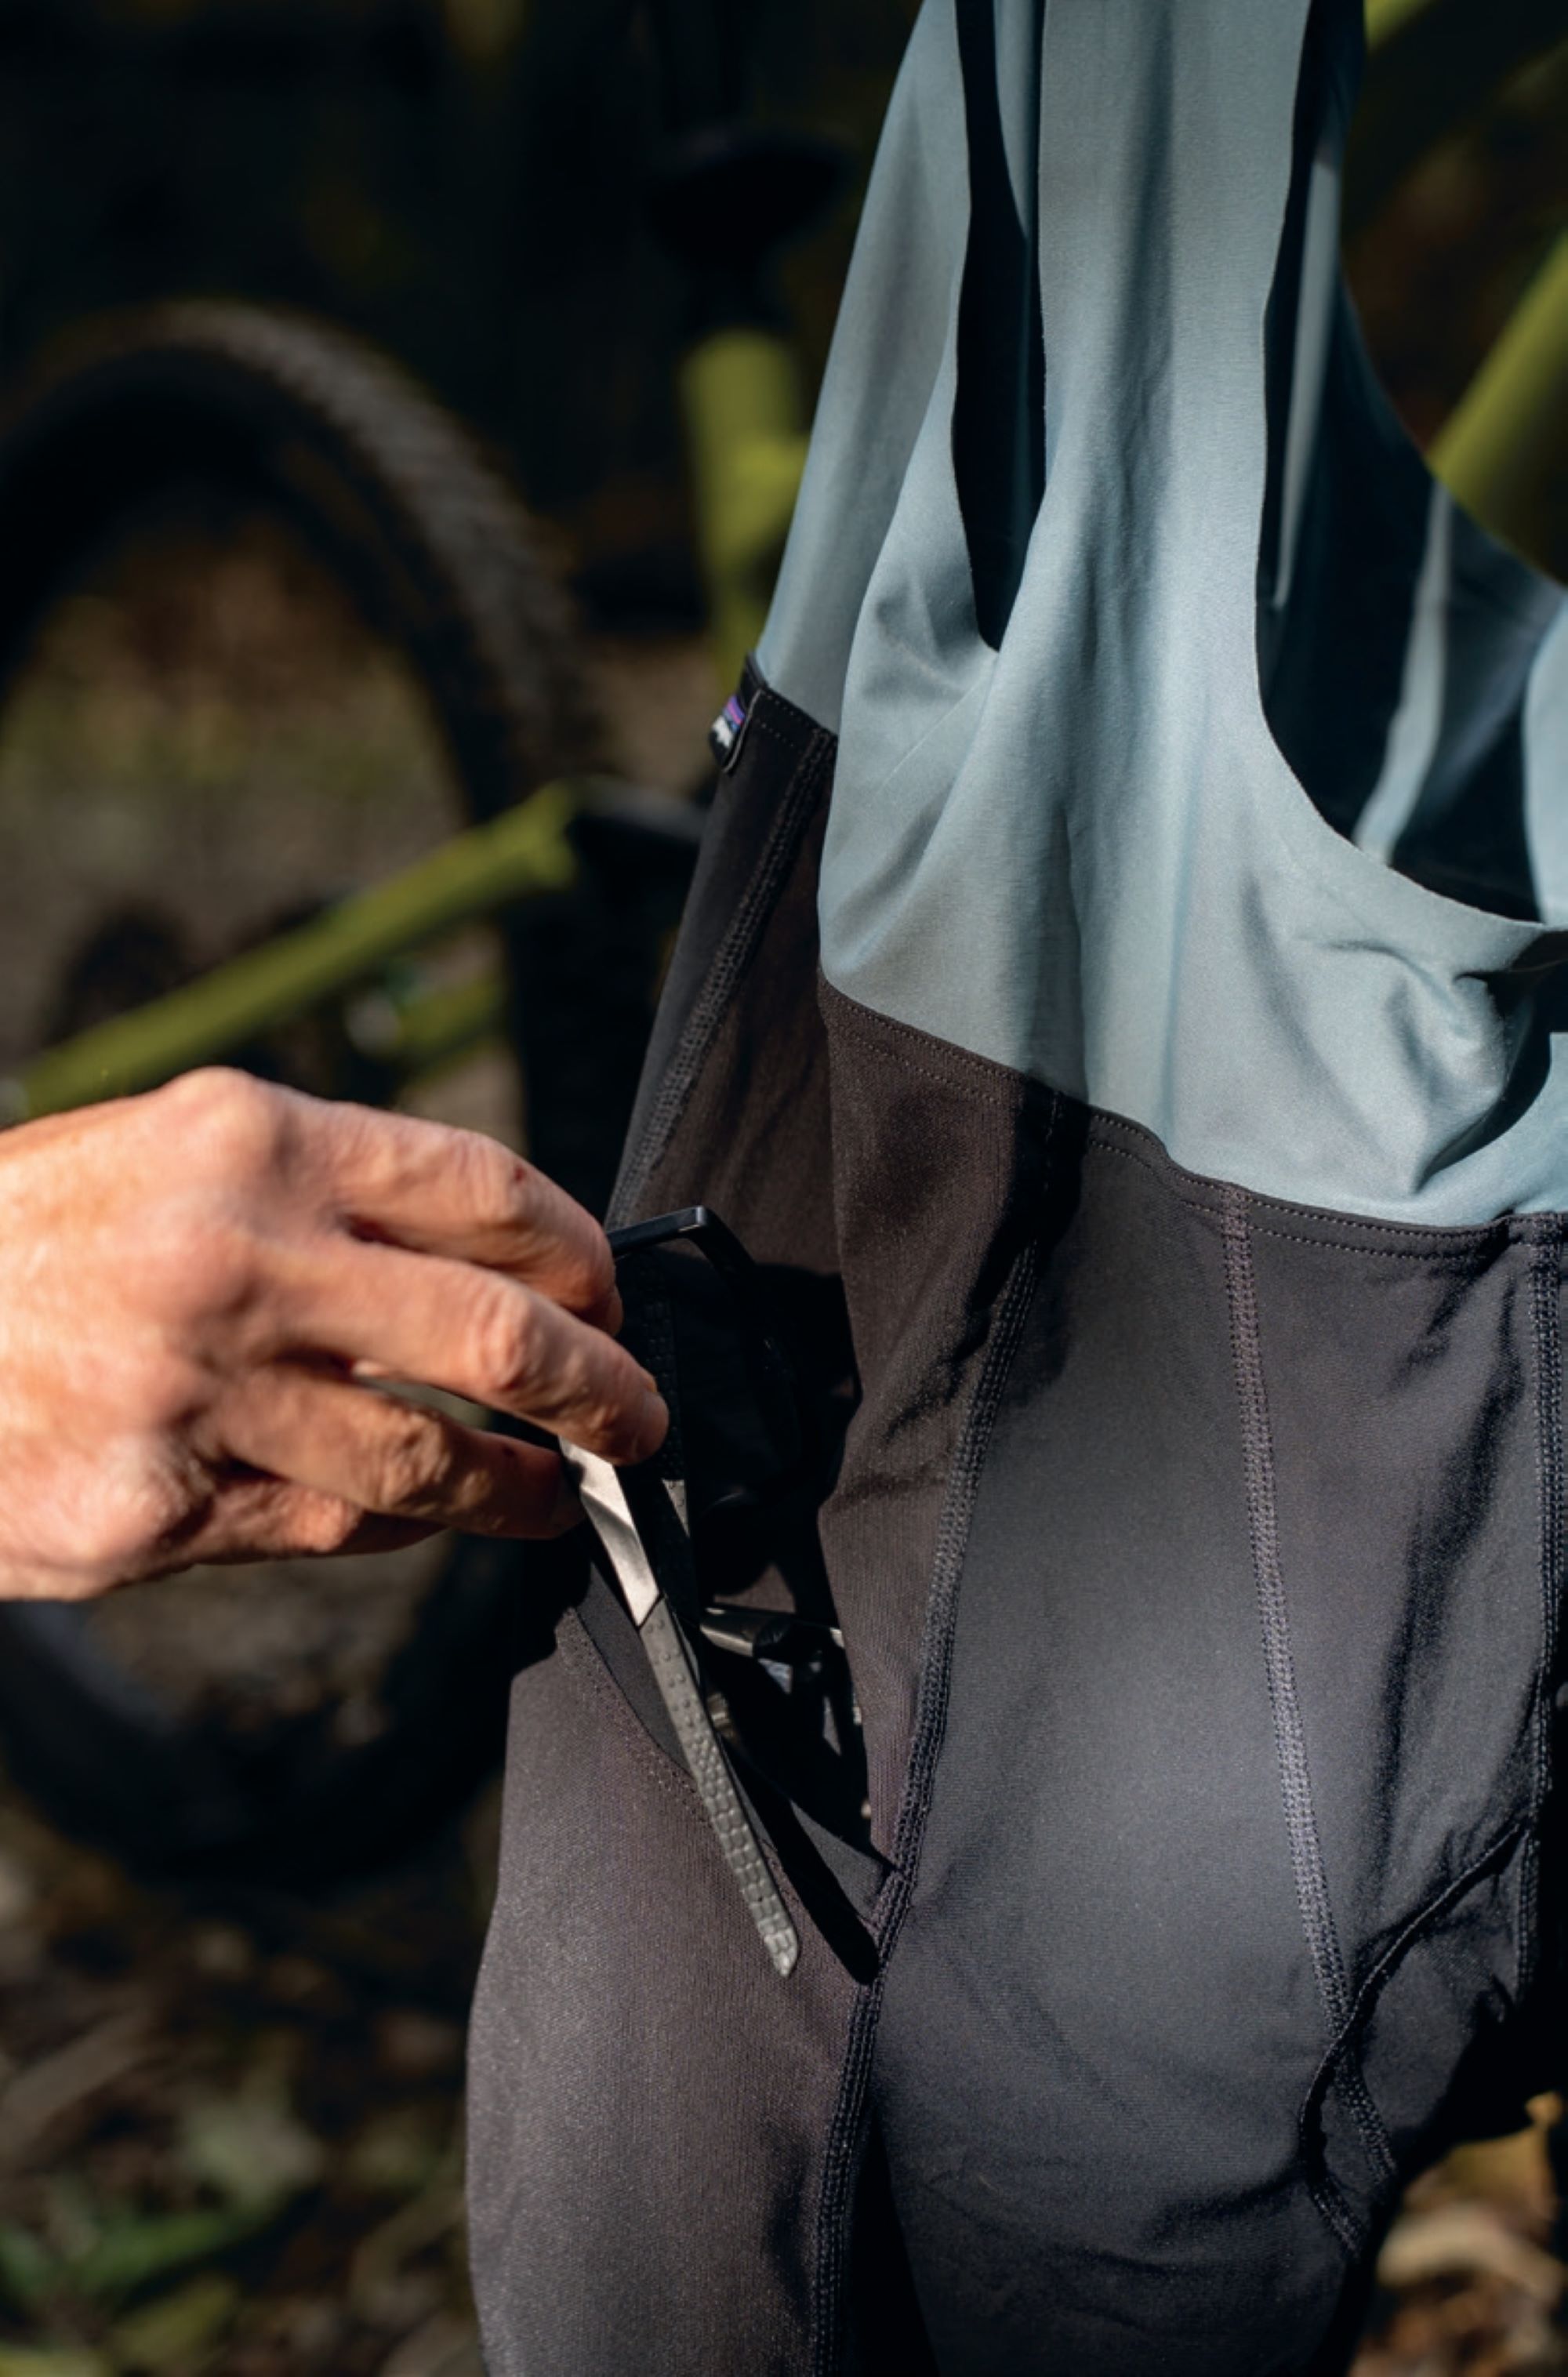
Men’s Dirt Roamer Liner Bike Bibs
I’m a huge fan of a bib-style liner, but not all are created equal. I’ve purchased no less than three pairs which, after a couple of wears, have remained in the kit drawer, just not quite right. There’s a lot that can go wrong during the design and construction processes of bibs; get one wrong and they won’t be OK to wear for lengthy periods. Fit is paramount and nailing it for all body types would be near impossible—instead, design for the middle of the bell-curve and hope for the best. The layout of the panels, straps, and their associated seams needs to be just right to get that Goldilocks fit. If the seams aren’t in the right place, not only will the fit be off, but the wearer will probably get rubbed the wrong way. The chamois choice is an area a lot of liners fall short: too thin, too thick, not the right shape, not secured in a rub-free manner; there’s a lot to consider.
The Patagonia Dirt Roamer Liner Bib shorts fit me exceptionally, fitting my middle-of-the-bell-curve, medium-sized frame to perfection. The body of the bib is lightweight, breathable, and extremely stretchy; all edges are nicely welded flat. All the stretch involved means that at least the top half of the bibs should fit a wide range of heights. On the centre back is a single vertical cargo pocket, sized to fit a water bottle.
In keeping with Patagonia’s eco-ethos, all fabrics involved are made largely from recycled nylon. Downstairs, the body of the shorts is made from a power-stretch knit fabric for a comfy, taut, supportive feel. Breathable mesh panels and cargo pockets feature on each thigh. The laser-cut leg openings have a couple of rows of silicone, which, when combined with the power-stretch fabric, keep the legs nicely in place.
The Italian-designed, 3-layer chamois is a quality addition, as it should be for the price. It’s a nice medium thickness, which I’ve found offers a good level of padding and breathability, remaining chafe-free over lengthy rides.
Temperature regulation is key when running a bib liner with outer shorts; too hot, and sweat adds to chafing and discomfort. These bibs breathe well overall, keeping the temperature in check and comfort consistent, although I did find the upper body somewhat clammy at times when sodden with sweat.
These bibs are ideally combined with the Dirt Roamer shorts to take advantage of their pass-through pockets, giving ample storage across both shorts for any-sized outing. These are one of the more expensive liner options on the market, but considering their fit, chamois, and overall performance, not to mention the repair program, they’re good value in my book and should last many seasons.
Overall thoughts
I’ve been super impressed and quietly surprised by these shorts and bibs. This isn’t a case of a massive clothing brand just throwing their label on an underdeveloped, off-the-shelf garment, but a case of careful forethought, design and manufacture. A big blue sign approved green tick from me. Although they perform exceptionally, it’s up to a buyer to determine if the after-sales service and manufacturing ethos is worth the price of admission.
If you’re a keen trail rider who’s after top-tier, long-lasting shorts and liners, then look no further; just be sure to get the most out of them by using the repair service if needed.